Creating a Webcomic in Clip Studio Paint

This tutorial will show you how to create a colorful
web comic and how to approach a complex workflow.
Make use of some of Clip Studio Paint’s
most powerful features!
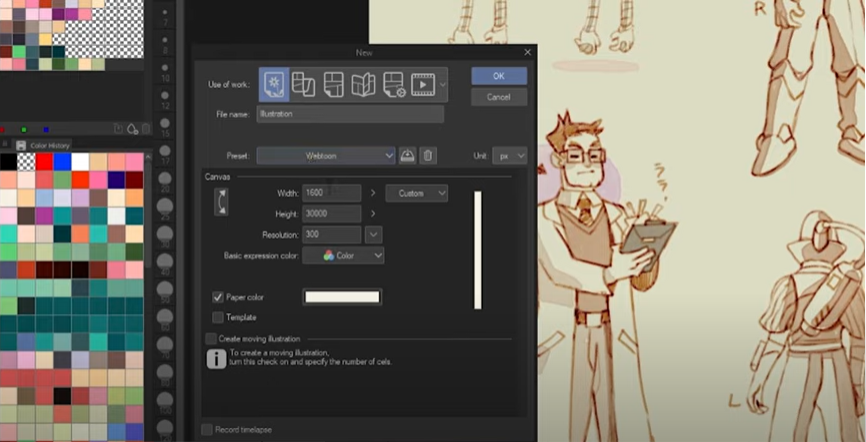
First, open the File menu and create a New document. You can create a custom format or use a preset. The are available for regular comics, as well as web comics in a vertical scrolling format. Make sure to set the size and resolution according to your medium.
Clip Studio Paint EX offers the option to create multiple pages in one document. You can create them right away or add pages later on.
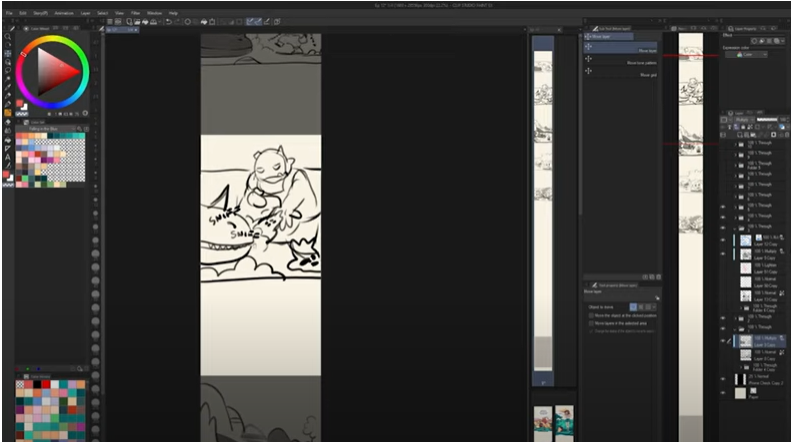
To sketch your vertical web comic according to your script, it is recommended to open the View menu and activate the Onscreen Area (Webtoon) to check which parts will be visible on smartphones. This helps to establish the perfect flow and panel sizes.
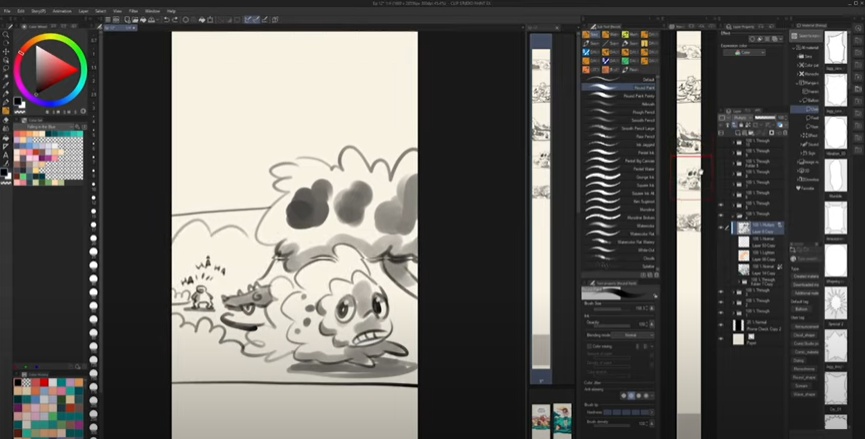
Many artists choose a soft brush with varying opacity and density to quickly add midtones and details in one go. The are available as default brushes, so you are right away ready to start. Try to sketch quickly and with few details to setup your ideas and allow for easy changes along the way.
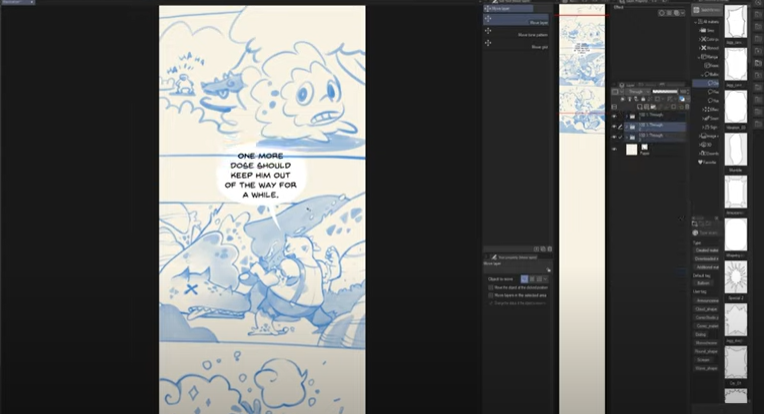
For the speech bubbles, consider the flow and pace at which content appears on screen for the reader to enjoy. Panel composition and speech bubbles play an important role to create excitement and drama.
You can use material presets or create your own speech bubbles with the speech bubble tool, with which you can also create a unique style for comic.
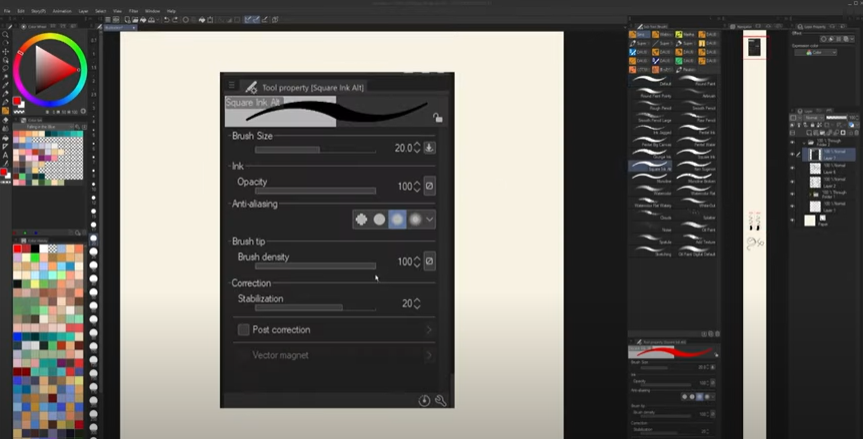
Once the sketch is done, creating clean lineart helps with coloring later on. Use your favorite brush from the default brushes or customize a brush to your needs. Adjust the stabilization for smoother drawing, especially large curves and straight lines.
Use the comic panel tool to create panels with masks that prevent drawing outside the line of them, and make sure to establish a layer hierarchy for sketch and lineart in the layer palette.
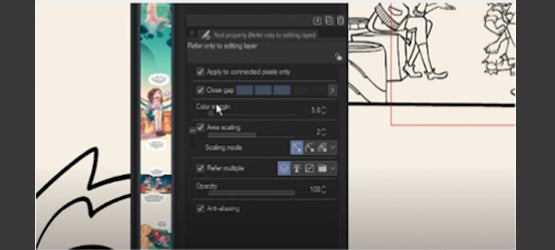
Create a new layer for your flat colors of each element in a panel, such as a character or key elements. With the Fill subtool color your elements. You can adjust the Close Gap settings, overflow etc. according to your work style. By clicking and dragging, separated areas can be colored quickly with the same color.
Make sure to set your lineart as the Reference Layer in the layer palette, to avoid obstruction by other elements, such as the sketched content.
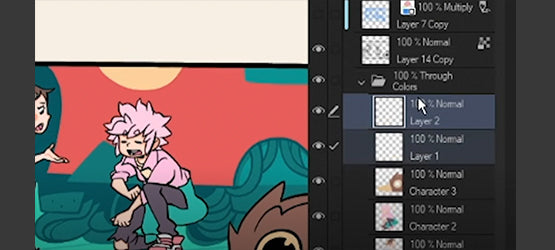
Create two new layers on top of the color layers for the highlights and shadows
By using the Clip to Layer Below button in the Layer Palette, clip both layers to the colors below, so you can’t color outside the flat colors.
Set the shadow layer to the blending more "Multiply" and the highlight to "Overlay".
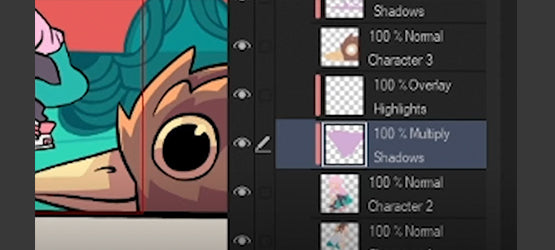
For shadows, a light purple color often works well, and for highlights, as yellow color is recommended. Draw the shadows and highlights for each element in a panel.
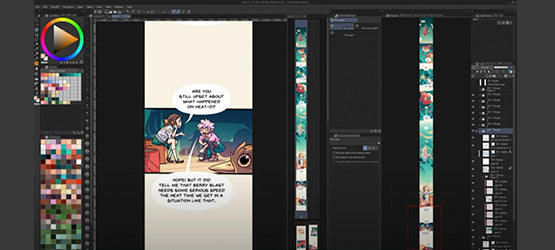
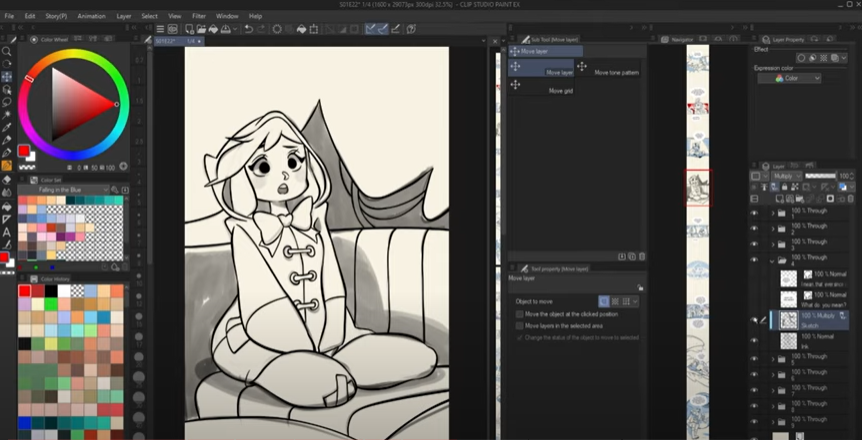
Once all elements are colored, make sure the flow is as you want it to be and move panels if necessary with the Move tool.
Lastly, click the File menu and choose Export to save the file in a format that suits your publishing style. You can automatically splice files in jpg-format to upload a webcomic. Export size and format can be chosen based on your medium of choice.
