Animating in Clip Studio Paint
In this guide, we will introduce you to the various features that are available in Clip Studio Paint for you to animate your characters and bring them to live!
Make sure to check out the video
at the end of the lesson!
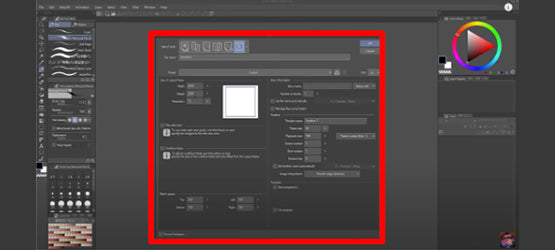
Open File, NEW and choose the Animation Preset. Select a size for the actual output, such as 1920 by 1080 as well as the canvas overflow. The area within the blue square is the actual output size.
The framerate is the number of drawings/images per second.24 fps is common for movie animations like animated Disney movies. For Japanese anime a lower framerate is common.If you work in Clip Studio Paint PRO* choose a lower framerate to make the animation last longer. (for example: 3 seconds at 8 frames each.)
In the EX version, you can set the playback time accordingly with the number of frames (for example 4 seconds at 24 frames = 96 frames total).
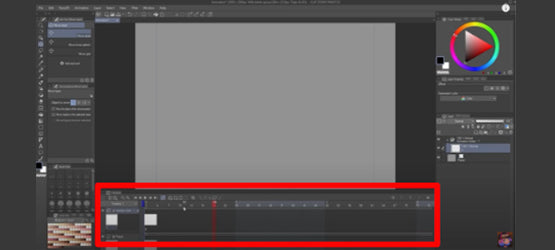
The Timeline is the most important feature, along with the animation folders, keyframes and cels. Any cel or animation folder that has been set to a keyframe will be indicated on the timeline.
You can find buttons for new animation folders and cels, as well the play and stop button as well.

In the Layer Palette, you can also find the animation folders, layers and a paper layer.
You can select where to draw on from there, too.
After adding a frame in the timeline by clicking the "New Cel" button, it will also appear in the layer palette and is fully registered to a specific frame. If you only create a new folder in the layer palette, it needs to be registered to a frame to appear in the animation.
Deleting a frame on the timeline, will delete the frame, but not the layer.
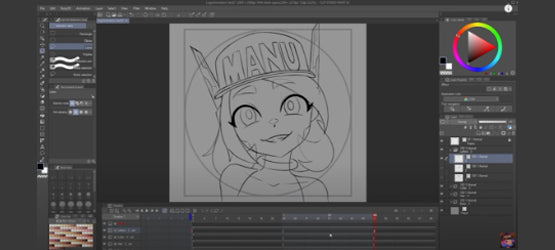
Prepare your animation by sketching you keyframes, such as the main poses of your character. You can separate parts of the character by saving them in different animation folders, while registering all parts that belong together to the same keyframe.
The frames will be automatically numbered by Clip Studio and you can guide naming conventions of layers, by adding layers and naming them individually.
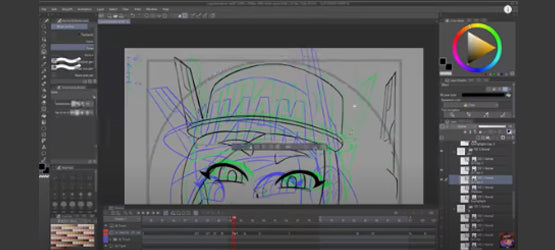
Draw the breakdowns from one key pose to the next by using the Onion Skin feature, which shows the previous and the following frames of the selected one. The settings can be adjusted in the timeline menu.
Use the features explained above for sketching each frame of your animation, set the keyframe in the interval you decided. Draw the inbetween frames by changing them in the way they would move to get to the next keyframe. Make use of stretching and squashing features for emphasize and make movements more natural by adding overshoot motions before settling on the keyframe pose.
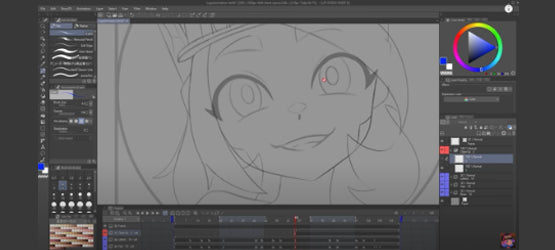
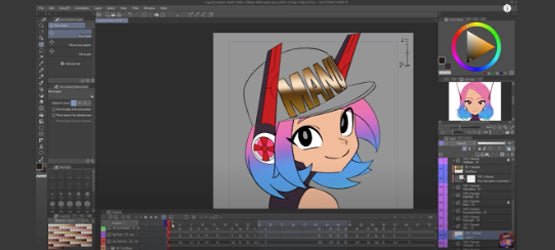
Once the sketching is done, use a new animation folder with all new layers, to cleanly draw each frame’s lineart. You can also use multiple layers for one keyframe by adding a regular folder into the animation folder. This can be used for shadow and color guides, as well as coloring.
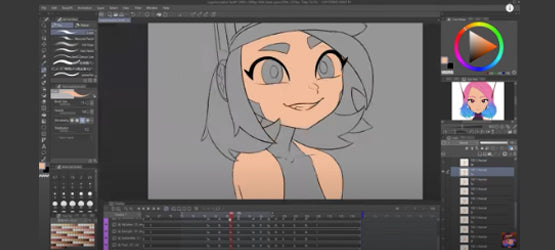
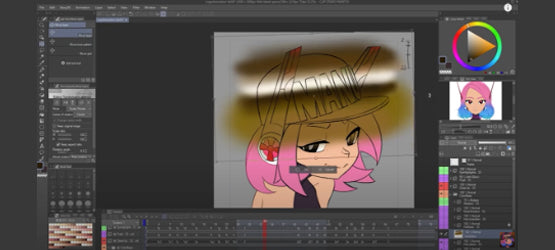
For coloring, use Raster Layers and fill in the colors for each part and each frame for the whole animation. The Subview Window helps to directly pick up colors from references.
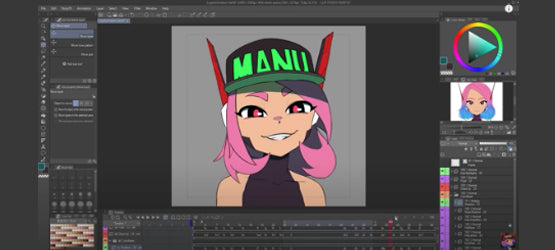
Adding light and shadows can be done, by adding layers above the lineart and using different blending modes. For shadows, blending modes such as "Multiply" are common, and for lights, "Screen" or "Add Glow" are useful. Adjust the opacity to fit the color scheme.
Clipping masks can also be used within animation folders and help with easy gradients for specific layers to add textures. This also works for adjustment layers when you want to add color variations
Clip Studio Paint also offer camera movement options, by setting a single image by using “enable keyframes on this layer”. This sets keyframes with transform properties of that layer and you can adjust the scale, position, rotation and opacity for each frame the option is applied to.
This is useful for background, but also gradients, that are clipped to a layer.
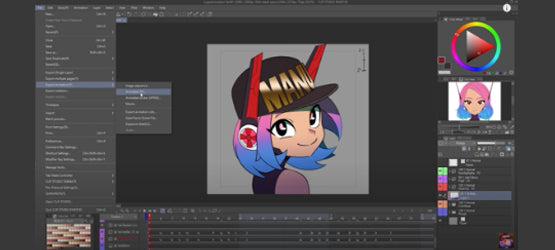
Once you finish the animation, you can choose your export format.
For social media, exporting as gif (image) may be a good option, but of course video formats such as mp4 or avi are also available.
Go to File, Export and choose your desired format. Stick to the default size of your animation as specified at the beginning, or change it to your needs.
Save and export. Done!
