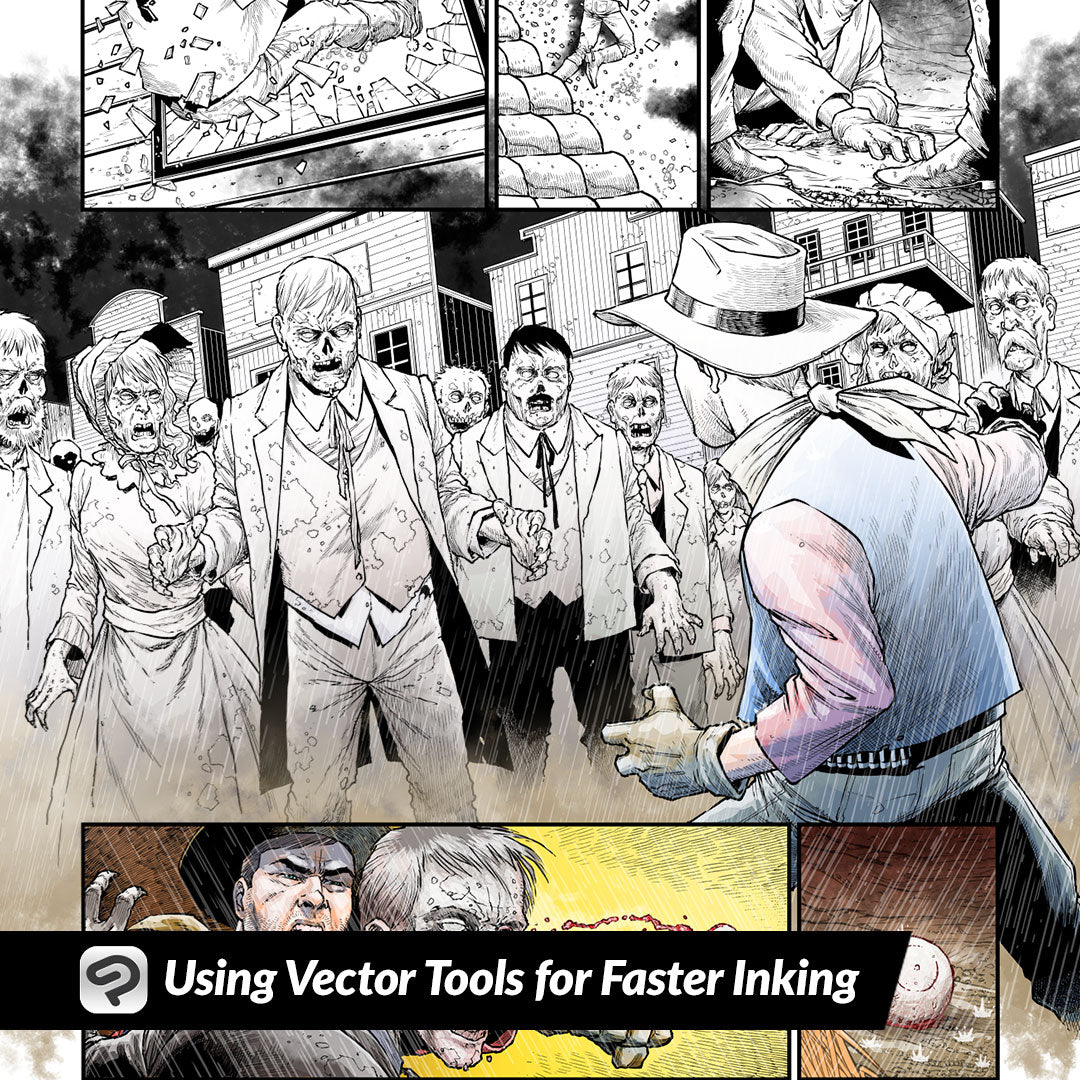
Using Vector Tools for Faster Inking
Contact Graphixly @
Hello! My name is Liz Staley and I’m a long-time user of Clip Studio Paint (I started using the program back when it was known as Manga Studio 4!). I was a beta-tester on the Manga Studio 5 program and for Clip Studio Paint, and I have written three books and several video courses about the program. Many of you probably know my name from those books, in fact. I write weekly posts on Graphixly.com and on CSP Tips, so be sure to come back every week to learn more Clip Studio Tips and Tricks from me!
Inking still seems to be a pain point for a lot of artists, so if you’re struggling with getting your lines clean and precise then inking on vector layers might be for you! With Clip Studio Paint vector layers you can use any brush tool you like to make lines, which still gives your inking an organic feel without sacrificing the benefits of using vectors.
In this article we will cover the following topics:
Using the Vector Eraser
Correcting and Adjusting Vector Lines
Let’s do some inking!
Using the Vector Eraser
One of my favorite vector features in CSP is actually the vector eraser, which makes cleaning up messy lines so much easier. For this week I chose a sketch with a combination of precise lines (armor) and more organic shapes.

To start inking, let’s make a new vector layer. You can do this either by clicking the “New Vector Layer” icon in the Layer palette window, or clicking on Layer - New Layer - Vector Layer.

Now use any pen you like to make your lines. On a Raster layer I would normally be very meticulous to make sure my lines are very neat and not running across each other, but since we’re doing vector lines the clean up is going to be very easy!

Now, to clean up my overlapping lines, select the Eraser tool, then the Vector Eraser subtool. In the Tool Property options, select the “Erase to Intersection” option.

Use the eraser tool on the part of the line you wish to erase. Because of the “Erase to intersection” option, you only need to make a small erase line across part of the line you want to get rid of, like I’ve done below.

And just like magic, the entire protruding part of the line is gone!

Now we can go through the illustration and quickly clean up any lines that are sticking out into places they shouldn’t be before moving on to the next step!
Correcting and Adjusting Vector Lines
One of the benefits of using vector lines for inking is that vector lines have control points that can be moved around after you make them, so even if your line isn’t perfect at first you can fine-tune it later to match your sketch. However, one of the downsides of using the regular brush tools on vector layers is that it adds tons of control points to the line, making it more difficult to adjust the lines! So first we need to use the Simplify tool to tone down the number of control points.
You’ll find this tool under the Correct Line tool category. Select “Simplify Vector Line” in the subtools window.

Now I’m going to open the Tool Properties window by clicking on the wrench icon in the bottom right of the Tool Property palette. Check the “Process whole line” checkbox in the “Edit line” options. This makes it so the entire vector line will be simplified just from one click instead of having to highlight the entire line with the tool.

Now find some lines that you want to adjust. Below you can see that the lines on the shoulder guard of the armor are uneven with their spacing and angle. I used the Simplify Line tool and dragged down the middle of the lines so that it would simplify those lines without changing the ones around them.

Now we can use the Control Point subtool in the same tool category to move around the lines and even them out a little more.
Sometimes when using the Simplify Line tool, the thickness of your lines may be changed. In my case, the lines got quite thin in places. To change this, select the “Correct line width” subtool and then the “Thicken” option in the Tool Property palette. Now use the tool to highlight the parts of the lines you want to thicken. You can use the slider in the Tool Property palette to change how much thicker the lines get with each pass of the tool.

Sometimes after using the Simplify tool you will have sharp corners in the line that have turned into curves, or vice versa! For instance, in the screenshot below the sharp corner on the cheek portion of the helmet went from a hard corner to a soft one after doing the Simplify. Thankfully, this is a very simple fix! Using the Control Point subtool, select “Switch Corner” in the tool property window. Click on the control point where the sharp corner is needed.

Now there will be a sharp corner instead of a curve through that control point. I was also able to clean up the curve from the cheek portion of the helmet to the back portion as well, without having to totally redraw the entire line!

Using these tools, I was able to ink a good portion of this drawing in just a few minutes, and spend only a little additional time adjusting the lines to better reflect the sketch. Normally inking even just this portion of the drawing would take me much longer because of the need for very precise lines in the armor and weapon!

Conclusion
Inking is probably my favorite part of creating illustrations so I love to spread the joy of inking! If you’re having trouble with inking your work then I hope you give vectors a try!
For more information on CLIP Studio Paint, please visit https://www.clipstudio.net/en or https://graphixly.com