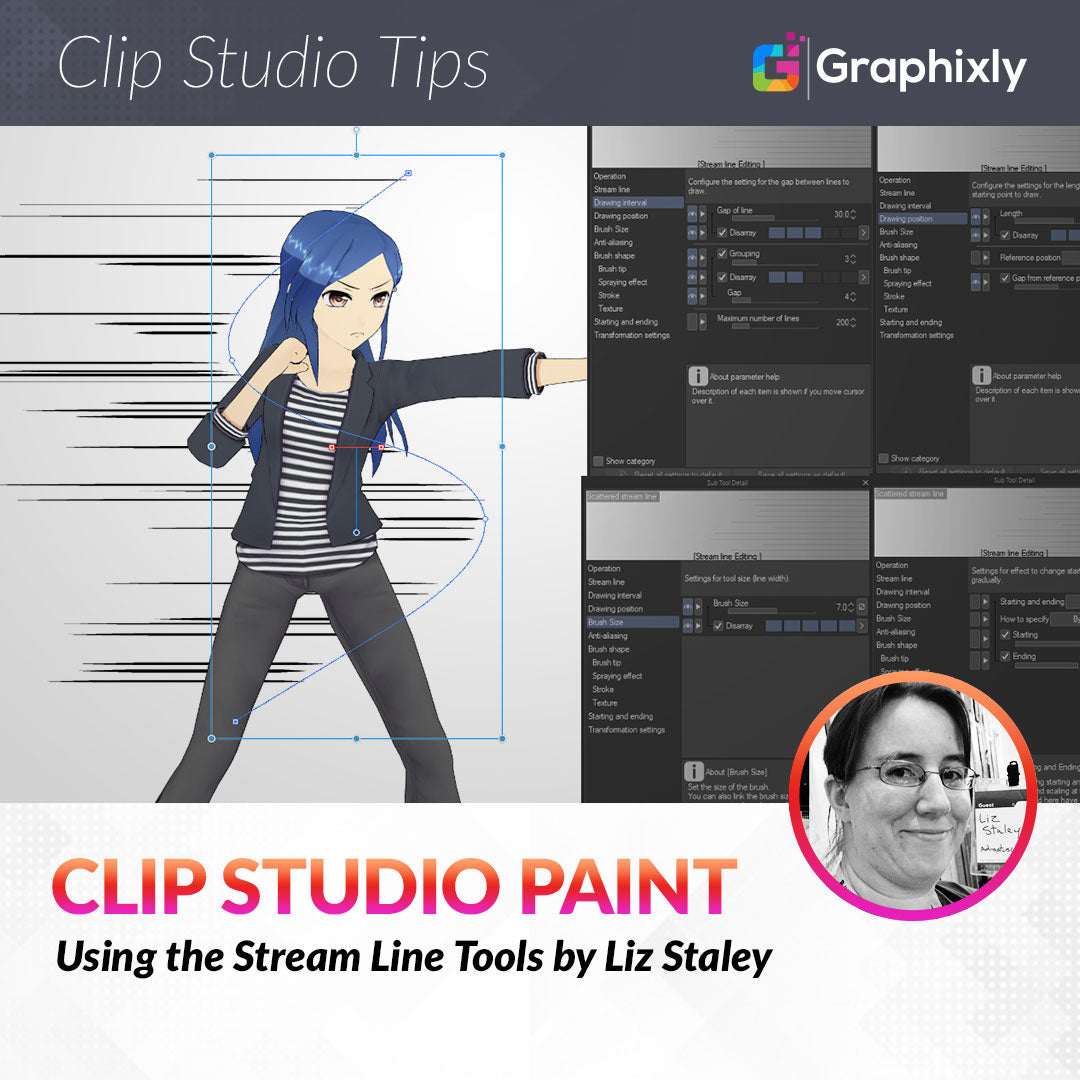
Using the Stream Line Tools
Contact Graphixly @
Hello! My name is Liz Staley and I’m a long-time user of Clip Studio Paint (I started using the program back when it was known as Manga Studio 4!). I was a beta-tester on the Manga Studio 5 program and for Clip Studio Paint, and I have written three books and several video courses about the program. Many of you probably know my name from those books, in fact. I write weekly posts on Graphixly.com and on CSP Tips, so be sure to come back every week to learn more Clip Studio Tips and Tricks from me!
It can be difficult to convey the illusion of motion when creating a still image. Part of the language of manga and comics are speed lines (or motion lines) and focus lines. These lines can show the direction an object or character is moving, add drama or mood, or draw the reader’s eye into the focus of the panel. Clip Studio Paint has tools that make creating these dramatic lines easier, like the Stream Line and Saturated Line tools. We will cover the tools under the Stream Line category in this tutorial, and cover the Saturated Line tools next time!
In this article we will cover the following topics:
Using the Stream Line Tools
Using the Gloom and Rain Tools
Let’s dive right in!
Using the Stream Line Tools
First let’s focus on the two Stream Line tools, which can be used to make motion lines (also called speed lines). The Stream Line tool is a category of subtools under the Figure tool set. It is shown in the screenshot below.

The top two subtools (Scattered stream line and Dark stream line) produce horizontal lines - though you can change the angle, we’ll get to that in a minute!- while Gloom and Rain create vertical lines. Let’s take a look at the Tool Property window for the Scattered Stream line tool to get an idea of what these options do.

Destination layer - Controls which layer the tool creates its lines are. It can be set to draw the lines on the current editing layer (the current active layer), to make a new layer for each use of the tool, or to make one new layer and all stream lines will then be drawn on that layer.
Make curve - Check this box to enable more control points to be created in order to create curved instead of straight lines.
Brush size - Controls the size of the lines. Larger numbers make thicker lines, lower numbers make thinner lines.
Gap of line - Sets the minimum amount of gap between sets of lines. Change this number to make lines further apart or closer together.
Grouping - Controls the grouping of lines. A grouping of lines are lines that are drawn closer together.
Length - Sets the length of the line to be drawn.
Extend Lines - Extends the lines beyond the specified length. If the lines are in a frame folder, they will extend to the frame border. For line layers outside of a frame folder, they will be extended to the crop marks or edge of canvas.
Reference Position - Sets where the stream lines will be drawn in relation to the reference line drawn by the user. If Middle Point is selected, lines will be drawn on either side of the starting point. We’ll see this in action in just a little bit.
Gap from Reference Position - Sets the maximum distance the line can be drawn from the reference position.
Starting and Ending - Controls the starting and ending effect of each line. This can be used to make lines taper off at the beginning and/or end.
To access more settings, click on the icon at the bottom right of the Tool Property window to open the Sub Tool Detail window. This window also allows you to hover your cursor over an option and read a description of it.
Now that we’ve had a brief look at a few options, let’s learn how to use the tool. I will be using the Scattered stream line tool for this demonstration. To use the tool, select it. Then click on a starting point in the canvas. A control point will be laid down. Now go to another point on the canvas and click again to lay down another point. For most applications, two control points will be sufficient, but you may need more if you are doing a more complex illustration or using the “starting point” or “ending point” reference position. Once you’ve laid out all the control points, double-click to confirm and CSP will create the stream lines based on the settings in the Tool Property window.
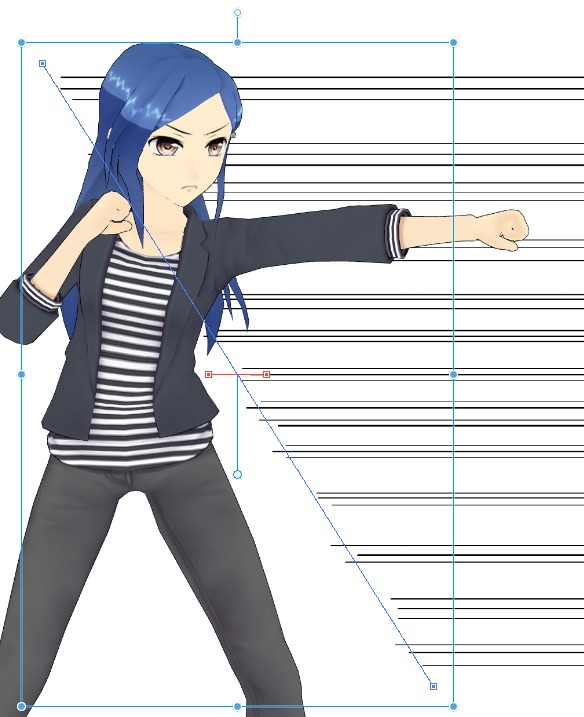
In the screenshot below, the long blue diagonal line going from left to right in the middle of the center box is the “reference point” line I drew. Note that even though the reference point line is at an angle, the lines are drawn straight horizontally because that is the angle that was set.

Because the Reference Position was set to the middle point, lines are drawn on both sides of the control point line. Note that you can always adjust these options, even after you draw out the control points!
To edit existing stream lines, select the Operation - Object tool and click on the control point line. Most options will automatically show in the Tool Property line at this point, but to edit more, click on the wrench icon in the lower right of the Tool Property window to open the Sub Tool Detail window.
The screenshot below shows the same Scattered Stream Lines but with the Reference Position set to “Starting Point.”
And below is the same stream lines but with the control line set to “Ending Point.”

Because most of the settings can be edited after the tool is used just by selecting the control line with the Object tool, it is easy to play with the different options and see what each one does in real time!
By using the various settings for the stream line tool, it is possible to make dynamic and varied lines very quickly. In the next screenshot I used a curved reference point line to create my lines, as well as several other settings that are detailed below the next image.

Drawing Interval
Gap of Line - 30
Gap of Line Disarray - 50
Grouping - 3
Grouping Disarray - 25
Gap - 4
Maximum number of lines - 200
Drawing Position
Length - 1040
Length Disarray - 100
Reference Position - Ending Point
Gap from Reference position - 50
Brush Size
Brush Size - 7.0
Brush Size Disarray - 100
Starting and Ending
Starting and Ending - Brush Size (Minimum Value 4)
How to specify - By Percentage
Starting - 30.0
Ending - 15.0
Note that any option that has “Disarray” is a way to add variety to the lines. For example, enabling Disarray for the Brush Size creates lines of varying width depending on the amount of disarray set.
The Dark stream line tool works the same way as the Scattered stream line tool, but produces darker lines. The screenshot below shows an example of this tool.

Now we know the basics of adding these motion lines. What if we want to add some atmosphere instead? Read on to learn about the Gloom and Rain tools.
Using the Gloom and Rain Tools
The Gloom and Rain subtools have the same overall settings as the Stream line tools, but they are set up by default to be vertical lines instead of horizontal. Below is an example with the Gloom tool.

The gloom line can add drama to a scene where a character is depressed or confused, or use it to create vertical motion lines in a snap without changing the angle of the lines in the Stream line tool!
To use the Gloom tool, you simply need to select it and then click on where you want the lines to begin. Then click again to put down another control point. Double-click when you’ve finished putting down the control points across where you want the lines to cover. In the example above, my control line is going the entire way across my canvas from left to right so that they cover the entire top of the image.
The Rain tool is similar to the Gloom tool in that it produces vertical lines and is used in the same way. However, it produces a scattering of short lines that imitate the look of rain, as shown below.

Just like the Stream line tools, by using the Object tool and clicking on the control point line, you can then use the Tool Property window or the Sub Tool detail options to edit the look of the Gloom and Rain tools. Simply click on the line you put down with the tool, then open the options and change the brush size, angle, and other options to see the look update in real time.
Conclusion
Motion or stream lines, and moody gloom or rain lines can add a lot of atmosphere and drama to your scenes. If you don’t have the time to draw them all in by hand, using these tools allows you to make lots of lines all with just a few clicks!
For more information on CLIP Studio Paint, please visit https://www.clipstudio.net/en or https://graphixly.com