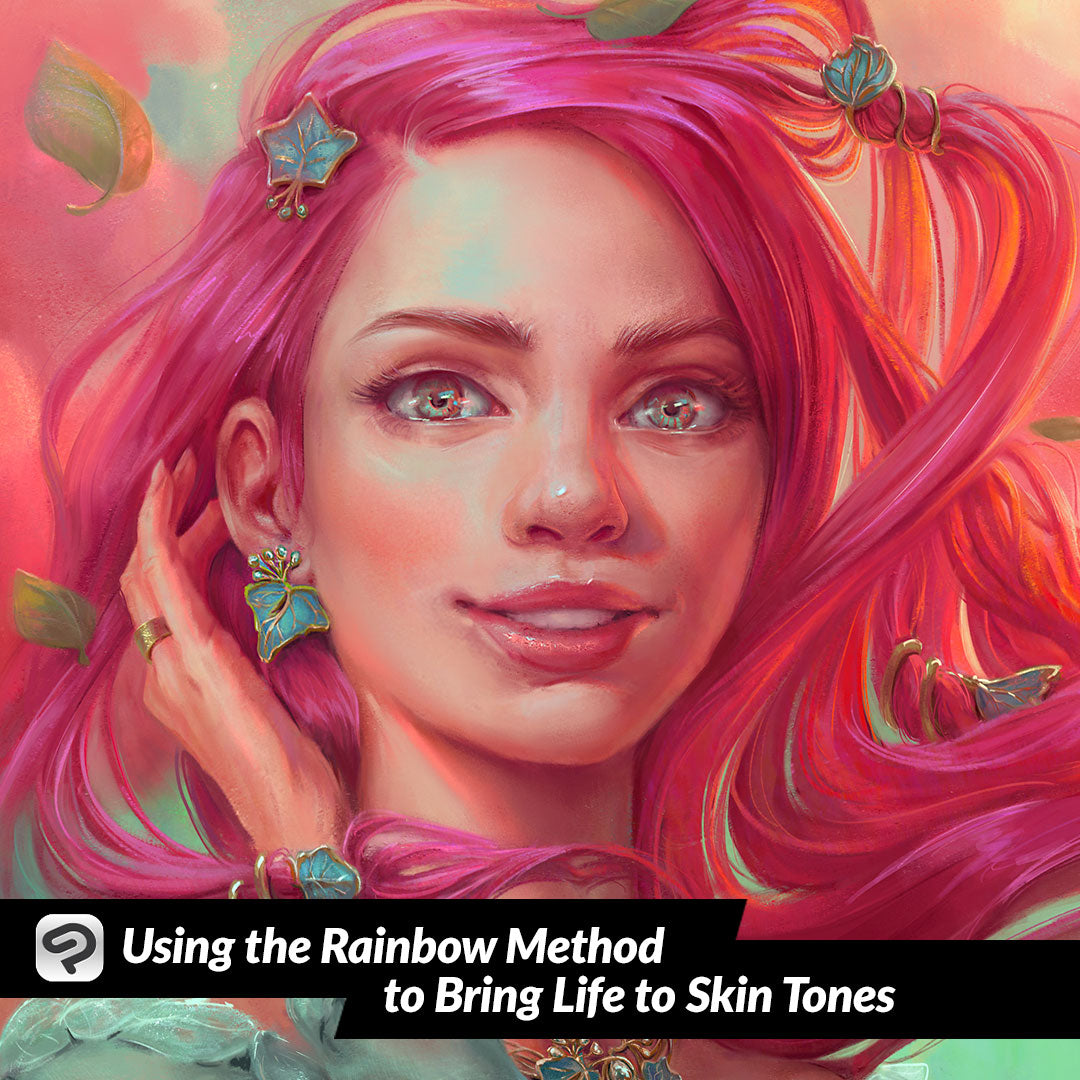
Using the Rainbow Method to Bring Life to Skin Tones
Contact Graphixly @
Hello! My name is Liz Staley and I’m a long-time user of Clip Studio Paint (I started using the program back when it was known as Manga Studio 4!). I was a beta-tester on the Manga Studio 5 program and for Clip Studio Paint, and I have written three books and several video courses about the program. Many of you probably know my name from those books, in fact. I write weekly posts on Graphixly.com and on CSP Tips, so be sure to come back every week to learn more Clip Studio Tips and Tricks from me!
I’m always clicking on art videos I see that look interesting on social media to find new ways to do things. I’ve seen this “rainbow method” of adding more life to skin tones and wanted to test it out to see if I like it, and I thought I would write about it in case it helps one of you! So let’s give it a try.
In this article we will cover the following topics:
Doing the Rainbow Method
Let’s color some skin tones!
Doing the Rainbow Method
The first thing we need to do is create a new Multiply layer over our colored image. I chose a finished character portrait type image to try this on.

Now we’re going to start applying color to different zones of the face. Start with yellow on the forehead, about to the level of the eyebrows.

Next take red and put it from the eyebrows to about the bottom of the nose. The red I started off with in the screenshot below is too dark so I actually lighten it up later.

Put a stripe of purple between the bottom of the nose and the mouth.

Now fill from the mouth to the chin with a blue color.

Add green to the corners of the mouth and outsides of the forehead, yellow to the chin, and blue to the inside corners of the eyes.

Finally, put a darker red on the cheekbones. Also you will probably want to erase these colors from the eyes and eyebrows, I forgot to do that in this first example.

Now we need to blend these colors a bit! Go to Filter - Blur - Gaussian Blur.

Increase the Strength of the Gaussian blur until the colors are fuzzy at the edges.

Change the layer opacity to around 30%. At this point you can also use the Blend tool to blend any areas that still have a harsh transition.

Next create another new layer and add dark red to the cheekbones, ears (if visible), and lips. Blur this layer as well, then set it to either multiply or overlay, depending on your preference.

Below is a comparison with the original drawing on the left and the new “rainbow method” one on the right.

I wasn’t sure how I liked this method on the image above so I decided to try it a few more times. Here it is below on another recent drawing of mine. You can see how I did the same layout of colors and how they add color variation to the skin tones on the right.

I also decided to do the image below as well so I could see how this looked on a more “pink” skin tone and a darker skin tone as well. In this image I made sure to put some red on the elbows and fingers of the characters as well to add to the color variation.

Conclusion
I actually quite like this method for adding some more realistic color variation to skin tones and will probably be adding it to my regular coloring workflow when I want to add a bit of “pop” to my character’s faces.
For more information on CLIP Studio Paint, please visit https://www.clipstudio.net/en or https://graphixly.com