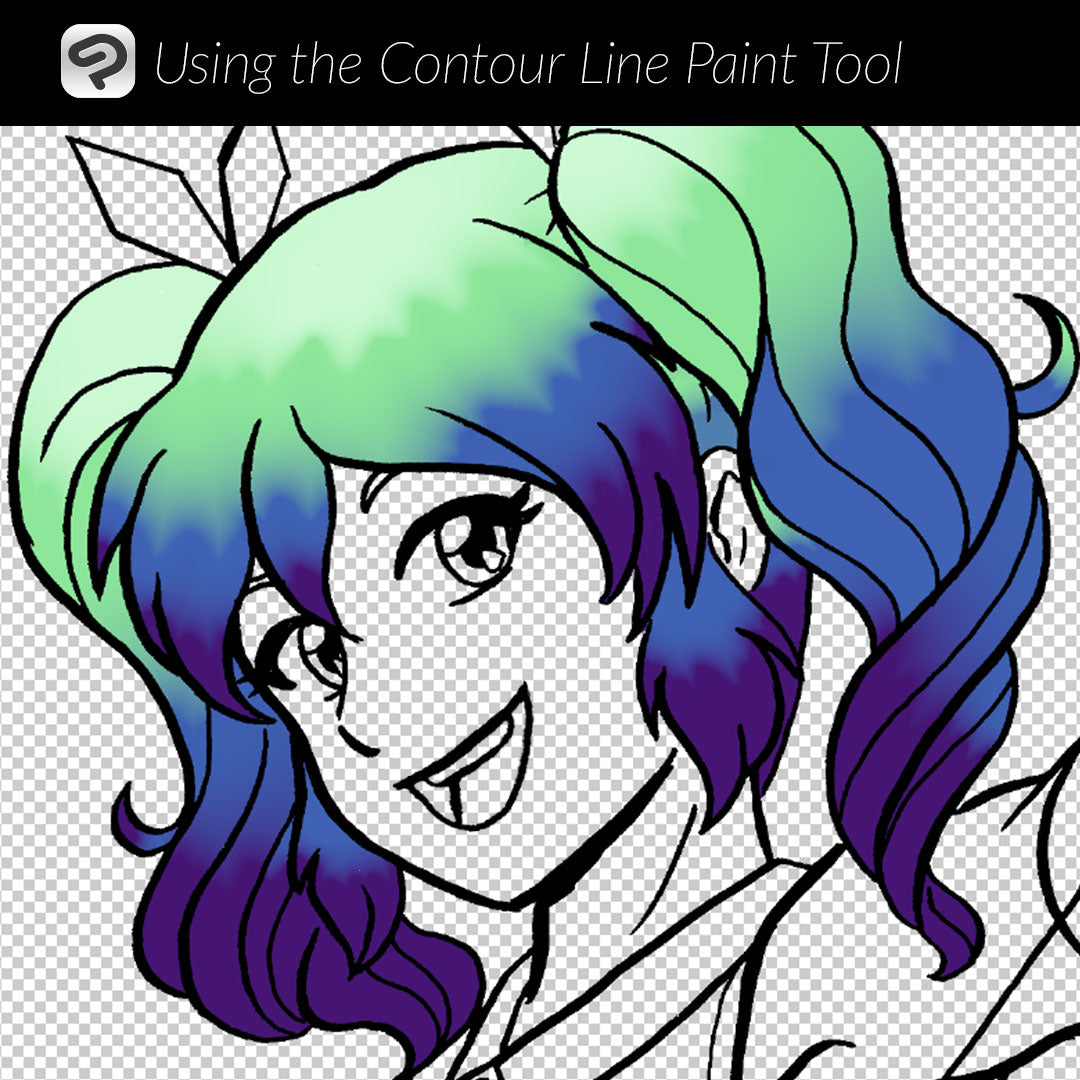
Using the Contour Line Paint Tool
Contact Graphixly @
Hello! My name is Liz Staley and I’m a long-time user of Clip Studio Paint (I started using the program back when it was known as Manga Studio 4!). I was a beta-tester on the Manga Studio 5 program and for Clip Studio Paint, and I have written three books and several video courses about the program. Many of you probably know my name from those books, in fact. I write weekly posts on Graphixly.com and on CSP Tips, so be sure to come back every week to learn more Clip Studio Tips and Tricks from me!
Have you ever been clicking around in the CSP tools and stumbled across the “Contour Line Paint” subtool in the gradient section? It’s not very apparent what this tool does and the applications of it at first glance. Which is what we will cover in this week’s article!
In this article we will cover the following topics:
What is the Contour Line Paint Tool?
Practical application of the Contour Line Paint Tool
Let’s get drawing!
What is the Contour Line Paint Tool?
Let’s say we have a circle that we want to fill with a gradient to make it look like a sphere. Using a linear gradient doesn’t really create the 3D effect that we want to achieve.

And even using the circle gradient doesn’t quite do the job, though it’s a little better!

This is a job that we can use the Contour Line Paint tool for, but first we need to do a little set-up! Let’s take the G-pen tool and then, in the Tool Property, set the Anti-aliasing to the icon all the way to the left (None). This turns the anti-aliasing completely off and will give us a hard, pixelated edge to our lines.

Now, on a layer separate from our lines, let’s draw out the lines of shading that we want to create, while using the colors we want each area to be. I have chosen a bright blue highlight, a royal blue midtone, then a dark blue shadow and an almost-black color for the deepest shadow.

Before continuing, make sure that your Lineart layer is set to be the Reference layer by selecting it and then clicking the “Lighthouse” icon underneath the Blending Mode dropdown. Then go back to the layer you want to create your shading on.

Select the Gradient tool option from the toolbox. Then in the Sub Tool palette, click on the “Contour Line Paint” category. Make sure the “Normal paint” tool is selected.
Next, click in an area of your object and then drag across your colored lines you drew with the G-pen tool.

Wow! A gradient between our selected colors, and following the lines that we drew, is created!

Now let’s look at an application of this tool in a drawing.
Practical Application of the Contour Line Paint Tool
Now that we know what the Contour Line Paint Tool does, here’s one way we could use it in a drawing. Let’s say that I want to make the character below’s hair go from light green, to blue, to purple.

I could do this with the linear gradient tool and it looks fine. But it looks like someone just put a computer gradient on the hair - because that’s exactly what we did! But what if I wanted to make the hair gradient look more organic and follow the hair contours more?

As we did in the previous section, let’s take the G-pen with the Anti-aliasing set to None and then create the divisions of our colors with it. I’m going from a very light green to a slightly darker green, then to a medium blue, and then to purple.

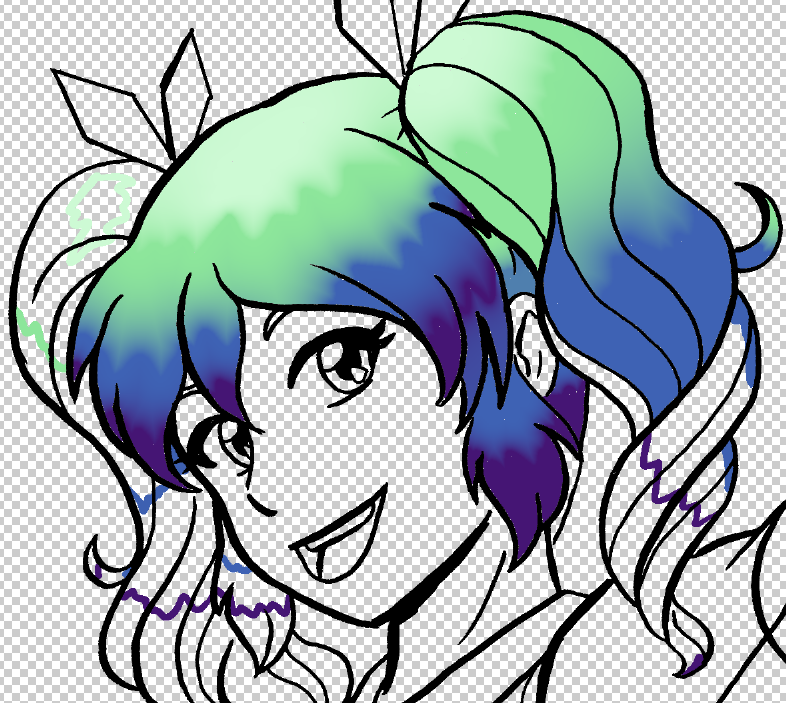
Using the Contour Line Paint tool, I clicked and dragged across the areas of the character’s hair to start creating gradients. There’s some pixels that aren’t being filled in but that’s alright, we’ll fix it later!

One thing that I ran into when creating my gradients was that I forgot to put color at the ends of some sections, such as the bottom of the ponytails, so the Contour Line Paint tool didn’t know what to do there. To fix this I simply selected the color that I wanted and then switched back to the G-pen tool and added color.

For instance, you can see that on the bottom of the ponytail in the image below I had to add a big purple blob, because I forgot to put any color there. The Contour Line Paint tool needs to know what to do, so be sure that you’ve got some color in all the areas that you are going to fill!

After filling all your areas with the contour line paint tool you might find that you need to do some clean up. There are a bunch of unfilled pixels in my example and one part of the bangs didn’t color in purple like it was supposed to and I’m not sure why. That’s okay though because it can be fixed easily!

First let’s fix the area of the bangs that didn’t fill the correct color for whatever reason. You can see that the very right bit of the bangs are blue - purple - blue instead of going from blue into purple.

To fix this I simply took my purple color and an India Ink brush to fill the part in that should be purple.

The easiest way to take care of the unfilled pixels is with the “Paint unfilled areas” tool under the Fill tools. Select this tool and then make sure that “Reference layer” or “Refer all” is selected under the Refer Multiple option. You may need to play with the tolerance and area scaling as well in some cases.

Next I’m going to select the color closest to the pixels I want to fill. Then click and drag with the Paint Unfilled Areas tool. A green line will show to tell you what area will be influenced by the tool. Release to fill the pixels that meet the criteria set in the Tool Property window.

You will need to continue to select colors close to the empty pixels as you work your way around your colored area, otherwise the empty pixels will be filled with the currently selected color.

Now my gradient hair is complete and looking much more “natural” and less like it was just done with a stroke of the gradient tool - but it also didn’t take very long to complete either!
Conclusion
There are tons of applications for this tool and I feel like so many people don’t even know it exists. Honestly I had forgotten about it until about a week before writing this when I realized I had a perfect opportunity to use it! You can use this to create organic looking gradients on just about any illustration, so I hope you give it a try!
For more information on CLIP Studio Paint, please visit https://www.clipstudio.net/en or https://graphixly.com