Using Selection Layers
Contact Graphixly @
Hello! My name is Liz Staley and I’m a long-time user of Clip Studio Paint (I started using the program back when it was known as Manga Studio 4!). I was a beta-tester on the Manga Studio 5 program and for Clip Studio Paint, and I have written three books and several video courses about the program. Many of you probably know my name from those books, in fact. I write weekly posts on Graphixly.com and on CSP Tips, so be sure to come back every week to learn more Clip Studio Tips and Tricks from me!
Selection layers are a neat way to save a selection to continue using later. These save time and effort and are a great tool to have in your workflow, so let’s explore how to use them!
In this article we will cover the following topics:
Using Selection Layers
Let’s get going!
Using Selection Layers
First we’ll need something to make our selections on. I drew a quick sketch and inked it on a separate layer for this example. 
I want to make a selection layer for the character’s hair, skin, and eyes. So let’s start with the hair. To begin, go to Select - Convert to selection layer. 
Despite the way that the option is worded, “convert to selection layer” actually creates a new layer in our Layer palette. By default this will be called “Selection 1” and have a green color at 50% opacity. 
Now we can take any tool we like and start drawing on the selection layer. The area that we fill in here will become the selected area when we use the layer. You can use a brush or pen tool and color in the area by hand, or use a Fill tool to bucket fill the area you want to have selected. Just remember to set the Fill tool to Refer All or Reference Layer so it doesn’t fill the entire selection layer! 
If your area has lots of little points, like this hair does, make sure to zoom in and fill in any stray pixels for a clean selection later. This is especially important if you used the Fill tool on the area, as sometimes it doesn’t get into all the tiny points.
Below is what my selection layer looks like for the hair once I’m finished. 
Now what can we do with this layer? With the selection layer active, right-click on the layer and go to Selection from Layer - Create selection.
CSP will now create a selection around the area designated by the selection layer. We can now go to another layer, such as the “Color” layer in my image, and fill or paint in the area without making any changes to the parts outside the selection. 
You can also click the eye icon in the Layer palette to hide the selection layer from showing, but you can still use it to create selections later with two clicks by using the “create selection” option.
When making more than one selection layer area, I find it helpful to make my areas different colors. To do this you simply click on the Layer Color box in the Layer Property palette while your selection layer is active. You can then choose another color besides the default green option. I chose a pinkish color for my skin selection layer.
I filled in the face, neck, and ear on this new selection layer and you can see it shows in the pink color I chose for this layer.
Selection layers have some benefits to them that creating selections with the Wand or Lasso tools just don’t have. For instance, on my skin selection layer you can see that the whites of my character’s eyes are being included in the skin because I used the Fill tool. However, we can take the Hard eraser tool and simply erase the areas of the eyes that we don’t want included in this selection.
Being able to use your favorite brushes and erasers while planning selections makes everything much more accurate because you can keep adjusting how you see fit.
Below shows my selection layers for the character’s hair (green), skin (pink) and eyes (blue).
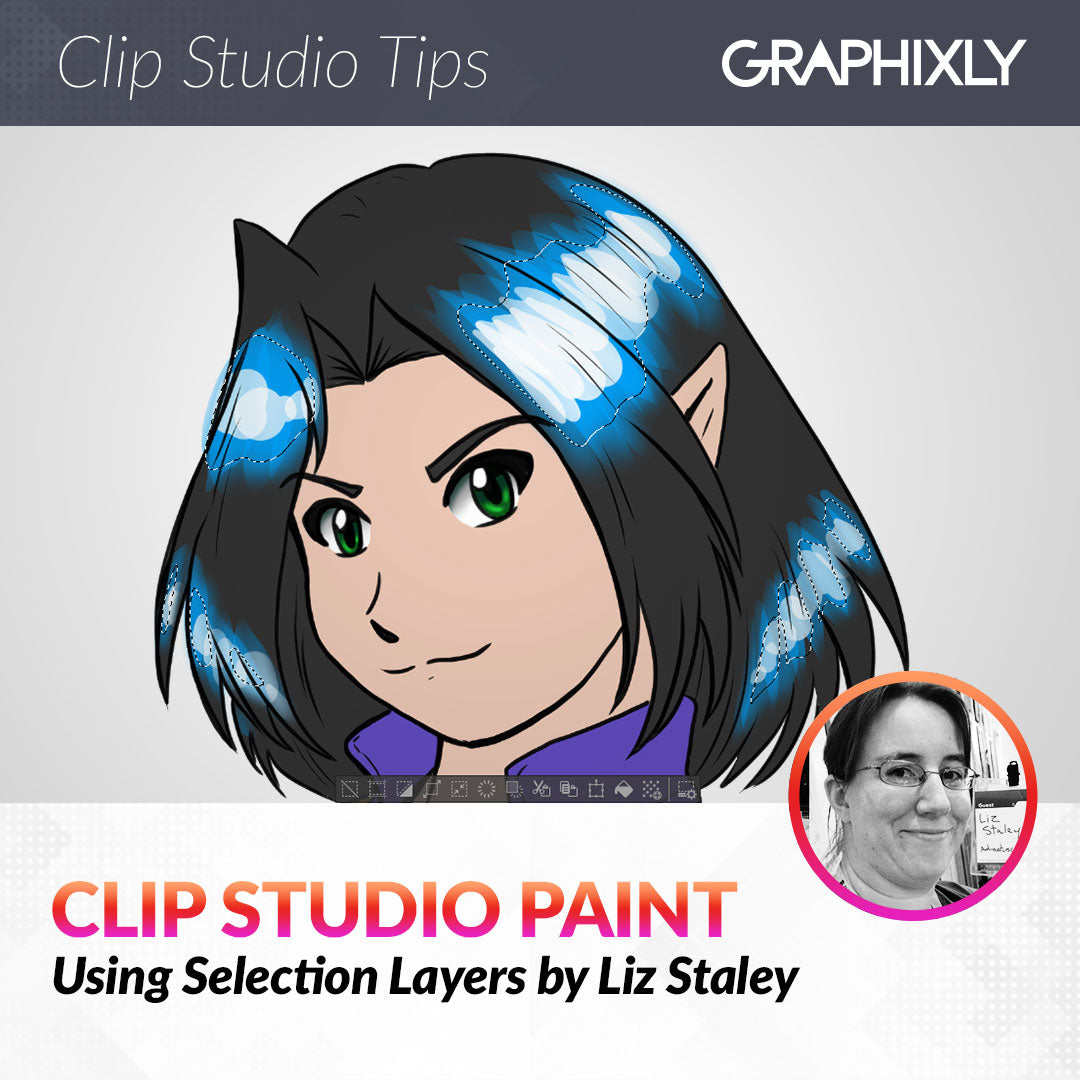
Another way that selection layers are different from just using the lasso tool is that a selection layer will save the density, opacity, or texture of the tool used to create the selection. For instance, let’s create a new selection layer and use the Soft airbrush tool to create some hair highlights.
Now right-click on the selection layer and go to “create selection from layer”. As you can see in the screenshot below, the selection looks a little strange, almost like it isn’t working right because it isn’t going around the entire area we airbrushed!
On a new layer with the selection still active, I used my favorite inking pen to go over the selected area. Despite the inking pen tool being solid and with a hard edge, the selection ‘remembers’ the soft edges and the density of the soft airbrush tool that was used on the selection layer.
Using the same inking tool and with a lighter color, this same selection can be used to layer brighter highlights in the hair.

Conclusion
Selection layers are a great way to save time with making selections, especially if you do a lot of rendering on one layer or if you combine layers during your workflow. Even if you combine down your line art, coloring, and shading to one layer, so long as your selection layers are still present in your file you can quickly select part of your image with just a few clicks!
For more information on CLIP Studio Paint, please visit https://www.clipstudio.net/en or https://graphixly.com