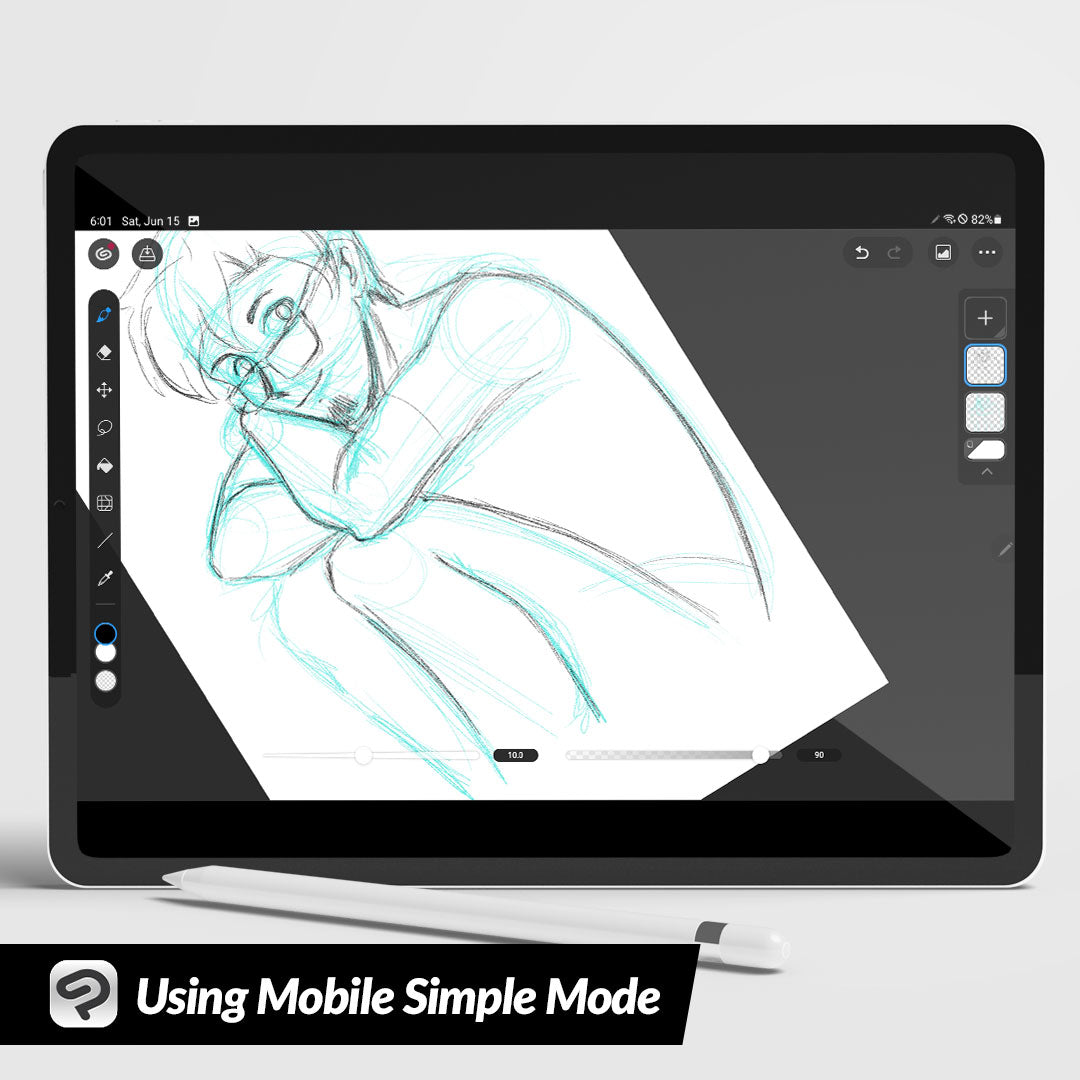
Using Mobile Simple Mode
Contact Graphixly @
Hello! My name is Liz Staley and I’m a long-time user of Clip Studio Paint (I started using the program back when it was known as Manga Studio 4!). I was a beta-tester on the Manga Studio 5 program and for Clip Studio Paint, and I have written three books and several video courses about the program. Many of you probably know my name from those books, in fact. I write weekly posts on Graphixly.com and on CSP Tips, so be sure to come back every week to learn more Clip Studio Tips and Tricks from me!
Recently I finally got a tablet that is new enough to run Clip Studio Paint’s mobile app so I’ve been wanting to try out the mobile app some more now that I have a screen larger than a phone to do it on. This week, I decided to check out Simple Mode on the Clip Studio Paint App on my Samsung Galaxy S7 Tablet and write about its features!
In this article we will cover the following topics:
Starting Up and Switching to Simple Mode
Basic Functions in Simple Mode
Saving and Exporting your Image
Let’s explore some mobile drawing!
Starting up and Switching to Simple Mode
The mobile version of CSP offers one hour free per day, or you can purchase a license as well. For more information about mobile license and how to activate it, check out this previous article from me: https://tips.clip-studio.com/en-us/articles/6903
I started up the Clip Studio Paint app on my tablet and made a new canvas. The options for new canvas sizes right from the start are very good.

I decided to go with my Screen Size, and a resolution of 300dpi as well.

For a small screen like a tablet, sometimes the full CSP interface is just a bit too much. If we want to draw without so much other stuff on the screen, we can switch to Simple Mode, which cleans up the interface and makes it much easier to just draw. Some features and layer types do not work in Simple Mode, so if you are going to be doing a lot of special layers you may want to work in the regular mode.
To change to Simple Mode, tap on the Clip Studio icon in the top left of the screen and then tap on “Switch to Simple Mode”.

In Simple Mode, the user interface is cleaned up to just the features most artists need the most - tools, brush size and opacity, and layers. In the next section we’ll go over how to use these basic features to create a drawing.

Basic Functions in Simple Mode
You’ll find most of the typical drawing tools nestled under the brush tool on the left side of the screen in Simple Mode. Tap the Brush icon, then select a sub-group like Pencil, Pen, Blend, Decoration, etc. Then you can select the specific subtool that you want to use, like the Mechanical Pencil in the Pencil category.

Tap on one of the circles at the bottom of the left side of the screen to set a foreground or background color.You can choose from color sets or from color sliders if you prefer!

If you are drawing and want to move or resize part of your drawing, it’s just as easy to do this in Simple Mode as it is in regular CSP. Tap the Lasso Tool and select around what you want to adjust. To move the selected pixels, tap the arrows in the bottom bar (marked in yellow in the screenshot below).

From this menu you can flip, rotate, free transform, or even mesh transform the selection. Click the blue OK button at the top right when you’re finished with your transformation to complete it.

To zoom in and out or to rotate your canvas, put two fingers on the screen and use a pinching motion for zooming, or rotate your two fingers to rotate the canvas.

To add a new layer, tap on the + button on the right side of the screen. You can change the settings of a layer by tapping on the layer and then tapping again to bring up the options menu. In this menu you can change the layer’s opacity, blending mode, visibility, and more.

The Materials Library can be found by tapping the icon to the left of the three dots icon on the top right of the screen. From here you can search through all materials, ones you’ve marked as favorites, or see a history of previous materials you’ve used recently.

Saving and Exporting your Image
Once you’re finished with your drawing, you can save and export it to share it on social media or post to your website. To save your image manually, tap on the icon with the downward arrow to the right of the Clip Studio Icon in the top left of the screen.
To export the image, tap on the three dots on the right of the screen and then tap on Export Image.

Tap on Share or Save to Device. I chose Share to save in a web friendly format. Please not that if you are on an Apple device your options may be different!

Choose your format from the dropdown menu in the Export Image screen, then tap Share.

Conclusion
For my first attempt with Simple Mode on a tablet, I was really quite impressed with how much you can do! I wasn’t expecting to have access to so many functions I would use normally when using a simplified version of the interface, so this was a great first experience with this mode!
For more information on CLIP Studio Paint, please visit https://www.clipstudio.net/en or https://graphixly.com