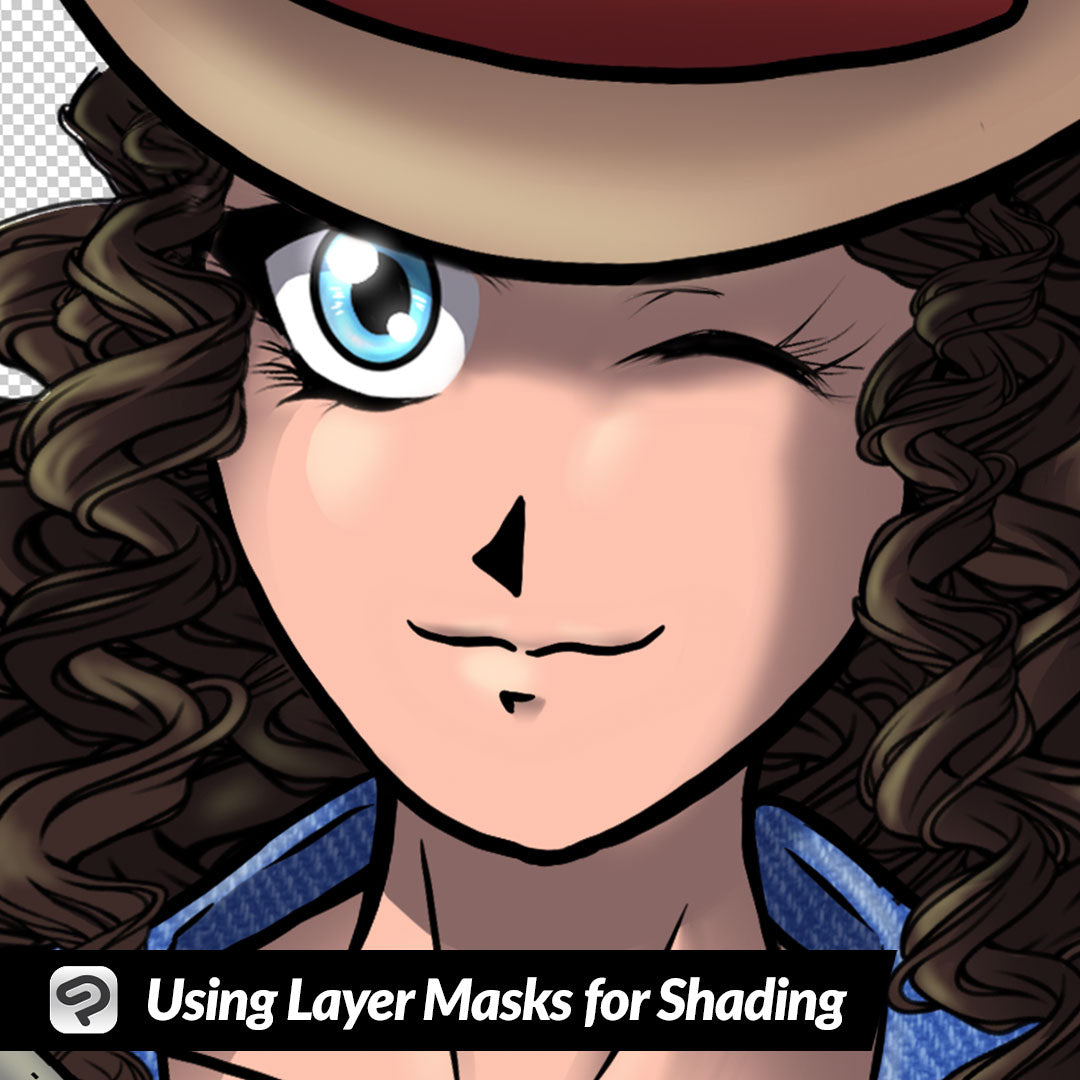
Using Layer Masks for Shading
Contact Graphixly @
Hello! My name is Liz Staley and I’m a long-time user of Clip Studio Paint (I started using the program back when it was known as Manga Studio 4!). I was a beta-tester on the Manga Studio 5 program and for Clip Studio Paint, and I have written three books and several video courses about the program. Many of you probably know my name from those books, in fact. I write weekly posts on Graphixly.com and on CSP Tips, so be sure to come back every week to learn more Clip Studio Tips and Tricks from me!
Last week we looked at some basics for making and using Layer Masks. This week let’s look into one of my favorite uses for layer masks - making shading a much faster process! I’ll take you through the entire process. If you don’t know what layer masks are, be sure to check out my previous post to learn the basics before coming back here!
In this article we will cover the following topics:
Preparing a Shadow Layer
Creating Shading with Layer Mask
Turning a Mask into a Selection
Let’s get shading!
Preparing a Shadow Layer
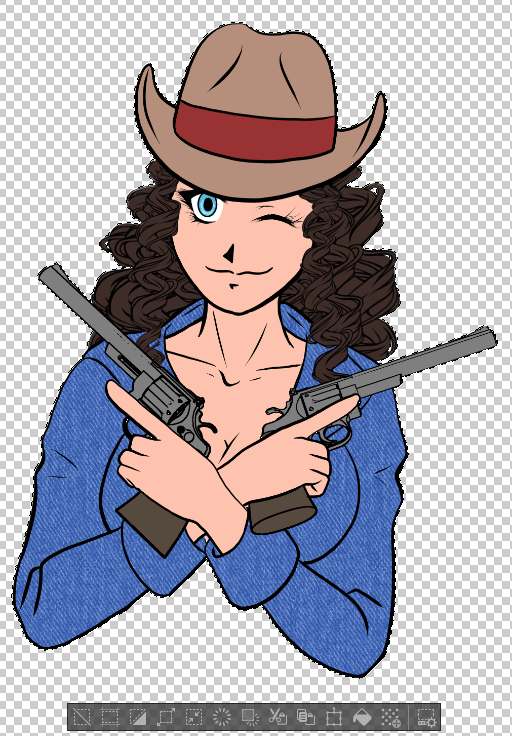
The first thing I usually do to make a shadow layer quickly is to use the wand selection tool to select outside of the lineart.

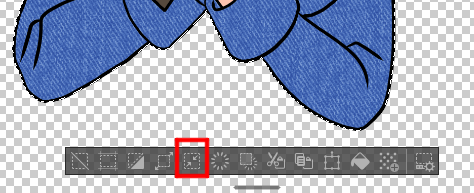
In the selection bar, click on the “Invert” icon to change the selection to contain the area inside the line art. We want the edge of the shadow layer to not be visible outside of the line art, so to accomplish this we need to shrink the selection just a little bit. Click on the Shrink selection icon, shown below.

Choose an amount to shrink the selection by. I just went with a very small number so that I could be sure none of the selection would get all the way on the inside of my lines. Click OK.

Now, on a new layer specifically for your shadows, fill the area with your shadow color.

Set the shadow layer to the Multiply blending mode, then lower the opacity. Mine is at about 50%.

Now, add a layer mask to the shadow layer. By just filling in the area we’re going to shade, we can be “messy” with our layer mask without having to do a bunch of cleanup!

Now, while on the layer mask, hit Ctrl+A to select your entire canvas, then either hit Delete on your keyboard or the “Clear” icon in the bar under the selection. Since we are on the layer mask, this will temporarily hide the shadow color, and we will start bringing it back in the next section!

Creating Shading with Layer Mask
Now that we have our layer and layer mask set up, it’s time to start creating our shading. When I use this technique I like to mainly use the lasso selection tool and the “Foreground to transparent” gradient tool. To start, let’s pick an area where we want to shade! I chose the shadow under the hat, then drew the shape with the lasso tool.

Now let’s get the Foreground to Transparent gradient tool and select black as your foreground color.

Now, drag from the area of darkest shadow toward the area of light. In this case I dragged straight down from under the brim, since that’s where this shadow would be the darkest, to make it lighter near the eyes.

Continue making selections with the Lasso tool in the shape of your shadows, then use the gradient tool to reveal the shadow color through the layer mask.

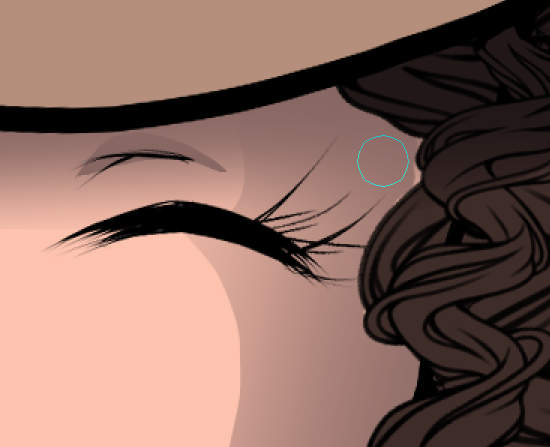
If you have areas that aren’t accurate, you can always take the Liquify tool, set it to Push, and “push” the layer mask around to fix the small errors.

For some areas, you may have harsh lines where two shadow shapes intersect. I had one between the eye and the hat brim that was pretty obvious! To fix this, I used the Blend tool to soften the line. I also used a soft eraser tool to bring a little bit of light to the raised area of the eyelid.

I love this method because you can get a mix of hard-edged “cel-style” shadows as well as some soft gradients, and I think it looks nice with my style!

However, if you like a more painterly approach, you can take a painting brush such as the transparent watercolor brush, set the color to black, and “paint in” the shadows on the layer mask. I used this method on the neck area in the image below. When doing this with a layer mask, you only need to switch between black and transparent to add more shading in or to make areas lighter, so it really makes it fast and efficient!

You can use this same layer masking technique to also create highlight layers. I simply repeated the process but changed the color to a pale yellow, then set the blending mode to Screen, and added some areas in a new layer mask to create lighter areas.

Conclusion
This can be quite a quick way to add shadows and highlights to your work, thanks to blending modes and layer masks!
For more information on CLIP Studio Paint, please visit https://www.clipstudio.net/en or https://graphixly.com