Using Clone Stamp for Image Editing
Contact Graphixly @
Hello! My name is Liz Staley and I’m a long-time user of Clip Studio Paint (I started using the program back when it was known as Manga Studio 4!). I was a beta-tester on the Manga Studio 5 program and for Clip Studio Paint, and I have written three books and several video courses about the program. Many of you probably know my name from those books, in fact!
Last week, I covered how to do basic color correction and image preparation for print in Clip Studio Paint. This week, we will continue doing some basic image editing by learning how to repair dust, scratches, and other damage using the Clone Stamp tool! The Clone Stamp is a relatively new addition to CSP, and is a total game-changer to have in this amazing software!
In this article we will cover the following topics:
Using the Clone Stamp tool to repair damage on a photograph
Let’s get started!
Using the Clone Stamp Tool to Repair Damaged Photograph
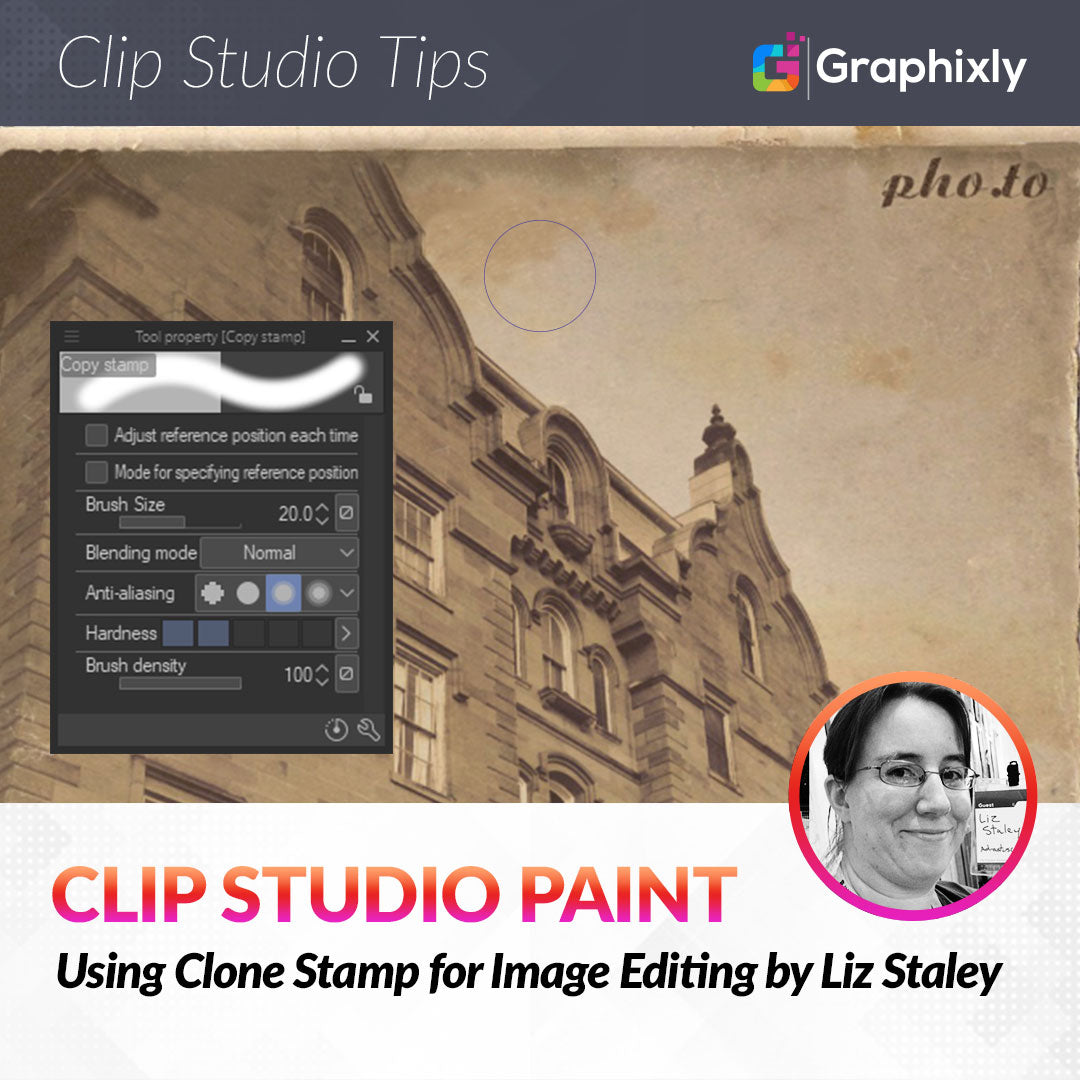
For this tutorial, I’ll be using the photograph shown in the screenshot below.

This isn’t a “real” vintage photograph - it’s actually a photo I took on a trip to the Trans-Alleghany Lunatic Asylum several years ago and then ran through a vintage photo filter for the purpose of this tutorial! But this does show several types of damage that truly old images can get, like scratches, creases, discoloration, and uneven edges. Thankfully they can be easy enough to fix with a little bit of know-how and the Copy Stamp tool!
The copy stamp is what we’ll primarily be using for this repair. Copy Stamp can be found as a Subtool in the Blend (keyboard shortcut: J) category, and is shown in the following image.

Now that we know the tool we need to use, let’s take a look at the Tool Property window and a few options that we’ll be using during our photo restoration.

The first checkbox labeled “Adjust reference position each time” should be OFF. Because we will be using the copy stamp to continually clone small areas of texture from the image, we don’t want CSP to update the reference position each time we make a stroke. To better explain this, take a look at the next image. The left part of the image was made with “Adjust reference position each time” on, and the right was made with this option off.

Having this option turned on means that no matter where we move, the reference position moves with our cursor, so we will always make an exact copy of whatever the image is at the reference point. With the option off, we can clone patterns and colors in the reference position area and extend them out by using small brush strokes.
The other settings that may be useful are the “Hardness” and “Brush Density” settings. If you find that your Clone stamp edges are too apparent, try turning the hardness down to soften the edges. You can also do basic blending by turning the Brush Density down so that the copied area becomes a bit “transparent” and blends the colors together.
To use the Clone Stamp tool, you first need to set a reference point. With the tool active, hold down the ALT key on your keyboard and click on the part of the canvas that you want to use as the reference point. Now your tool will copy from that point to wherever you move your cursor, no matter where on the canvas you are. In the image below, my reference point is the crosshairs on the right side of the image, but I am cloning that area to the section on the left, where the cursor is!

For photo editing using the clone stamp, you will be mainly using the Clone Stamp in short strokes and updating your reference point often. If you are new to restoring images, you should make a copy of your original image, either by saving a copy and working on the copy or by duplicating the image layer in your file and working on the copy layer, so that you can go back to the original if you make a mistake. (I didn’t bother with this because I’m not working on a precious family photo, just a simulated image, and I can just filter my original again if I mess up!)
To start on this image, I began using the Clone Stamp at a relatively small brush size. I began in the upper left corner where some color was missing and continually used small brush strokes to fill in the missing color from an undamaged area. Use Alt+click to set a new reference point as needed. This takes patience and a keen eye to match the colors, so you may need to use the Undo button from time to time if you make a mistake!
In the following screenshot, I’ve repaired some missing areas and big scratches in the upper left corner of the building and in the sky near the top window of the building toward the center of the picture.

In the close-up below, note that the lines of the building have faded near the edge of the image and need to be extended upward. This is something we can do easily with the Clone Stamp!

By setting the brush size of the Clone Stamp to just barely wider than the lines of the roof and then setting the reference point on the existing lines. Use small strokes again to copy the existing lines and continue the pixels up a little more. It looks a little choppy when zoomed in, but zoomed out it smooths a bit and looks good enough!
Now I want to extend the corners of the photo out and repair the border of the photo as well. Because the border area to the corner is a pretty large stretch, instead of using the Clone Stamp to make the repair I’m going to use the Lasso marquee tool to select a large intact area, as seen in the image below.

Once the selection is made, click the “Copy and paste” icon in the selection toolbar. This automatically copies the selected area and pastes it to a new layer. Now I use the Scale/Rotate function to move the copied area over to the corner to replace the missing part of the photo. Click on OK when the copied portion is in place.

To blend the edge of this copied area, select the Soft eraser tool and lightly go over the edge to soften it and blend the copy into the original area, as shown in the screenshot below.

Now that the border is restored, use the Clone Stamp to fill in the missing color in the corner between the ripped corner and the repaired border.
I repeated all these processes to cover all the remaining bad scratches, creases, and missing areas of the photo. Be patient and remember to work in small sections with small brush strokes, especially if there’s lots of detail in your image.
Below is my restored image. As you can see, it’s not perfect! Almost no photo restoration is going to be completely perfect, but it does look a lot better than it did.

Conclusion
Though CSP isn’t built for photo editing, it is possible to do photo editing with it! The Clone Stamp especially makes this much easier because of the ability to clone the texture of the vintage photograph and clone areas of the image too. Remember that the more heavily damaged the photo is, the more difficult the repair may be. Also, things like damage across a person’s face is difficult to repair without some patience. Make copies of your image if you’re worried about making a mistake, that way you can go back to the original if something doesn’t look right with the repair!
For more information on CLIP Studio Paint, please visit https://www.clipstudio.net/en or https://graphixly.com