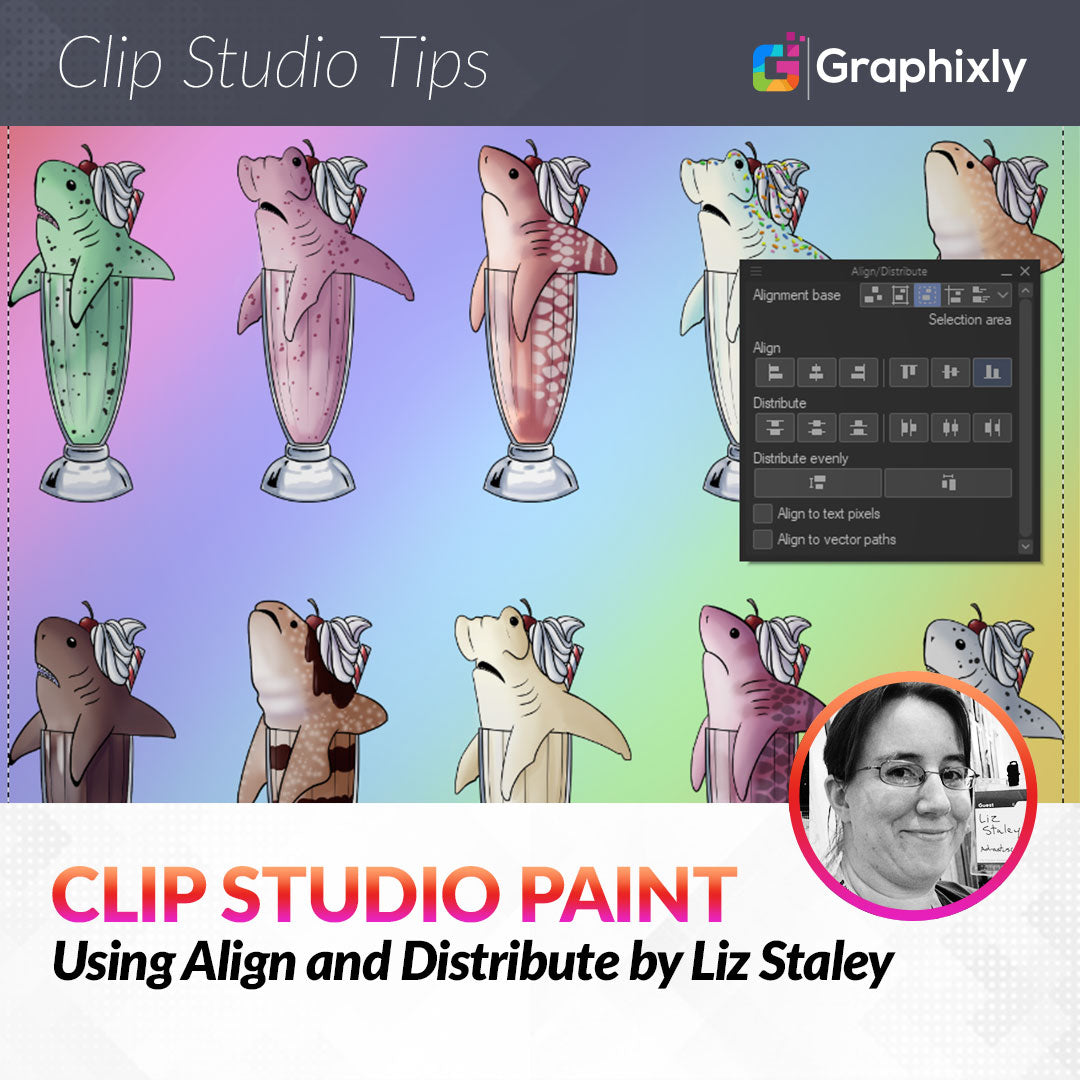
Using Align and Distribute
Contact Graphixly @
Hello! My name is Liz Staley and I’m a long-time user of Clip Studio Paint (I started using the program back when it was known as Manga Studio 4!). I was a beta-tester on the Manga Studio 5 program and for Clip Studio Paint, and I have written three books and several video courses about the program. Many of you probably know my name from those books, in fact. I write weekly posts on Graphixly.com and on CSP Tips, so be sure to come back every week to learn more Clip Studio Tips and Tricks from me!
I know that so many Clip Studio users have been asking for this feature for years, so seeing it in version 2.0 is definitely exciting. This is going to save so much time and make things easier during lots of tasks! So let’s explore this new feature.
In this article we will cover the following topics:
Using Align/Distribute
Let’s get right in to it!
Using Align/Distribute
To use this feature you will need several things that you want to line up. These objects should be on separate layers from each other. I decided to make a pattern out of a series of drawings I did for shirt designs years ago. Each design is on its own layer, with a layer for the gradient background.

Next let’s open the Align/Distribute window. If you can’t find it, click on Window - Align/Distribute to open it.

For these examples I will be concentrating on the top row of designs. To select these designs I clicked on each one in the Layer window while holding down the SHIFT key on my keyboard to select multiple layers.
At the top of the Align/Distribute window is a category called Alignment Base. This changes what CSP uses to base the alignment on. Let’s click on the second icon from the left, which changes the alignment base to “Canvas”. Then click on Align Horizontal Centers and Distribute Horizontal Centers.

Now the designs are centered horizontally in the center of the canvas as well as distributed evenly across the canvas.
Now let’s change the Alignment base to “Selection area” and use the rectangle marquee tool to create a selection somewhere on the canvas. Click on Align Horizontal Centers and Distribute Horizontal Centers and the objects will be moved to the selection area and aligned and distributed accordingly.

We can also align or distribute to a Guide ruler. To do this, first you need to create a Guide using the Ruler tools (For information about how to create guides, you can check out my article here: https://tips.clip-studio.com/en-us/articles/5455#929a28d2 ), then click on the “Guide” icon in the Alignment Base category of the Align/Distribute window.
This time I clicked on the “Align bottom edges” option to get all my designs to “sit” on the guide ruler.

Now that we’ve seen some of the ways we can align and distribute our objects, we can better understand what we need to do to create the look we want. For instance, for this example, I want to have two rows of five designs going most of the way across the canvas but not all the way across. When using “canvas” as the alignment base, the sides of the left and rightmost designs will be touching the edge of the canvas, so I need to make sure there’s a bit of space around the outside.
To do this I decided to make a selection using the rectangle marquee tool that covers most of my canvas but leaves a little border around the edges. Then I set the alignment base to Selection before proceeding.
I want all the designs to look like they’re sitting on a common plane, like they’re on a table or something like that. So, with the layers for the five designs in the top row still all selected, I clicked on Align bottom edges, and then clicked on the “Horizontal” icon under the “Distribute evenly” heading. This spaces the designs evenly across the selection area.
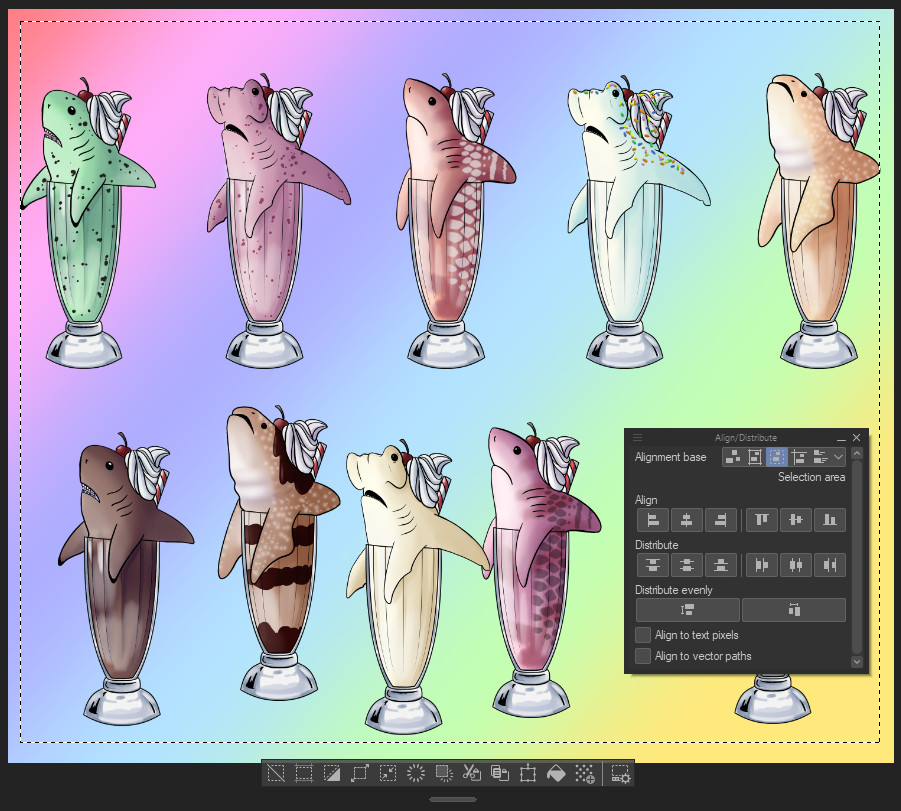
I then deselected the top row of design layers and selected the bottom row’s five designs, then repeated the above align and distribute process with those layers.

Now our designs are lined up and looking great!

Conclusion
I’m so excited to finally have this functionality in Clip Studio Paint. This will make creating fabric patterns easier, as well as so many other design processes!
For more information on CLIP Studio Paint, please visit https://www.clipstudio.net/en or https://graphixly.com