Three Timesaving Tools in Clip Studio Paint
Contact Graphixly @
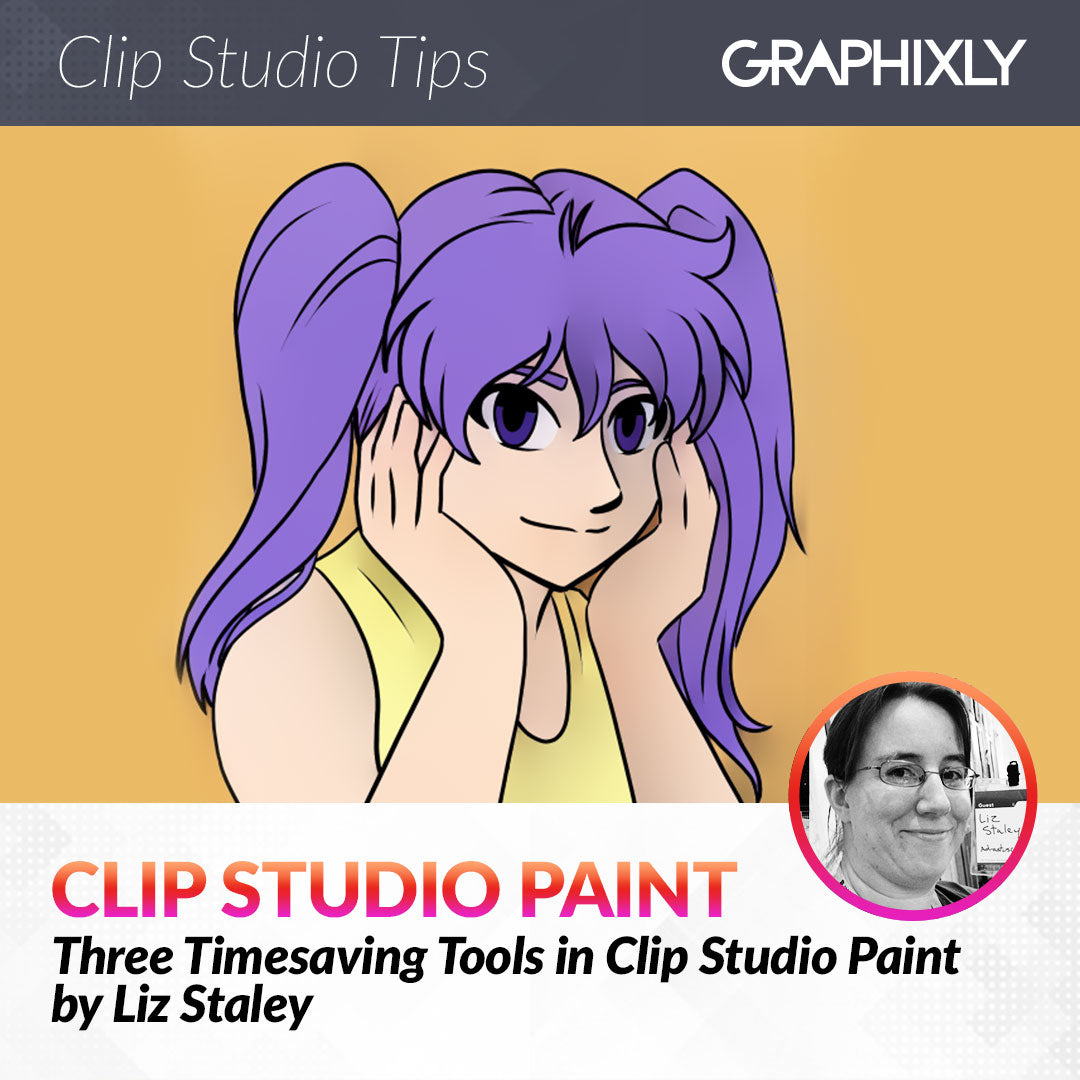
Hello! My name is Liz Staley and I’m a long-time user of Clip Studio Paint (I started using the program back when it was known as Manga Studio 4!). I was a beta-tester on the Manga Studio 5 program and for Clip Studio Paint, and I have written three books and several video courses about the program. Many of you probably know my name from those books, in fact. I write weekly posts on Graphixly.com and on CSP Tips, so be sure to come back every week to learn more Clip Studio Tips and Tricks from me!
One of the things that I love about Clip Studio Paint is how much time it saves me when I work with it. Back when I was creating a webcomic I switched to CSP just to save time with the perspective ruler, and I was constantly surprised at how many new tools I found to speed up my workflow. Since it’s created specifically for comic artists and illustrators, I feel like CSP has some of the best features for saving time.
In this article we will cover the following topics:
Timelapse Recording Feature
Colorize Technology Preview
Close and Fill Tool
Let’s get drawing!
Timelapse Recording Feature
Timelapse recordings of your process are great content for social media. But I always hated having to start up my screen recording software, make sure it was functioning properly, and then having to do the processing and exporting once I was finished with my artwork. So that’s why I consider the Timelapse recording feature in CSP to be a time saving feature, because it saves me from having to do any of that!
To start the recording for your currently open canvas, click on File - Timelapse - Record timelapse.

If you have never used this feature before, you will see the following message about the increased file size of the file when recording timelapse. If you do not wish to see this message again, click the “Do not show again” checkbox and click on OK. (Or if you do not wish to turn on recording, click Cancel)

Now you can work on your image as normal. In the background, Clip Studio Paint will automatically record your actions. If you need to take a break then Clip Studio will stop recording so that there isn’t a large amount of time where nothing is happening.
When you’re finished with your work, click on File - Timelapse - Export Timelapse.

In the next screen you can preview your timelapse and adjust the export settings. You can change the length, change the aspect ratio, and the size, and turn the CSP logo watermark on or off.
Click OK to export your timelapse.

You can view the timelapse that I made for this article here: https://youtu.be/HT8GW3u9cRE
Colorize Technology Preview
Another way you can save some time is to use the Colorize Technology Preview feature. Now I will admit that this feature isn’t perfect, and you will probably have to do some tweaking to the results. However it can cut a bit of time off your process if the results fit your style.
To use this feature, select your line art layer and then click the lighthouse icon in the Layer palette to set the layer as a Reference Layer.
This next step is optional, but it’s good if you have a certain color palette that you want to use. On a new Raster layer you can use a brush tool to make color suggestions for the feature. I scribble in the base colors for this character and a background color to make the suggestions to CSP of what to use in each area. If you don’t do this step then the program will just make “best guesses” on the color palette.

Click on Edit - Colorize (Technology Preview) - Use hint image and colorize (ONLY if you’ve made a layer with color suggestions. Otherwise you can click on ‘Colorize all’)

When using the hint image, Clip Studio Paint will use your suggested colors in the areas and make some nice soft gradients. As stated earlier, this isn’t a flawless process, but that’s okay because we can use this in conjunction with the tool in the next section.

Close and Fill Tool
Even though the soft gradients of the Colorize technology aren’t exactly what I want, I do like them! So I’ll use our next time-saving tool to modify the image quickly to something a little more my style.
This tool is called the “Close and Fill” and can be found nested with the Fill tool. Before using the tool, check the Tool Property palette and make sure that the “Refer Multiple” option is checked and that the lighthouse icon is selected (since we already set the lineart layer to be the reference earlier!) Then I created a new layer below the color suggestion layer. Select your flat color for an area and then use the Close and Fill tool to draw a selection around the area. You can see in the screenshot below that you don’t need to be precise!

CSP will automatically close any gaps in the area, refer to the lineart layer, and fill the area with the selected color.

Adding in flat colors underneath the colorize gradients gives a subtle change in color through the illustration. To finish this up you could add just a few shadows in the deepest areas and a couple highlights on the hair!

Conclusion
These are just three of the many timesaving features in Clip Studio Paint that I have to share with you, so please come back next week to read the second part of this article!
For more information on CLIP Studio Paint, please visit https://www.clipstudio.net/en or https://graphixly.com