Saving Time Using File Objects
Contact Graphixly @
Hello! My name is Liz Staley and I’m a long-time user of Clip Studio Paint (I started using the program back when it was known as Manga Studio 4!). I was a beta-tester on the Manga Studio 5 program and for Clip Studio Paint, and I have written three books and several video courses about the program. Many of you probably know my name from those books, in fact. I write weekly posts on Graphixly.com and on CSP Tips, so be sure to come back every week to learn more Clip Studio Tips and Tricks from me!
One of the best things about writing these articles is that I get to learn all sorts of new things about my favorite software. The feature we’ll be exploring this week is something I didn’t even know existed until just recently and I can’t believe I haven’t been using it before now!
In this article we will cover the following topics:
What is a File Object?
How to Create a File Object
Using File Objects
Let’s dive right in!
What is a File Object?
Before we go into talking about how to use file objects, we should figure out what a file object is! File Objects are special files that Clip Studio Paint uses to create a “link” to another file. Think of it like picture-in-picture TV (is that still a thing? Or am I showing my age?) - you have one file open but there’s another file being displayed in it. You can use the file object pretty much like a Material image, with a big exception. If you go back to the original file used to make the File Object and make a change, then save the file, that link is automatically updated to the newest version!
It makes a little more sense when you see it in action, so let’s create a few file objects and then learn how to swap between them and make changes to the source file!
How to Create a File Object
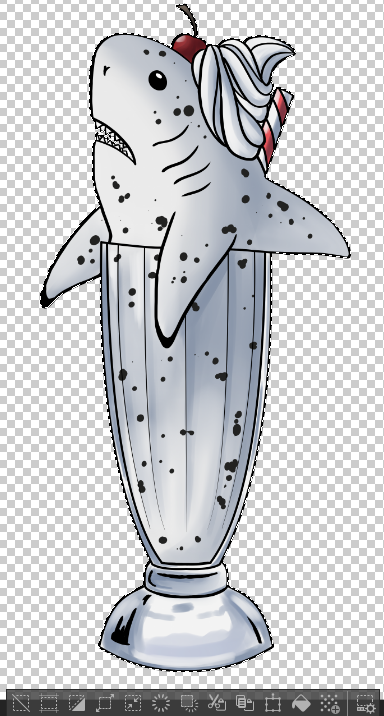
Creating a File Object is very easy. First, we need a file with a drawing in it! I’m going to be using one of my old “Milksharks” designs as the example for this. I plan on using this as a design for a character’s shirt.
Note that I’ve done a “Merge visible to new layer” on my completed design to create a “flat” version of the drawing. This is because we can only convert one layer to a file object, so we need to have all our elements on one layer.

Because I had my lines, flat colors, shading, and the other elements of the drawing all on different layers, I made my Paper layer invisible by clicking the eye icon to the left of the layer. This left me with just my drawing and a transparent area around it. Then I went to Layer - Merge Visible with New Layer. This creates a new layer with a merged copy of all visible layers on it. Now my entire design is on one layer, but I still have my original layers if I need them later.
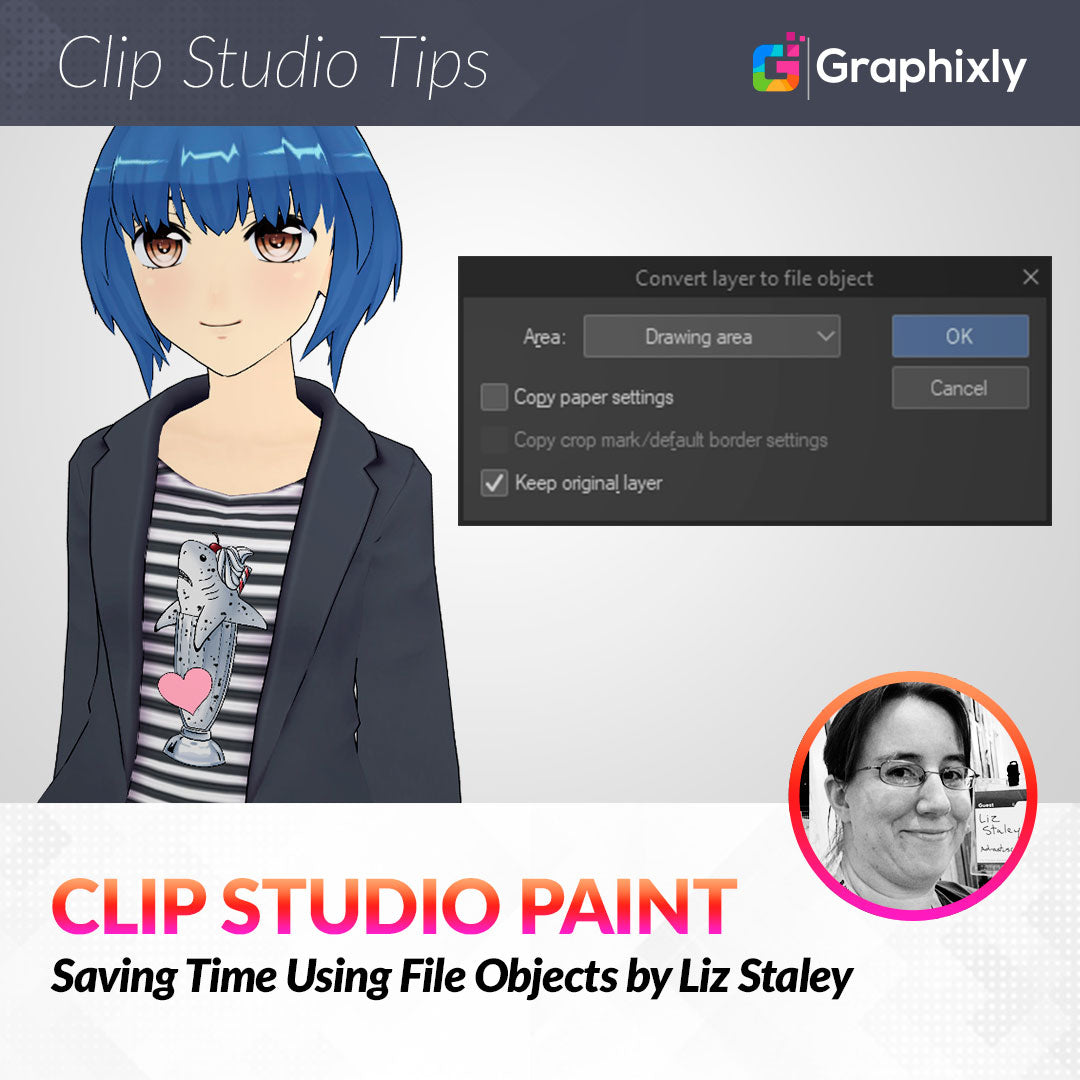
Make sure your current active layer is the one you want to turn into a file object. Then right-click the layer and select File Object - Convert layer to file object, as shown below. (You can also do this in the file menu with Layer - File Object - Convert layer to file object)

This will bring up our Convert layer to file object options, which aren’t many!

The area drop-down menu controls the area that will be used to create the file object. Right now there’s two options - there’s actually a third but we’ll see that one in a little bit - Drawing Area and Canvas Size.
Drawing area only saves the area of the layer that contains filled pixels. Canvas size saves the entire size of the canvas. So if you are using a canvas that has a lot of empty space around your intended file object contents and you don’t want to save all that extra blank space, choose the Drawing Area option! That’s the option I’ll be using. Copy paper settings will change the background of your file object to the settings of the Paper layer in the original file. I want the area around my design to be transparent so I’m leaving this box unchecked.
Keep original layer is an option that will keep the layer in your current file preserved. We’re technically saving a specialized copy of our layer as its own file, so you could get rid of this layer in your original document if you wanted. I’m going to keep my original layer, so I’ll leave this box checked.
Once you’ve chosen your desired settings, click OK. You will then be prompted to choose a location to save your file. You can also rename your file in this step. The file name will default to whatever your layer name is, so I changed my file name to “Milkshark” so I’d know what this file is later on.
You will see the following message once the save is complete. Click OK.

I’m going to make another File Object using the same design, but in a “cookies and cream” color scheme. I used the same file as the Mint Chocolate chip design above, but changed the green layer to a very light gray instead. Then I made another combined layer.
You might notice in the screenshot below that I’ve made a selection using the Shrink Selection tool around the outside of my design.
This is so I can show you that third “hidden” option for the Area dropdown in the Convert Layer to File Object settings that I mentioned just a little while ago! When there’s an active selection we will now have a “Selection Area” option available. This is really handy if you have a bunch of drawings on one layer that you want to save as individual file objects. Simply draw a selection around one design and save it on its own using the Selection area command!

Now I have two File Object files, so it’s time to see how we can use them!
Using File Objects
To show you some ideas of how to use File Objects, I’m going to be using one of the Clip Studio default 3D characters in her “casual” clothing. We’ll add a cute shark design to her striped shirt to personalize her outfit.

By the way, this is not the only application for these files! You can use them for lots of other things. You could make pixel art sprites and create RPG style backgrounds with them, use them for background elements like screens or billboards, create little elements of a comic character’s outfit like a cellphone charm, and so much more.
Okay, let’s see how to actually use a File Object! First we’ll go to File - Import - Create file object…

Select the File Object you wish to import from the location you saved your files. Click on the file you want to import, then click Open.
Your File Object will be imported into the new file. Mine imported really large so the first thing I did was resize it down to the size I wanted for the shirt design. I rotated it slightly to better match the slight angle of the shirt.
Under Edit - Transform you can Scale, Rotate, Free Transform, Distort, Scale, and Perspective transform your file object. The Flip Horizontal and Flip Vertical options are also available as well. I wish we could use Mesh Transformation, but we can’t use it without rasterizing the File Object layer and that defeats the purpose of using this kind of imported file.

Using Distort, Skew, and Perspective, I adjusted the shark design to pretty much look like it’s part of the character’s shirt.
Now let’s take a look at the Tool Property window while we have our File Object selected, because there’s some important things in there! Specifically, I want to talk about the icons under the “Status” heading.

These icons are, from left to right, Change File, Open File, Open Folder, and Update File Object.
Let’s click the Change File icon and select the secondary design I saved in the previous section. Once we select a different file, the file object is changed to the other design - but any position, scaling, rotation, or distortion changes we made are preserved as well! So to change from the green design to white took all of two clicks and no more adjustments had to be made because it fit the new file object in where the previous one was.

Next, let’s click on the Open File icon. This opens our File Object as a new window in Clip Studio Paint while keeping your illustration open as well. You can see in the screenshot below that “Milkshark02” is the current tab, while my “Illustration” tab with the 3D character and the instance of the file object is open in another tab.

(The Open Folder icon will open the folder where the selected File Object is saved, by the way! Useful if you need help finding where you saved that file!)
The Open file command provides us with an easy way to make changes to our file object. For instance, we could change the Hue/Saturation, or add other elements to this design. In this example, I think I’ll add a sweet pink heart to our cookies and cream shark.

With this change made, click save. Then head over to the other tab with our character in it…

Because we made a change to the file that is “linked” to the file object instance, the design on the shirt is automatically updated! By the way, this also means that every instance of this design would be changed, which is pretty handy if you’re halfway through your graphic novel and change your mind about the main character’s signature t-shirt design. With one change of the File Object, every occurrence of the same File Object would also update. This is one of the ways you can save a ton of time using File Objects!
By the way, if you don’t see the change you made in the File Object appear right away on your linked instance, click on the “Update File Object” icon in Tool Property to have it refresh. You should see your changes after clicking.
Conclusion
I think this is a really exciting feature of CSP that could have a ton of uses, especially if you consistently use the same assets over and over again. As much as I love Materials, being able to change something and have it automatically replace itself is amazing. I hope this has given you some ideas of how to use this feature in your own work!
For more information on CLIP Studio Paint, please visit https://www.clipstudio.net/en or https://graphixly.com