Reducing Canvas Texture on Scanned Images
Contact Graphixly @
Hello! My name is Liz Staley and I’m a long-time user of Clip Studio Paint (I started using the program back when it was known as Manga Studio 4!). I was a beta-tester on the Manga Studio 5 program and for Clip Studio Paint, and I have written three books and several video courses about the program. Many of you probably know my name from those books, in fact. I write weekly posts on Graphixly.com and on CSP Tips, so be sure to come back every week to learn more Clip Studio Tips and Tricks from me!
I’ve started working on a series of paintings on canvas, and of course I want to take them and make prints of them to sell. The canvas texture though is just a bit overpowering however, so in this article I’m going to show you how to put together pieces of a scan as well as how to reduce a canvas texture on a traditional painting.
In this article we will cover the following topics:
Putting Multiple Scans Together
Using Blending Modes to Reduce Canvas Texture
Let’s get down to it!
Putting Multiple Scans Together
To start, we’ll need to scan our painting twice - once right-side-up and once upside-down. My painting was actually slightly larger than the bed of my scanner (9x12 canvas panel but the scanner is just a little bit more than 8.5 inches across) so to get the entire image I actually had to scan each direction twice, once with the painting aligned to the left side of the scanner bed and once with it aligned to the right, so that I could get rid of the shadow caused by part of the canvas panel being slightly raised by the plastic edge of the scanner where it hangs off the glass.
Once you have your scans ready, open them up in Clip Studio Paint. If you don’t need to piece multiple scans of each direction together like I do, you can skip ahead to the next section. If your art was too big for your scanner, however, keep reading.
I already pieced together the two right-side-up scans, so let’s put together the upside-down ones. The first thing I did was change the Canvas size of one of the scans to 9 inches wide, then I copied and pasted the second scan in to the extended canvas scan.
Now we need to line the two scans up, so lower the opacity of the top layer so it’s slightly transparent. In the following image it’s very obvious that my two scans are not lined up!
I used the Move Layer tool to line the layers up most of the way, then used the arrow keys to make sure it was exactly in the right place. If your image doesn’t look abnormally blurry then you should have your layers lined up right! This is actually much easier if you have strong lines in the painting because they’re easy to line up. Note the translucent pixels to the right in the image below, which is how much of my painting was missing from the initial scan!
With the layers properly aligned, change the opacity of the top layer back to 100%. There is a line on the right side of my top layer that’s making a hard line down part of the image, so I need to get rid of that so the two scans blend in better.
To do this, I added a Layer Mask to the top layer. Then I used a large Soft eraser on the layer mask to blend out that hard line and blend the top layer into the bottom layer.
Now there’s just the matter of the small shadow on the bottom layer that came from the canvas panel not sitting flat on the glass when I made my scan. I decided that the easiest way to deal with this was to add a correction layer and then blend the correction in with another layer mask. To start this, go to Layer - New Correction Layer - Brightness/Contrast.
I turned the brightness on the correction layer up, then clicked on OK to apply it. At this point we don’t have to worry about the color matching exactly because we can fine-tune the adjustment later thanks to it being on its own layer.
Add a layer mask to the correction layer, then I masked out the entire right hand side of the adjustment layer with the rectangle marquee tool. To blur the transition to the brightness adjustment, I then took the soft eraser tool again and went over the edge so that the transition was soft and gradual.
You can see in the image below that the left side already looks better, but now it’s slightly too light instead of too dark!
That’s okay though because we can adjust the amount of Brightness/Contrast applied to the area since we created a correction layer. To change the settings of an existing correction layer, double-click on the layer thumbnail in the Layer palette to bring the settings up again. Then adjust to your liking and click OK.
Now that our scan pieces are put together, we need to combine the upside-down image with the right-side-up one. Because there’s so many layers involved, I decided to simplify it by doing a Layer - Merge visible to new layer to make a new layer with the combined elements on it.
Next, we need to take this scan and rotate it so that it’s right side up. To do this I simply selected the combined layer, then clicked on the Transform tool in the top menu bar. This puts a bounding box around the contents of the layer. Holding down the SHIFT key on the keyboard will constrain the transformation and allow us to turn it exactly 180 degrees.
Now we are ready to use our two images to reduce the canvas texture in the next section.
Using Blending Modes to Reduce Canvas Texture
You may be wondering why we scanned the painting twice - once with the image right-side-up and once with it upside-down. This is because of how the light in the scanner makes the highlights and shadows on the canvas texture when we scan our image. When we scan the painting right-side-up, the highlights and shadows are on a certain side of the texture. When we then scan the image upside-down, the highlights and shadows are then on opposite sides of the texture.
In the image below the scan on the left is the right-side-up scan. The one on the right is the one that was made upside down. It’s really hard to see but the canvas texture is slightly different because of the direction that the image was scanned and exposed to the scanner light.
When we combine these two scans we can use the way the light and shadow scanned on the texture to cancel some of the texture out and lessen the look of the canvas in the final prints.
To do this take one of your scans and do Select - Select All. Then go to Edit - Copy (or press Ctrl+C on Windows) to make a copy of your flattened image layer.
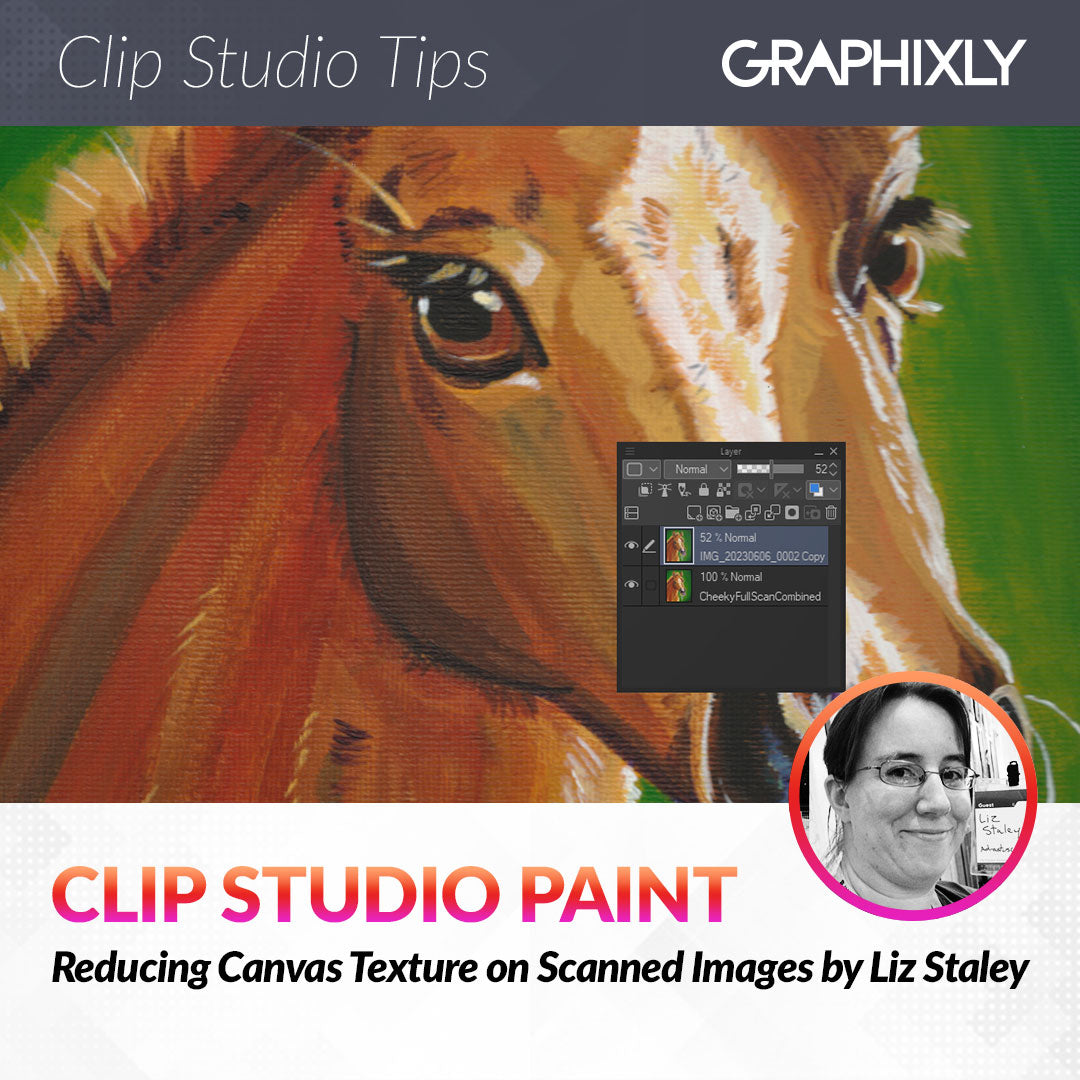
Now go to the other scan and click on Edit - Paste (Ctrl+V on Windows) to paste the second scan into the same image file as the first scan. Lower the opacity of this top layer and use the Move Layer tool to line up the image scans on top of each other. In the screenshot below you can see that my top layer is at 52% opacity so that I can see through it and make sure that the two scans are exactly lined up so that my scan looks just as crisp as my original painting.
Set the top layer back to 100% Opacity once your scans are lined up. Now we need to change the top layer’s Blending Mode, which is marked by the arrow in the screenshot below.
The blending mode that you use will depend on your image. “Lighten” will probably work for most images but I didn’t like the way it looked on mine. I ended up using the Brightness blending mode instead. Change the blending mode until you like the final look.

This didn’t totally get rid of the canvas texture in my image but it made it far less prominent, which is exactly what I wanted for making prints of this piece. The original scan is on the left in the following image, while the edited scan with the texture reduction is on the right.

Conclusion
Even though Clip Studio Paint is made primarily for digital comics and illustrations, it’s a versatile program that can be used in a variety of art related tasks from graphic design to photo retouching!
For more information on CLIP Studio Paint, please visit https://www.clipstudio.net/en or https://graphixly.com