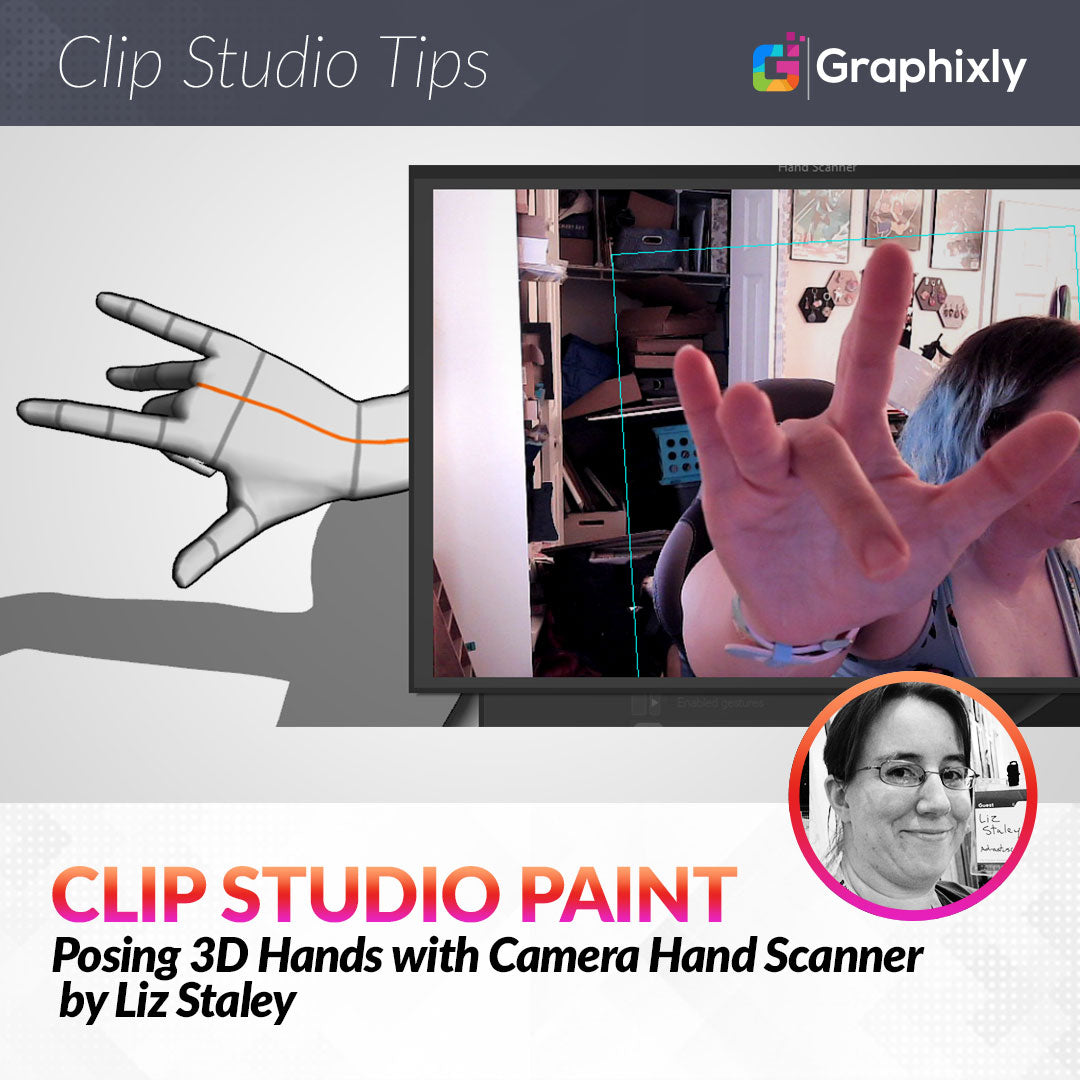
Posing 3D Hands with Camera Hand Scanner
Contact Graphixly @
Hello! My name is Liz Staley and I’m a long-time user of Clip Studio Paint (I started using the program back when it was known as Manga Studio 4!). I was a beta-tester on the Manga Studio 5 program and for Clip Studio Paint, and I have written three books and several video courses about the program. Many of you probably know my name from those books, in fact. I write weekly posts on Graphixly.com and on CSP Tips, so be sure to come back every week to learn more Clip Studio Tips and Tricks from me!
Another new feature in Clip Studio Paint 2.0 is the ability to pose 3D hands using your camera. Version 2.0 users can make use of this feature on PC as well as mobile editions of the program so long as you have access to a webcam or the mobile device has a camera.
In this article we will cover the following topics:
Hand Scanner on PC with Webcam
Hand Scanner on Mobile
Let’s get posing!
On PC with Webcam
To start, create a canvas with a 3D drawing figure on it. I decided to use a fun action pose for my example, just to keep things interesting.

Now let’s move the camera around and focus on the hands. To use the hand pose scanner, you do not need to have the model’s hand selected. However, you will need to be on the layer of the 3D model. Then, click on the wrench icon in the lower right of the Tool Property window to open the Sub Tool Detail window, and click on the “Pose” category on the left. In the Hand Pose section, above the hand diagram, you should see a camera icon. I’ve marked it in the red box in the screenshot below.

The first time you use the camera hand scanner, the following message will show to let you know that the footage from the camera will be shown on the screen while the feature is being used.. Click on OK to continue.

If this is the first time you are using this feature, a short download may come up before the camera window is shown. In a moment you should see the Hand Scanner window, with the image from the current webcam on it. Hold your hand up to the camera and move it to see the changes on the 3D model in real time.
Note that only the fingers of the model will change position. At the time of this writing this feature will not change the position of the palm of the hand or the wrist.

Once you have the hand in the position you desire, click on the “Pause Capture” button to pause the camera feed. From here you can either click on OK to set the hand pose, click Cancel to exit the hand scanner, or click on Resume to continue the camera feed and pose the hand again.
The options in this window also allow you to change the camera source if you have more than one camera attached to your device, or to change which hand the pose will be applied to. You can choose the right or the left hand to pose from the dropdown menu.

Changing the dropdown menu from the right hand to the left hand will apply the current pose to the selected hand, so be sure to click OK and then open the camera again to do the other hand.

On Mobile
I wrote this section of this article on my iPhone 13. Depending on your device, the location of these features may be different.
Start off with your 3D model selected, then tap on the icon in the red square below to bring up the properties options. Tap on the wrench icon to open up more details.

From the dropdown menu at the top, tap on the Pose category.

You should now see the pose details, including the old hand pose diagram and the new camera hand pose scanner, shown in the red rectangle below.

If this is your first time using the hand pose scanner, tapping on the camera icon brings up a prompt that Clip Studio would like to access the camera on your device. Click on OK to continue.

There may be a small delay the first time that this feature is used as CSP downloads additional data. Once this is finished, you will see a small view of your camera’s feed on the screen. Put your hand in the camera’s view and move your fingers to change the pose of the 3D model’s hand.
Note that only the fingers of the model will change position. At the time of this writing this feature will not change the position of the palm of the hand or the wrist.

Tap on the Pause Capture button to pause the camera feed once you have the pose you like for your hand.
The drop down menu in the center above the camera feed can be used to change the camera input if more than one camera is available - for instance from the back camera to the front camera on the iPhone.
The right drop down menu changes which hand on the model the current pose is being applied to.

Click on OK to apply the current pose to the selected hand. If you want to pose the other hand, repeat the process and change the “Apply to…” dropdown menu to the appropriate hand.
Now you’re ready to draw with your posed 3D model!
Conclusion
Though this feature is far from perfect, the technology is still very impressive to me! And it makes it much easier to get a dynamic and interesting pose for the hands without spending too much time on it, so that’s always a plus to me!
For more information on CLIP Studio Paint, please visit https://www.clipstudio.net/en or https://graphixly.com