Most Useful CSP Tools Part 1
Contact Graphixly @
Hello! My name is Liz Staley and I’m a long-time user of Clip Studio Paint (I started using the program back when it was known as Manga Studio 4!). I was a beta-tester on the Manga Studio 5 program and for Clip Studio Paint, and I have written three books and several video courses about the program. Many of you probably know my name from those books, in fact. I write weekly posts on Graphixly.com and on CSP Tips, so be sure to come back every week to learn more Clip Studio Tips and Tricks from me!
CSP has a plethora of amazing tools made for artists. But these are the ones that I feel are the most useful and that most people probably overlook!
In this article we will cover the following topics:
Layer Color
Auto Actions
Reference Layers
Sub View
Rulers
Let’s get to it!
Layer Color
The Layer Color feature is one of my favorite features of Clip Studio Paint. Not only can it help with visual organization, but it also can ensure that you never ink on the wrong layer again!
First, let’s start with a sketch. My sketch is on one layer and I’ve created a second layer above it for my inks.

Using my favorite inking tool, I started inking the hair with black. However, because my sketch is so dark it’s extremely difficult to see what’s already been done and what still needs an ink line!

Layer color to the rescue! Let’s click on our sketch layer and then click on the Layer Color icon in the Layer palette, marked with the red box below.

By default, CSP will automatically change the selected layer to a light blue color. If you don’t like this color, or are using multiple layers with layer color and want to keep them visually separate, you can click on the “Layer color” box in the Layer Property window and choose a new color. I usually stick with the blue color unless I’m using multiple layers with layer color.

You’re probably thinking you could get this same effect just by using Hue/Saturation/Luminosity to change the sketch lines blue, or just by sketching in blue to begin with. While that is true, if you use either of those methods you won’t get my favorite benefit of using Layer Color - and that is being able to know immediately if you are inking on your sketch layer!
When you have a Layer Color turned on for a layer, ANY new mark made on it will be made in that color. I used my inking tool and black to ink the nose on the sketch layer in the screenshot below, and the line came out blue!

As soon as I move back to my Ink layer, my lines come out black again because this layer doesn’t have Layer Color turned on. So you can visually tell if you’re inking on the wrong layer immediately!

Auto Actions
Auto actions are not something exclusive to CSP, they’ve been in other programs like Photoshop before CSP came out. However I feel like not enough people know about Auto actions still! The auto action palette is nested with the Layer palette usually, but if you can’t locate it go to Window - Auto Action to bring it forward or to add it back to your user interface.
Auto actions are recorded multi-step processes that can be played back with the touch of a button. There are several that come with CSP in the Default folder, you can record your own or find user created ones in the CSP Assets library here: https://assets.clip-studio.com/en-us/search?type=auto_action&order=new
To use an auto action, locate the one you wish to use. For some actions, such as the one highlighted in the image below to “Cut and move a selected subject to another layer” you first need to make a selection. I have selected a portion of my image with the lasso tool below.

At the bottom of the Auto action palette, click on the button that looks like a right-pointing triangle to “play” the action. In the one I used below, CSP took the selected area and cut it, then created a new layer and pasted it.

For detailed instructions on how to create your own auto actions, see this article by me! https://tips.clip-studio.com/en-us/articles/3789#9285c572
Reference Layers
Reference layers in combination with the Fill tool is probably my second favorite CSP time-saving feature. To say that I use these all the time is an understatement!
Let’s say that I want to fill in the hair color on a layer below the lines in the following image.

I select the color layer, then select my hair color and use the Fill Tool on a section of the hair…

Because the fill tool doesn’t have any boundaries to work from on this layer, it fills the entire “color” layer with my selected color! This will happen on any empty layer when using the “Refer only to editing layer” fill sub tool on an empty layer. So let’s select the “Refer other layers” subtool instead. Then in the Tool Property window turn the area scaling on and adjust the amount with the slider (the amount you will need will depend on the thickness of your lines). Then under “Refer Multiple” click on the “All layers” icon.

Now let’s try clicking on our hair area again while still on the “color” layer.

With just a few clicks we have filled the hair area while keeping the color separate from the lines! Turning on the area scaling option also makes sure that CSP overfills the area by a little bit so that there is a smooth transition between the lines and the color.
But what if we have something complex behind our character, like say a background element? 
If we try filling the hair with “all layers” selected then Clip Studio will only fill a portion of the hair because of the background layer below it.

In this case we can set our inks layer as a Reference layer. With the inks layer selected, click on the “set as reference layer” icon in the Layer palette.

Now, in the tool property window for the Refer Other Layers Fill Sub Tool, click on the “Reference Layer” icon in the Refer Multiple options.

Clicking on an area in the colors layer now only fills the area based on the Reference layer information and ignores any other layers.

Sub View
One of the default palettes nested in the upper right of Clip Studio Paint with the Navigator window is called “Sub View”, and upon first glance you wouldn’t realize that it’s one of the best tools for anyone working with reference images or who has to refer to character design sheets constantly.

However, by clicking on the Add File icon in the lower right corner of the Sub View window, we can select images on our device and then load them into the Sub View window. You can load more than one image into Sub View at a time!

With our reference images loaded in Sub View, we can look at them while drawing, and flip through them to find the perfect angle. Images can also be zoomed, rotated, flipped, and can also be color selected from!

Back when I used to make comics I would load all my character reference sheets into the Sub View and then refer to them whenever I needed to. These images will load any time you open CSP so there’s no need to reload them every time you open the program, either!
Rulers
Many years ago I switched from using Photoshop to using Clip Studio Paint (called MangaStudio then) simply because of the ruler tools. They were what drew me in and I still think they’re one of the best features of the entire program. With the ruler tools you can make anything from simple straight lines to elegant curves to motion blurs to complex perspective…

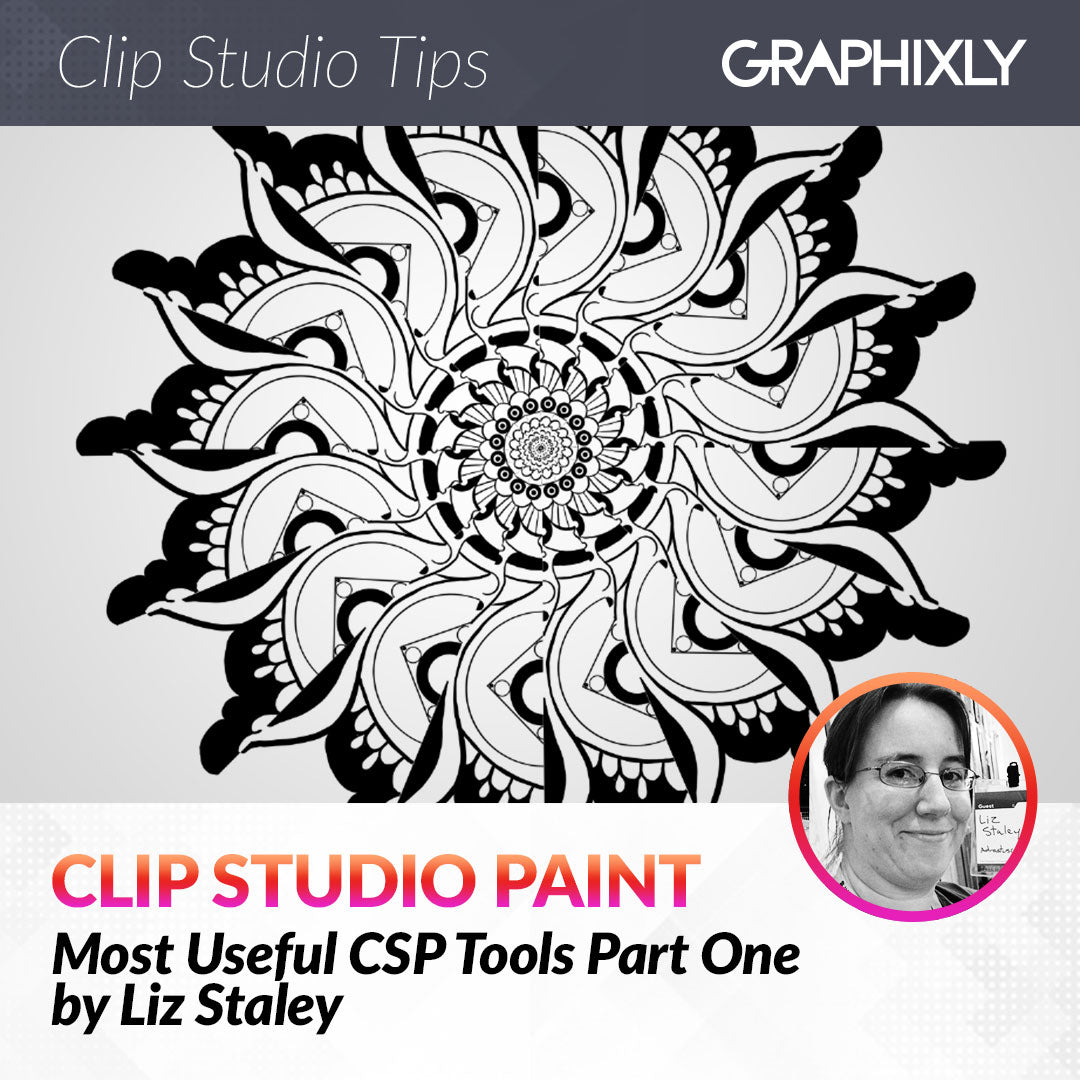
And even stunning mandala-like designs using the symmetry rulers!

Rulers take a bit of time to explain, but luckily a few years ago I did an entire SERIES of articles all about rulers! You can start reading the series here: https://tips.clip-studio.com/en-us/articles/5332
Conclusion
There are so many amazing tools and features in Clip Studio Paint, and these are just five of my favorites! I hope you find them useful too! What are your favorite CSP tools?
For more information on CLIP Studio Paint, please visit https://www.clipstudio.net/en or https://graphixly.com