Mastering Selection Tools Part 2
Contact Graphixly @
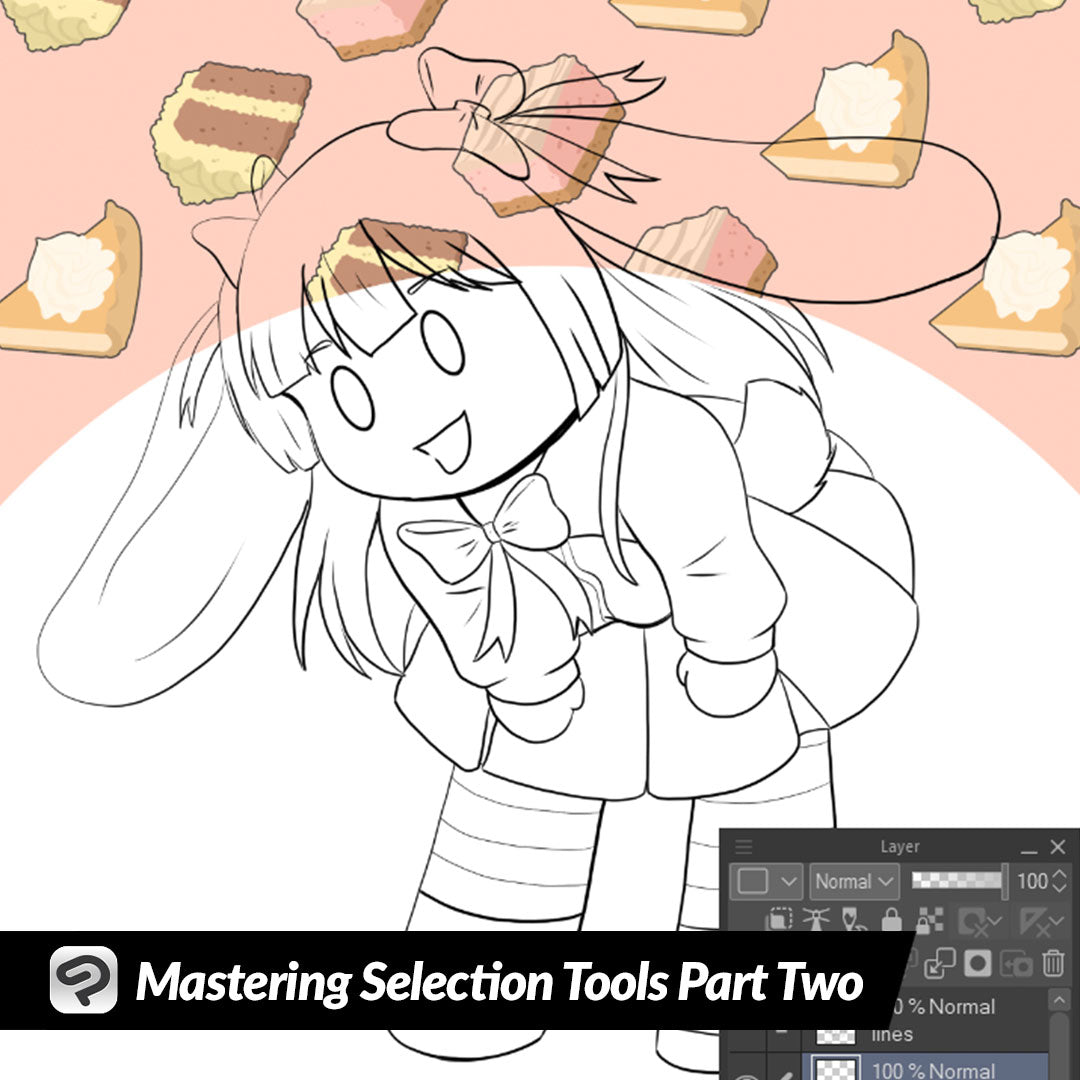
Hello! My name is Liz Staley and I’m a long-time user of Clip Studio Paint (I started using the program back when it was known as Manga Studio 4!). I was a beta-tester on the Manga Studio 5 program and for Clip Studio Paint, and I have written three books and several video courses about the program. Many of you probably know my name from those books, in fact. I write weekly posts on Graphixly.com and on CSP Tips, so be sure to come back every week to learn more Clip Studio Tips and Tricks from me!
Last week we covered the basics of selection tools. This week, let’s go over some more specialized tools, as well as my favorite one - the Auto Select tool (aka the “Magic Wand”). We’ll also cover the most important options in the Auto Select tool that can make adding flat colors to your images a breeze!
In this article we will cover the following topics:
Special Selection Tools
The Auto Select Tool
Let’s get drawing
Special Selection Tools
Next up on our list is the Selection Pen tool! This works a bit like the lasso selection tool, but with a big difference - you draw out the area that you want to be selected! Choose this tool and then use it just like you would a pen tool, filling in the area that you want to be selected. In the screenshot below, the green area is what I’ve drawn out to create a selection of.

Once you’ve finished and release the pressure on your stylus the green area will turn into an active selection. This tool is great for very precise selections because you can increase or decrease the size of the selection brush.

Our next subtool is the Erase selection tool. This tool operates the same way as the selection pen - but it deselects instead of selecting! Use it to highlight the area that you want to remove from the current selection.

Once you finish, the highlighted area will be subtracted from the selection. Obviously this tool will not work if there is not an active selection or if you are not highlighting inside of the selection.

For our final tool of the Selection Area subtools, we have the Shrink Selection tool. This tool operates just like the lasso tool as well, but with a twist. For this example, I will draw around my character, on the layer my character is on.

When the selection is complete, the area that I initially drew out (very haphazardly!) has shrunken down to select just the outside of my character. If you need to select all of a complex object, this is a really fast way to accomplish that!

The Auto Select Tool
Now let’s move on to the last selection tool we’ll be talking about - and it’s probably the one that I use the most! This is the Auto Select tool (which is sometimes referred to as the “Magic Wand” tool). This tool will automatically select an area based on the tool settings and our image!
I love the Auto Select tool for selecting areas of my image and filling them with flat colors at the start of my coloring process. However, to accomplish this we need to know more about the Auto Select sub tool’s different settings!
In the image below, I have my line art on one layer and below that I have a layer for my flat colors.

The Auto Select tool has three sub tools, so let’s cover them starting from the top. The first sub tool is the “Refer to all layers” one. This means that CSP will take every visible layer in the image into account when we use the tool. So, on the image that i’m using for our example, I’m going to take this sub tool and click on the character’s face.

So, even though we are on the empty “flat colors” layer, the tool still refers to all the layers in the image - including the line art - and automatically selects the shape of the face area.
The second sub tool is the “Refer to Editing layer only” tool. This tool will take ONLY the currently active layer into account for the selection. So with this tool and the same layer setup, clicking on the character’s face will actually select the outside of the canvas. This is because my current layer has nothing on it, so the tool selects the entire layer.

So let’s put something on our flat colors layer! I put a green square just for demonstration purposes. Now that we have something on the flat colors layer, let’s click in the face area of the character line art again.
Because this sub tool only refers to what is in the editing layer (the currently active layer), it doesn’t pay attention to the lines on the line art layer, and just selects the green square.

So you can probably see that the Refer to All Layers sub tool would be much more useful! However, what happens if we have a background already made for our image?

Now if we use the Refer to All Layers sub tool and try to select this character’s ear, the selection isn’t right because it’s taking the background into consideration too!

This is where our third sub tool, and something called a Reference Layer, comes in to play. I’m going to click on my line art layer and then click the “Set as Reference Layer” icon in the Layers palette.

Now let’s go back to the flat colors layer and click on the character’s ear again. This time the sub tool is only referencing the line art layer (because we told CSP that’s what we want it to use!) so our area is perfectly selected!

Now let’s turn our attention to a few options in the Auto Select Tool Property window - Area Scaling and Close Gap. These are the options that I feel are most important when using the Auto Select tool for creating flat colors quickly.

First up, let’s talk about Area Scaling. With this option turned off, only the exact area will be selected. Sometimes, depending on your settings, this can lead to small sections being left out of the selection! You can see this is the sharp area circled below.

When filling a color with this selection, it leaves a few pixels uncolored that must then be colored manually.

We can make this process much easier and cleaner by turning Area Scaling on. This option expands or shrinks the selection based on the value set in the slider. How much you want to set the slider to will depend on the thickness of your lines, so don’t be afraid to experiment a bit with different values. I’ve set my area scaling to 6 and clicked in this area again. Now my selection goes out to about the middle of my inked lines and covers the skipped pixels from before. This is perfect because the colors will be filled on the layer below and there will be a smooth transition from the inks to the color fill.

Below you can see that the sharp point has been filled with the color instead of being skipped.

Finally, let’s look at the Close Gap settings. This is for those of us who often have gaps in their line art! I don’t try to have gaps in my lines on purpose, but sometimes it just happens. And some styles also have gaps in the lines anyway that would make it difficult to use the Auto Select tool!
Close Gap has various levels of sensitivity that can close small to large breaks in the area being selected.

By turning on the Close Gap setting, this small area where two of my lines don’t meet is no longer an issue. Despite the gap, the area inside is still selected perfectly!

Conclusion
Now you should be able to effectively use selection tools for all sorts of scenarios - whether it’s to make your coloring process faster or to move, scale, and rotate parts of your images!
For more information on CLIP Studio Paint, please visit https://www.clipstudio.net/en or https://graphixly.com