
Making a Simple Background with Free Assets
Contact Graphixly @
Hello! My name is Liz Staley and I’m a long-time user of Clip Studio Paint (I started using the program back when it was known as Manga Studio 4!). I was a beta-tester on the Manga Studio 5 program and for Clip Studio Paint, and I have written three books and several video courses about the program. Many of you probably know my name from those books, in fact. I write weekly posts on Graphixly.com and on CSP Tips, so be sure to come back every week to learn more Clip Studio Tips and Tricks from me!
Some illustrations require a detailed background to carry the message you want to convey, while others just need something simple because the character is what you really want to concentrate on. But what if you don’t want to spend a ton of time on creating even a simple background? That’s where using Assets can really speed up your process - and there are tons of free ones we can choose from! So this week we’re going to challenge ourselves to create a simple and colorful background using just free Assets.
In this article we will cover the following topics:
Searching for Free Assets
Putting Together a Background
Let’s get painting!
Searching for Free Assets
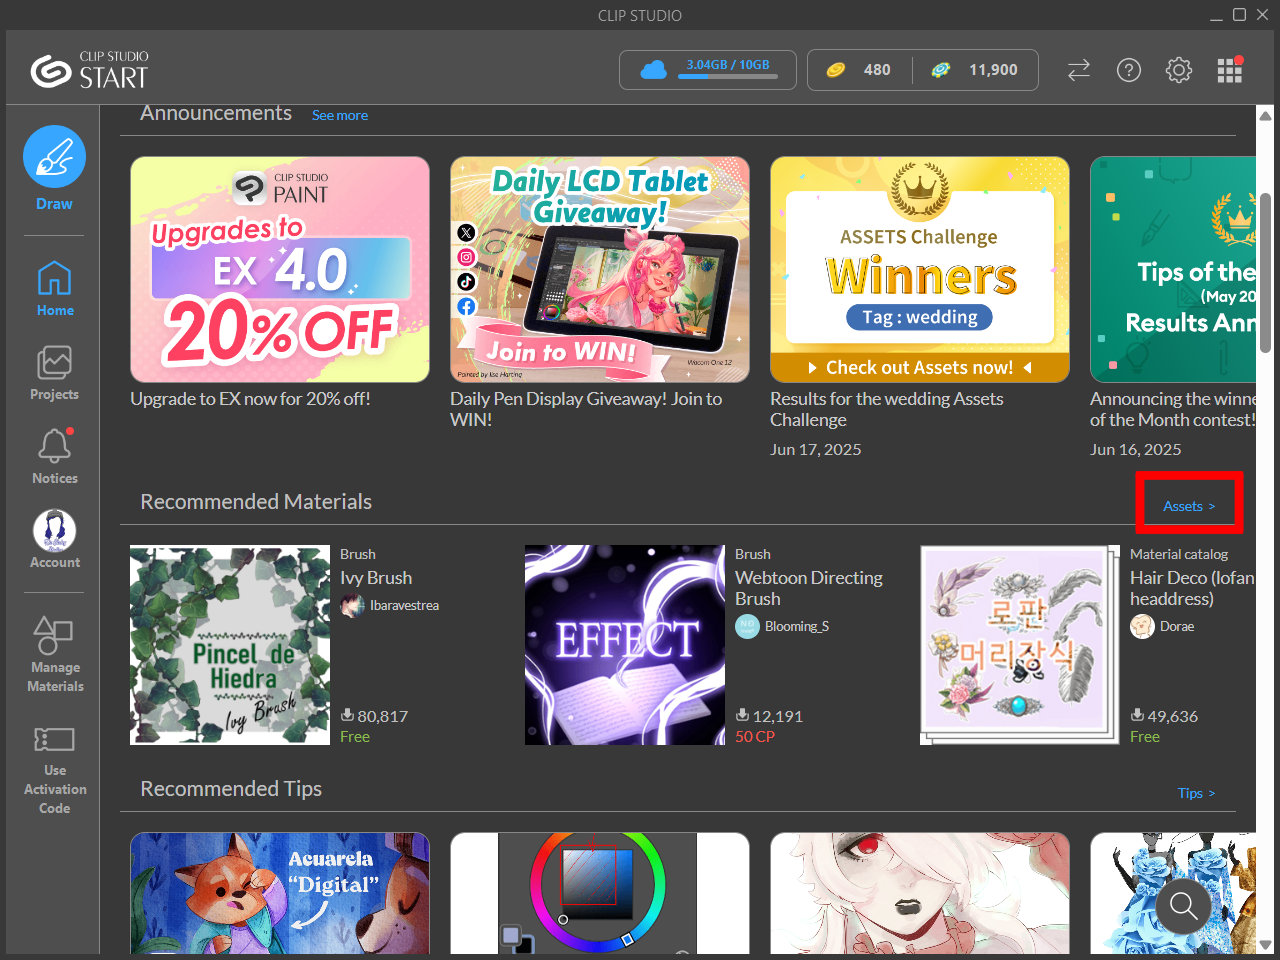
The easiest way to find and install Assets to your Clip Studio Paint program is through the Assets collection. To get here easily, open the Clip Studio App, then look down to find the “Recommended Materials” category. Here you will find a link that says “Assets”. Click it to go to the main Assets interface.
Clip Studio Assets is a bit like a big marketplace where users can share (and sell!) their custom made brushes, workspaces, 3D models, and more. We can enter a keyword in the search bar at the top and search for just about anything we can think of! However, we want to make sure that all the results we get are free ones. To filter by cost, click on the “Filter” button to the right of the search bar and then click on “Free” under the Cost category.
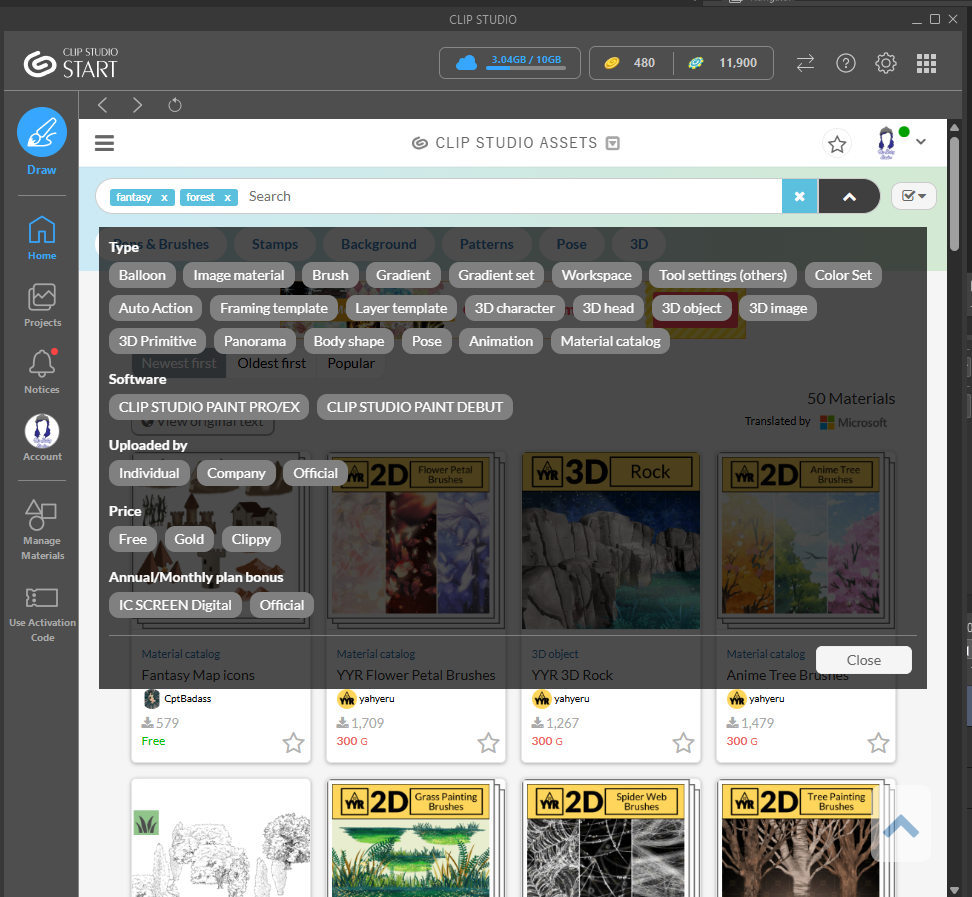
The image I’m going to be creating is of a cute fairy flying above a forest, so the first thing I want to search for is a foliage brush. I entered “tree” as my search term and then scrolled down until I found one that I thought fit the type of background I want to paint. Click on the thumbnail of the Asset to open its details page and read more about it. Most creators will also include more examples of the Asset in use, if applicable.
Once you find an asset you like, click on the Download button at the top right of the Asset page. If you have already downloaded this asset, this button will say “Re-download”. You must be signed in to your free Clip Studio account to download Assets, so check that you are signed in!
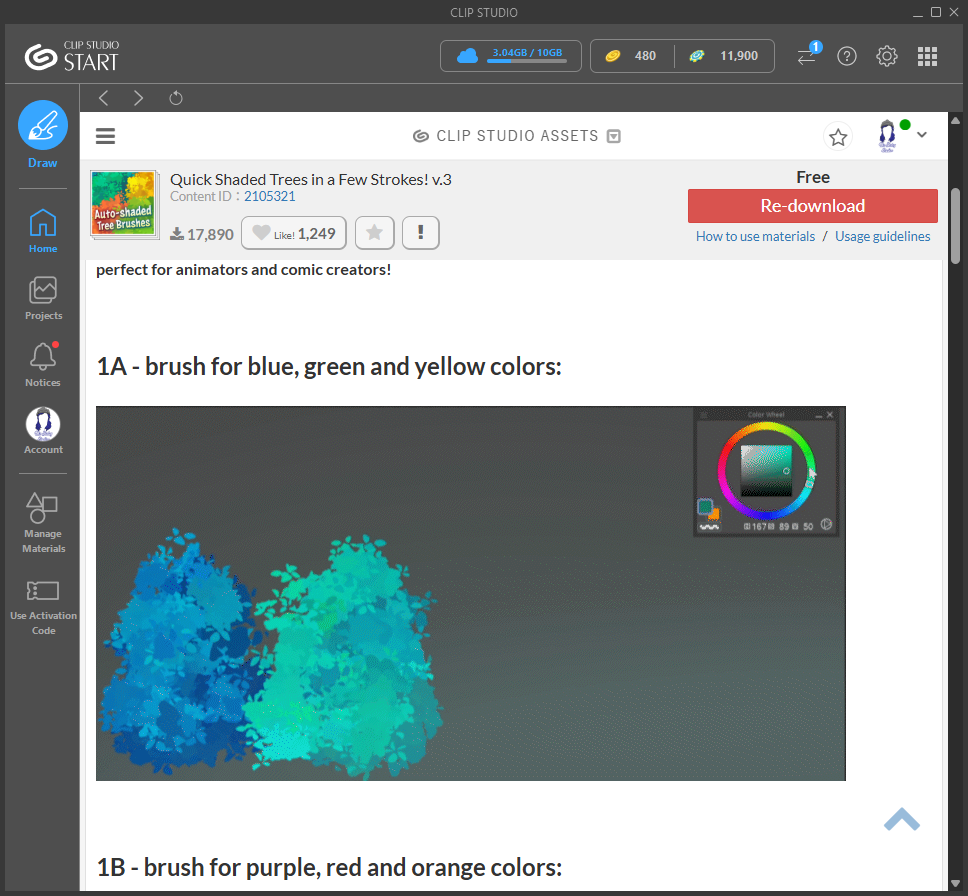
Your download will begin automatically. Once it has finished, your asset will show in the Materials Library in Clip Studio Paint. If you have downloaded a brush or gradient, you will have to install the tool by dragging it to the Sub Tool palette window before using it.
For more information on downloading Assets, please see this article by me! https://tips.clip-studio.com/en-us/articles/4329
Putting Together a Background
I decided to download not only the tree brush but also a pastel rainbow gradient that I thought would make a nice sky color, a set of brushes to paint some clouds, as well as a 3D sphere to give me some guidelines for a slight fish-eye perspective. (in the screenshot below there’s also a sky photo I was originally going to use before I decided to paint the clouds instead, so you’ll see that change in just a bit!)

Using the cloud brush I painted in some fluffy clouds using white, pink, teal, blue, and purple to go with the colorful sky. I simply painted in the rough shapes with white, then changed colors and layered them to create some color variance and dimension to the clouds. While doing this I kept my 3D sphere and slight fish-eye viewpoint in mind and tried to curve the clouds slightly according to the guidelines.

To blend the colors a bit more and soften the clouds, I used the Gaussian blur filter.

Then, with the tree brush shown in the previous section, I painted in some foliage in a variety of greens. I really liked this brush because you can pick one main color and then the brush automatically adds in some shading and highlight colors as you use it! I also was still using the 3D sphere layer as a bit of a guide as well to continue with that fish-eye lens look.
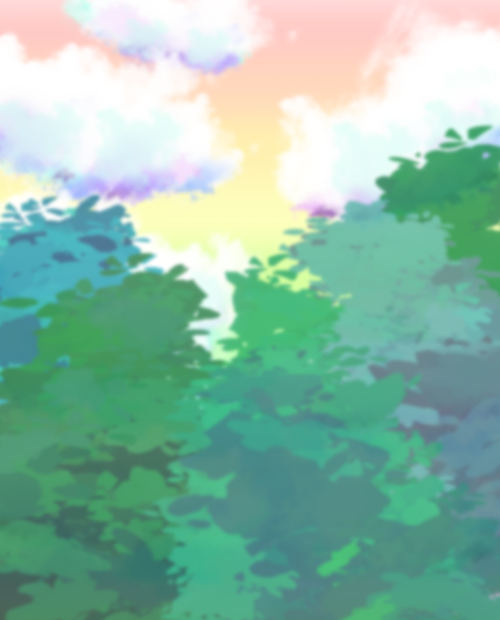
To make the trees fit with the sky and clouds better, I created a new layer above the tree layer and filled it with the pastel rainbow gradient I’ve been using for the sky. Then set the gradient layer to Clip to Layer Below and change the blending mode to Overlay and lower the opacity. This made the color of the trees seem to fit just a bit better with the look of the background as a whole.

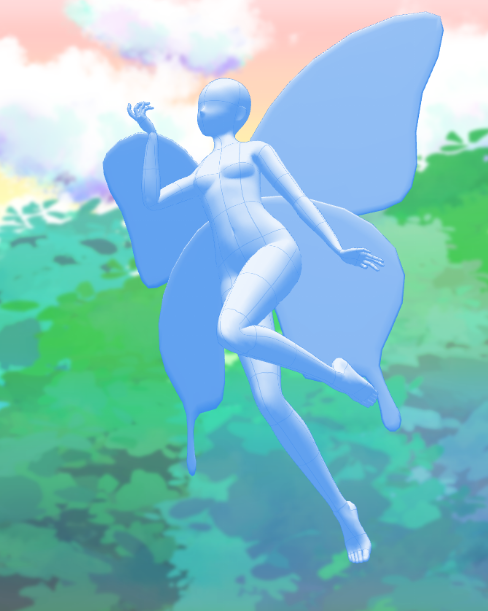
Your asset usage doesn’t have to end once the background is done! I used a free 3D pose and set of butterfly fairy wings as well to help plan out my character’s pose for this piece!
Conclusion
Even without spending any Clippy Points or Gold, you can still make a beautiful and cohesive background for an illustration. And once you get used to navigating the Assets system, you can even make much more complex images as well just with some clever use of 3D models, brushes, images, and color swatch libraries!
For more information on CLIP Studio Paint, please visit https://www.clipstudio.net/en or https://graphixly.com