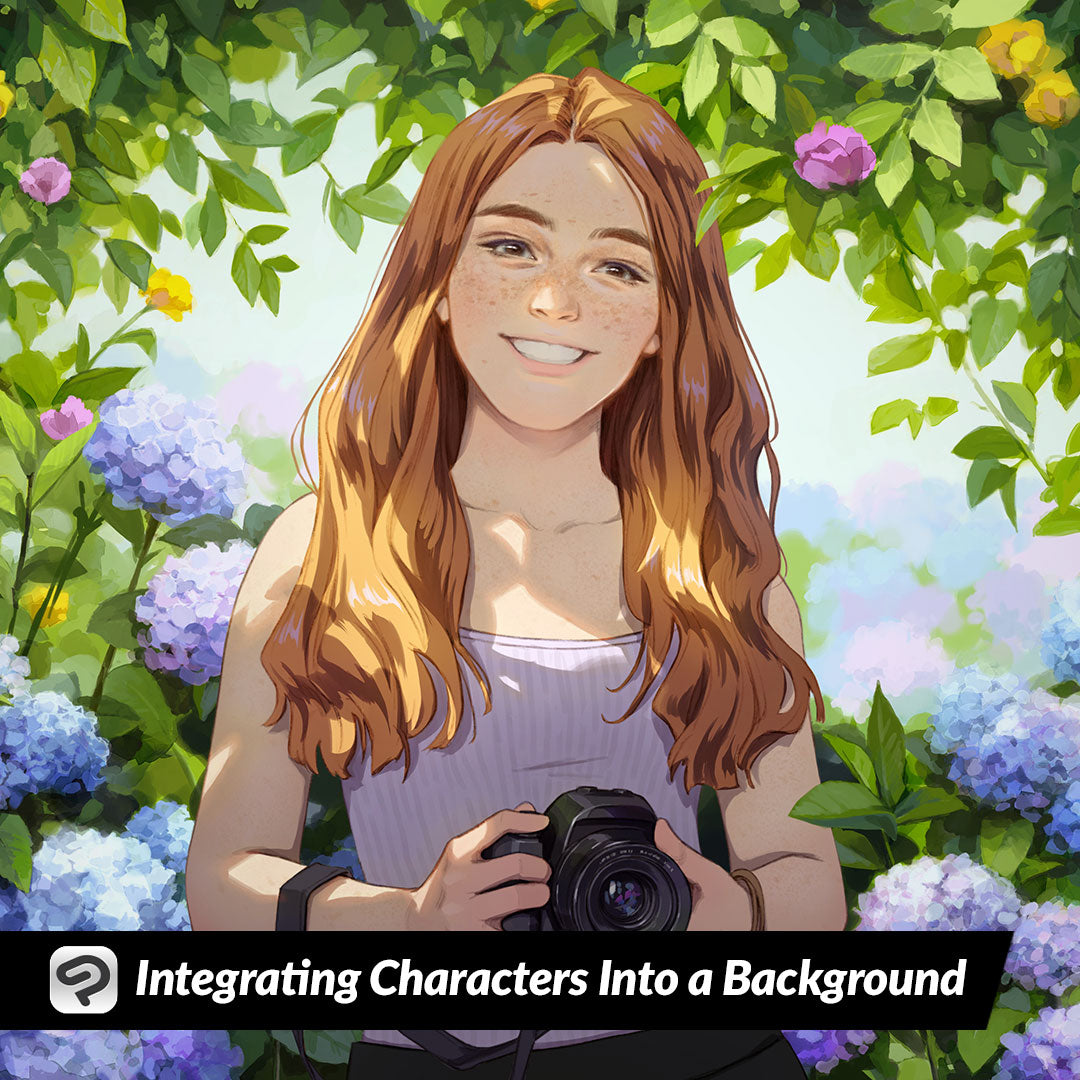
Integrating Characters Into a Background
Contact Graphixly @
Hello! My name is Liz Staley and I’m a long-time user of Clip Studio Paint (I started using the program back when it was known as Manga Studio 4!). I was a beta-tester on the Manga Studio 5 program and for Clip Studio Paint, and I have written three books and several video courses about the program. Many of you probably know my name from those books, in fact. I write weekly posts on Graphixly.com and on CSP Tips, so be sure to come back every week to learn more Clip Studio Tips and Tricks from me!
The more I learn about painting with acrylic paints, the more I see the crossover between being able to apply traditional techniques to digital media. In traditional painting you can make all your colors look cohesive by doing an “underpainting” or mixing a small amount of the same color in to all colors you use. This gives each color the same tone and makes them all look like they exist in the same place. We can achieve what amounts to the same thing with a few layer tricks in digital art, so let’s do that this week!
In this article we will cover the following topics:
Integrating Characters into a Background
Let’s get started!
Integrating Characters into a Background
First, we’ll need an image! You will need one with at least a background and a middle ground or foreground. Below is the image I’ll be using in this example. I chose a default sunset image that comes in the Clip Studio Paint Material Library.
To make this a simpler process, I recommend either merging all your non-background elements to a layer together or using the Layer Mask technique outlined further down.
The easiest way to do this technique is to do the dark areas on a clipping layer and the highlight areas on a layer with a layer mask.
Okay, let’s create our clipping layer! Create a new Raster layer and make sure it is on top of the layer stack.
Right click the new layer and go to Layer Settings - Clip to Layer Below. This means that anything we do on this layer will only be seen where it crosses with the contents of the layer below. This is why I recommended merging the non-background elements to a new layer so that the changes will affect the lines, highlighting, and shading of your characters. Otherwise, it will only make changes to the layer directly under our new layer.
Set the layer to the Multiply blending mode.
Select a color from the background and fill the new Raster layer with it. For instance, if you’re coloring a nighttime scene you’d want to fill the layer with blue. For my image I tried orange, pink, and then purple, each shown below. You can see how this gives the colors all a tint of that color from the background.
I ultimately ended up going with the pink color. Lower the opacity of the layer to make the effect less intense.
Take a darker version of your fill color and a soft airbrush and brush it on to the darker parts of the image. I used darker pink in areas, as well as a dark purple and blue to make other areas (such as the back of the character in the suit) really dark.
Now we need to integrate some light from the background as well to really make the characters look like they’re in this environment. We want this to only affect the characters and not the surrounding area, however we can’t just create another new layer and turn it into a clipping layer because of the way clipping layers work. If we put this highlight layer between the characters and the previous clipping layer. So we’re going to use a Layer Mask instead.
If you merged your non-background elements to a new layer, then you can right-click on that layer and click on Selection from Layer - Create Selection. This will create a selection of the entire contents of this layer.
Now create another new raster layer at the top of the layer stack. While on this new, empty layer (and with the selection from the previous step still active), click on the Create Layer Mask icon, shown in the red box in the screenshot below. Clicking this will create a layer mask with the shape of your selected area marked out in white and the outside areas in black.
Click off the layer mask to the main part of the layer. Now anything we do on this layer will only apply to the white parts of the mask.
Change the blending mode of this layer to Add. Now select a light color from your background and use the soft airbrush to apply some highlights to the edges of your character. Since I have a sunset background I used yellow on the lower areas, pink in the middle areas, and a light purple toward the top.
If you have too much light you can always use a soft eraser to gently erase some of the color.
Finally, lower the opacity of the highlight layer to your liking.
And you’re done! The image I started with is below on the left and the one with our new color adjustments is on the right. I feel like it makes a big difference in making the characters look like they’re standing in a real place instead of “pasted on” to a sunset image!
Conclusion
For more information on CLIP Studio Paint, please visit https://www.clipstudio.net/en or https://graphixly.com