
Importing Brushes on Desktop, Apple and Android
Contact Graphixly @
Hello! My name is Liz Staley and I’m a long-time user of Clip Studio Paint (I started using the program back when it was known as Manga Studio 4!). I was a beta-tester on the Manga Studio 5 program and for Clip Studio Paint, and I have written three books and several video courses about the program. Many of you probably know my name from those books, in fact. I write weekly posts on Graphixly.com and on CSP Tips, so be sure to come back every week to learn more Clip Studio Tips and Tricks from me!
Whether it’s brushes that mimic clothing ruffles or realistic pencils, there are thousands of different types of brushes that you can add to Clip Studio Paint to make the illustrations you dream of! This week we’ll cover importing brushes on three different platforms of CSP, from both the CSP Assets library and from third-party sources as well.
In this article we will cover the following topics:
Windows/Mac Platforms
iPhone/iPad versions
Android Versions
Let’s import some brushes!
Windows/Mac Platforms
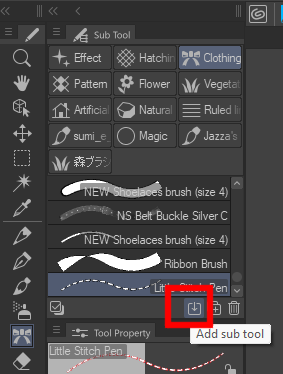
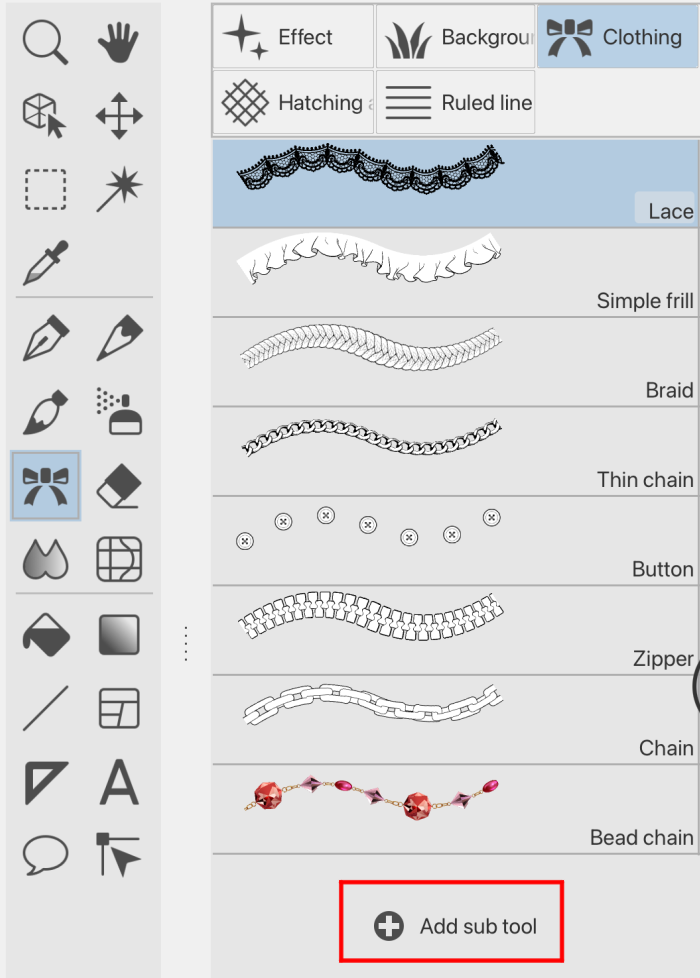
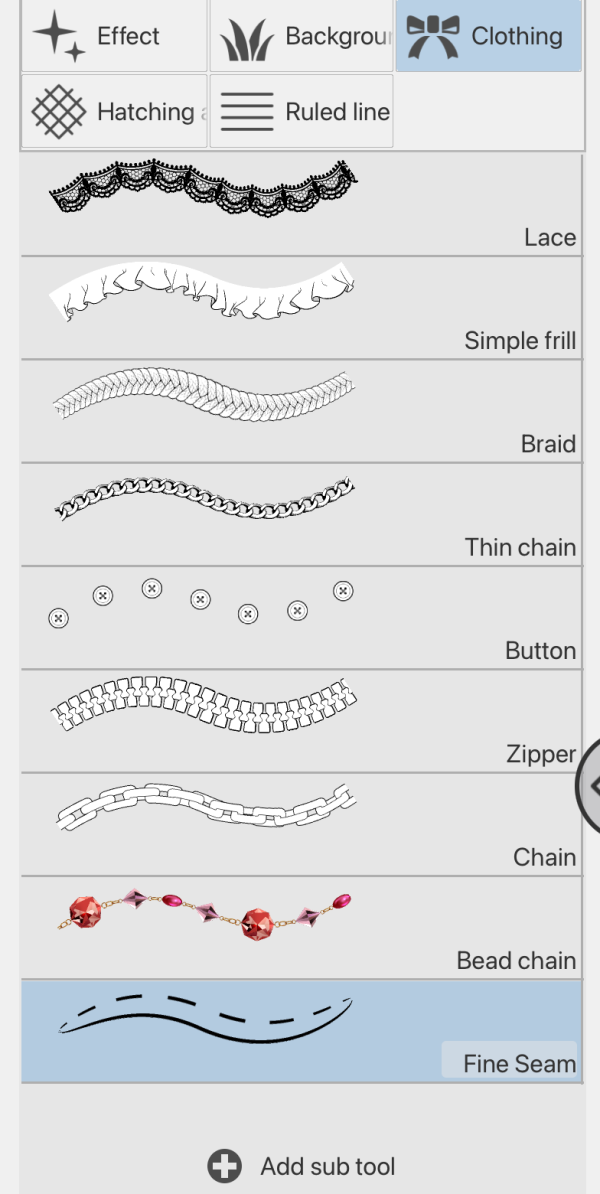
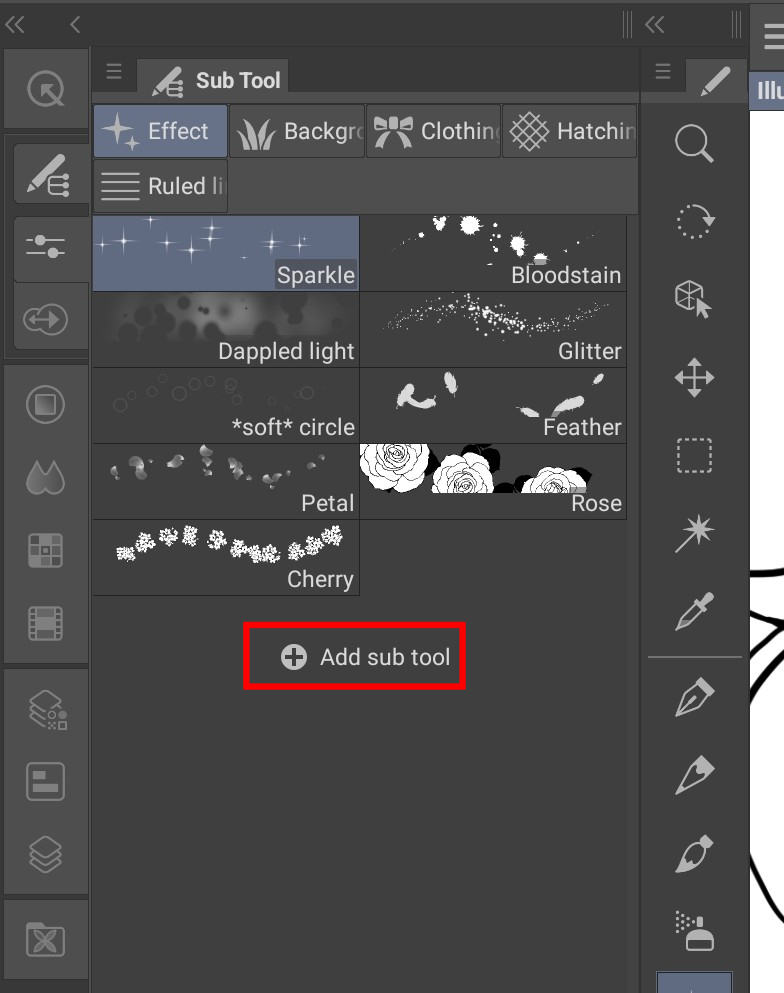
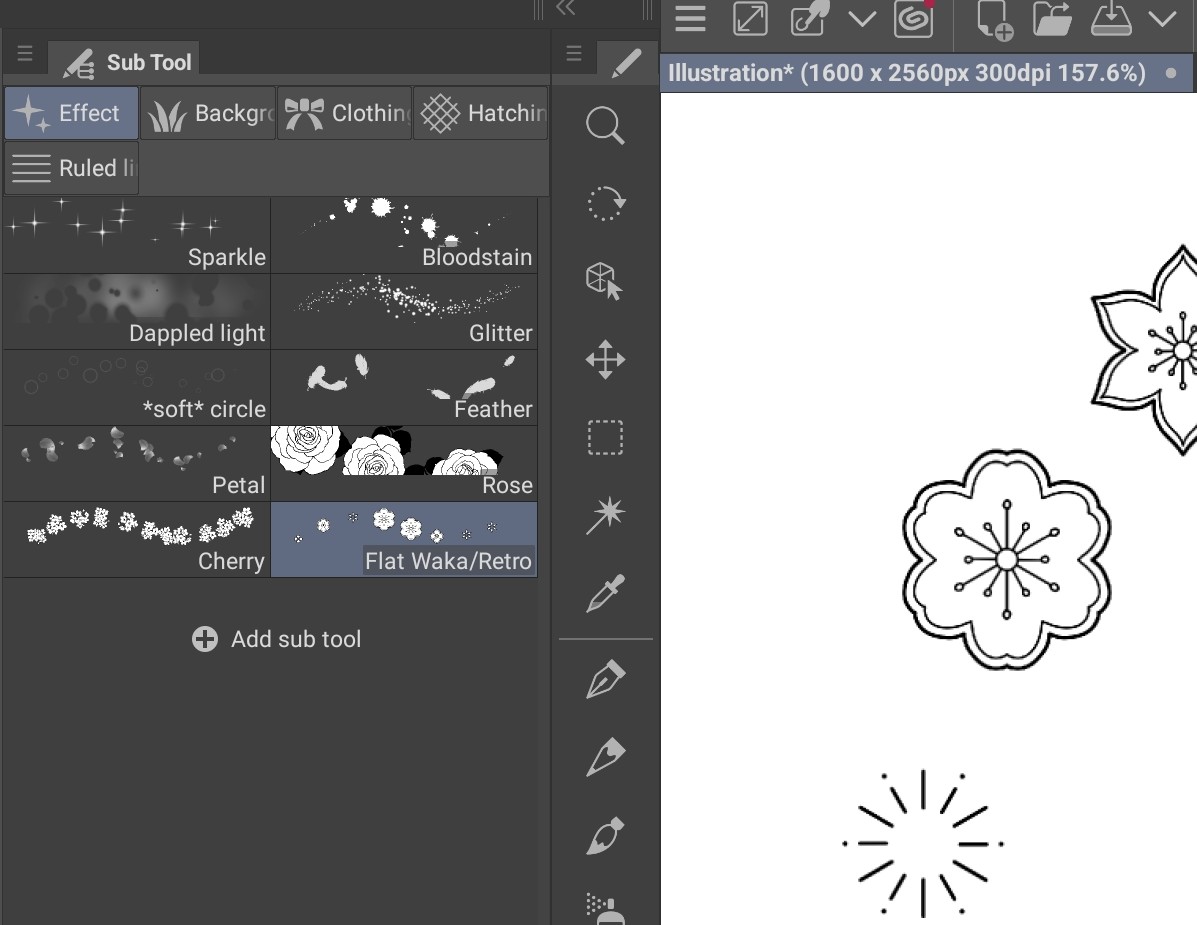
You can add a brush that has been downloaded from CSP Assets by first going to the sub tool category that you want to put the brush in. For this example I am going to be putting a brush in the Decoration - Clothing category. From here, click on the Add Sub Tool icon in the lower right corner.
For instructions on how to download from CSP Assets, check out my previous article on the subject! https://tips.clip-studio.com/en-us/articles/4329
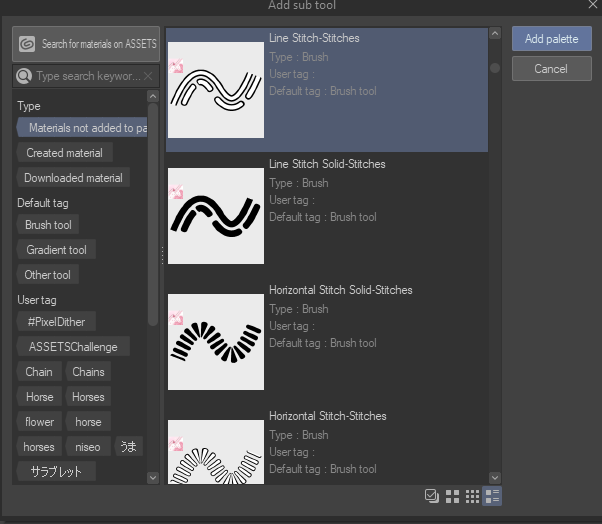
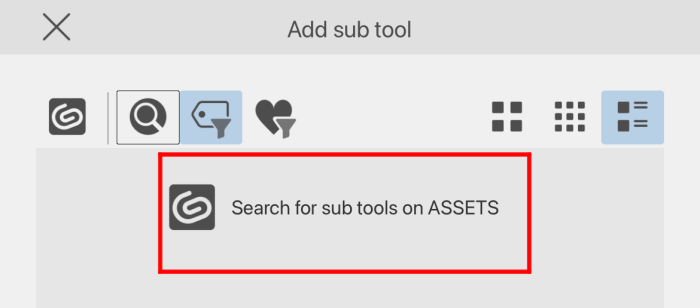
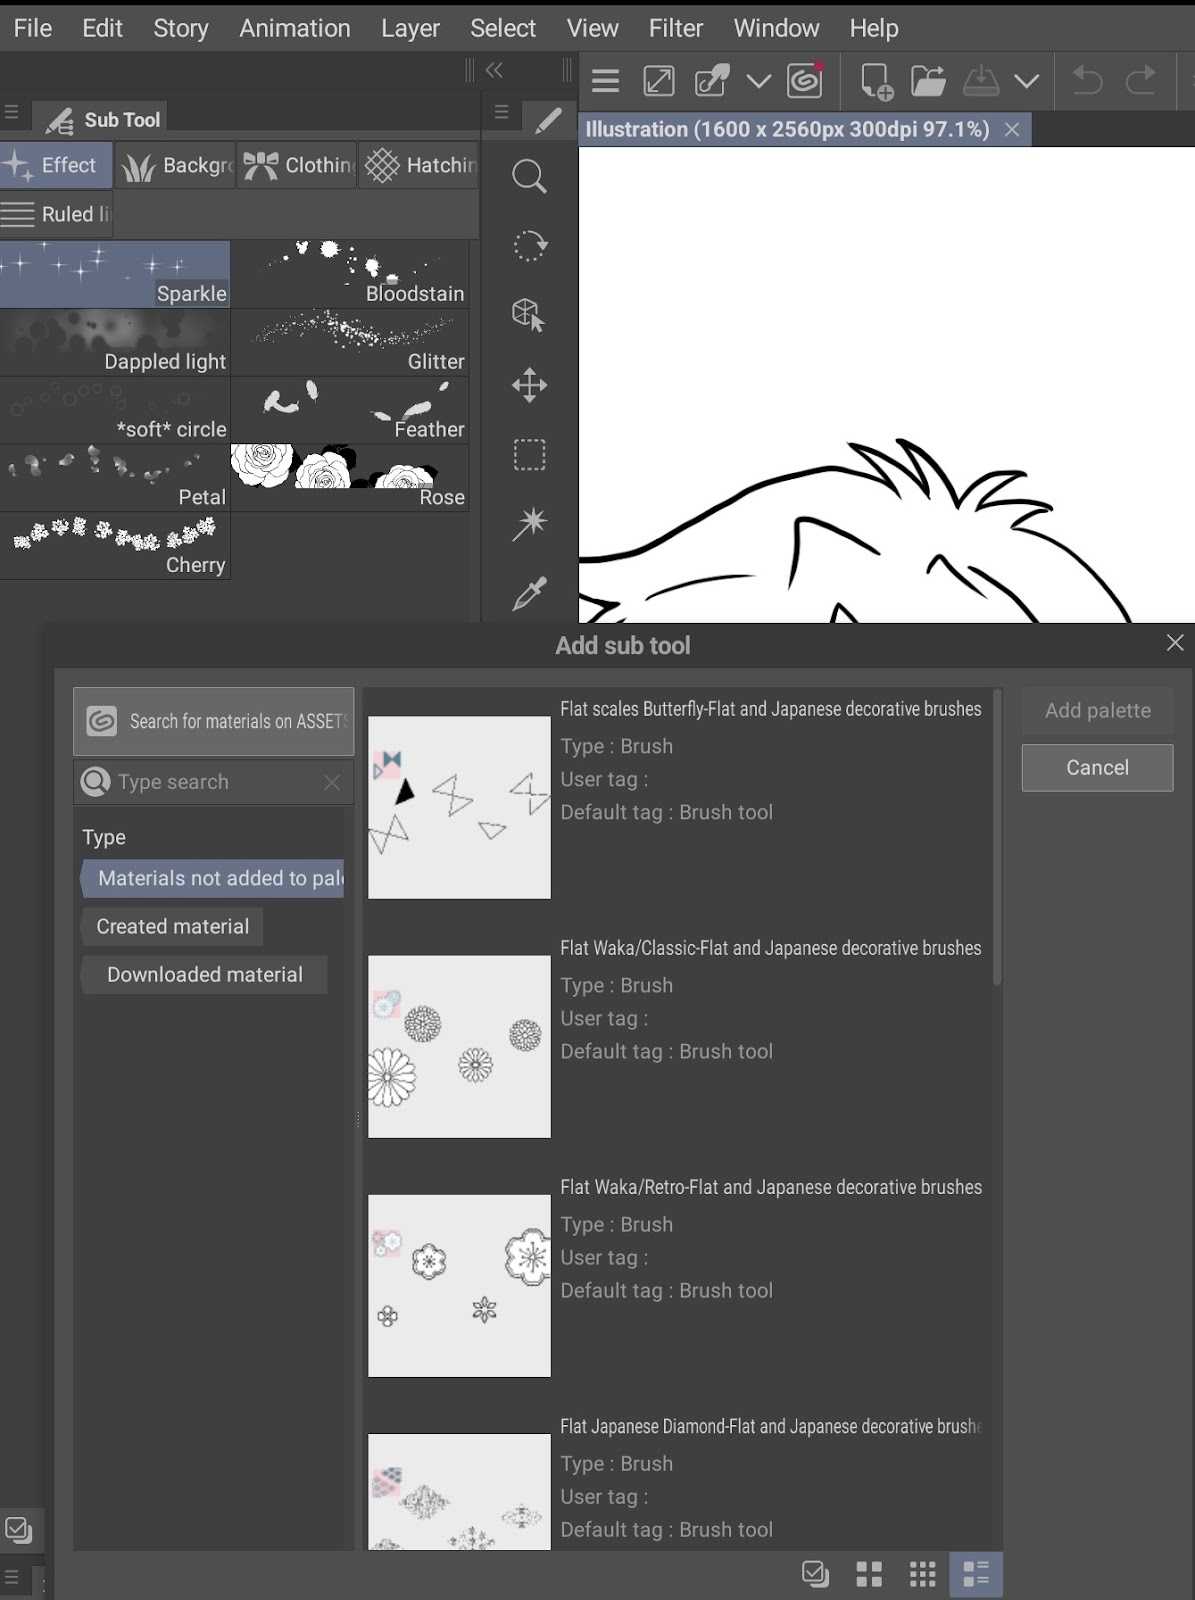
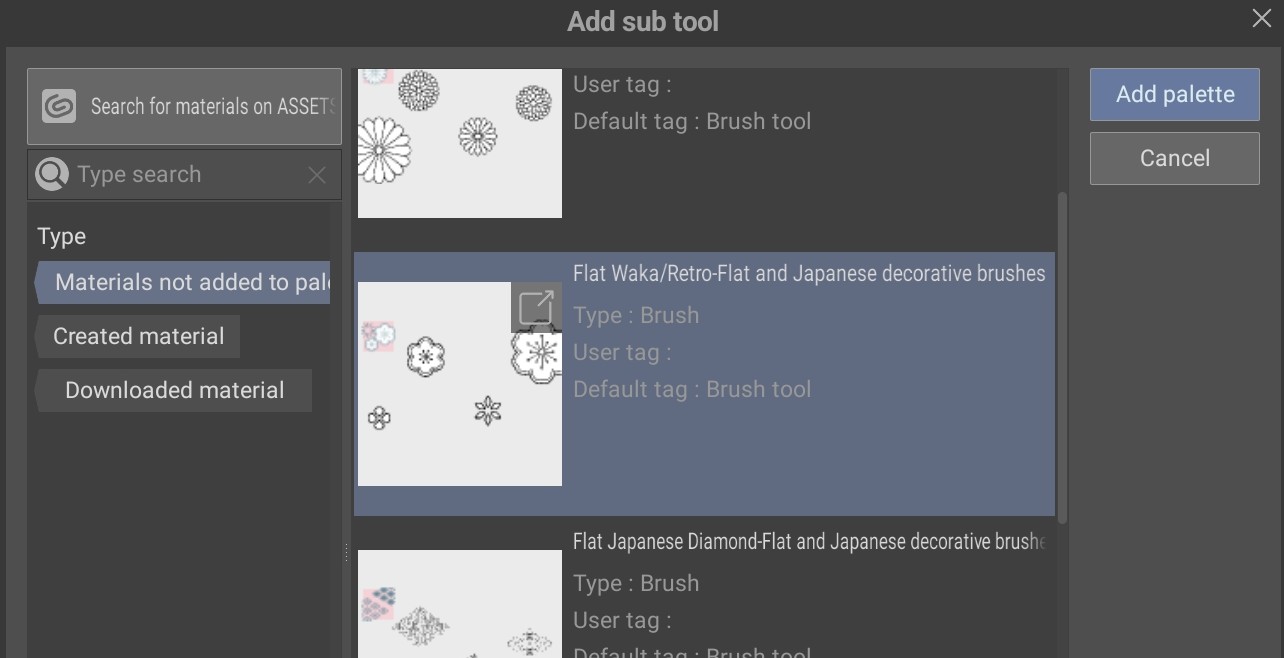
The Add Sub Tool window will come up. Find the brush that you downloaded from CSP Assets in the list of Materials and click on it to select it. Click the “Add Palette” button.
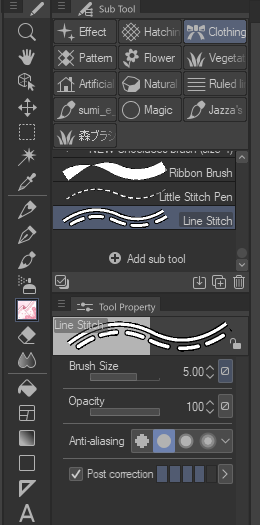
The selected Sub Tool will now show in the category you chose and you can click on it to use it.
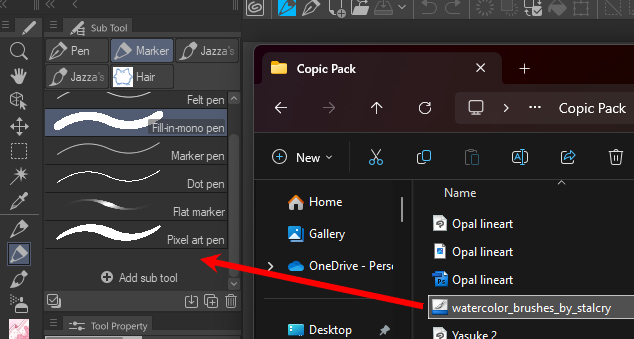
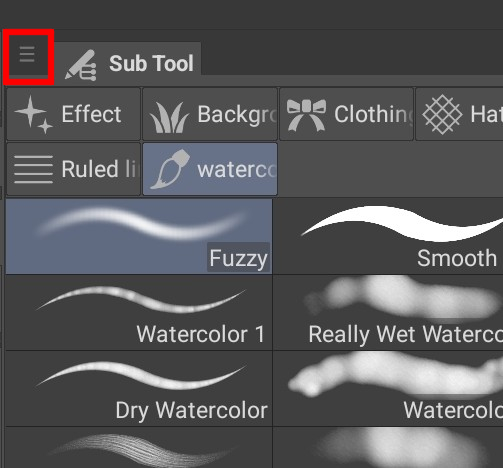
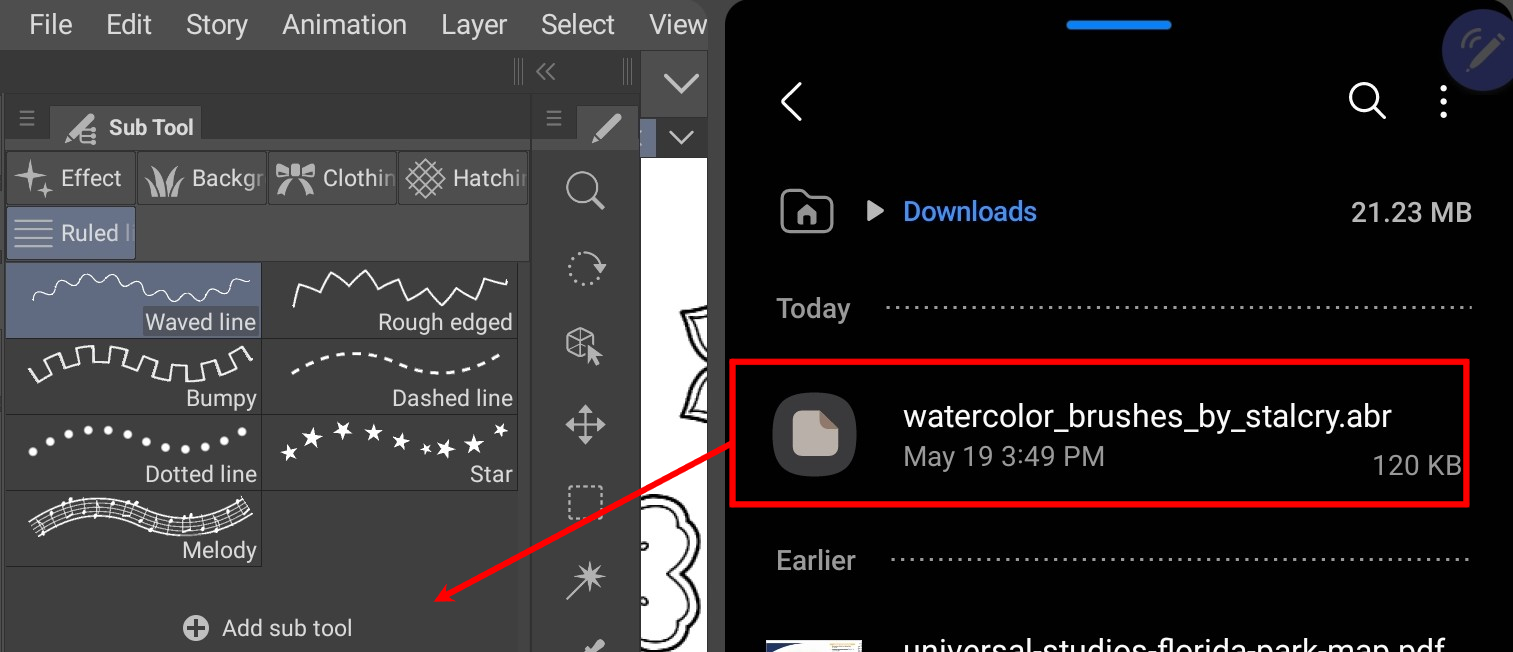
The following method works for brushes downloaded from another source, such as brushes purchased on Gumroad or brushes that were initially created for Photoshop. To start, open the location where your brush has been downloaded to your desktop. In Clip Studio, open the sub tool palette where you want to put your brush. Make sure you can see both the Clip Studio sub tool palette and the folder where the brush is saved at one time.
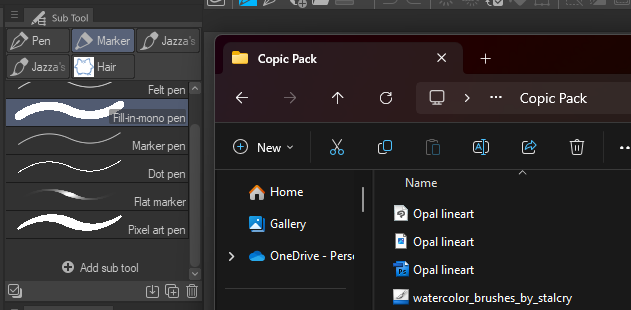
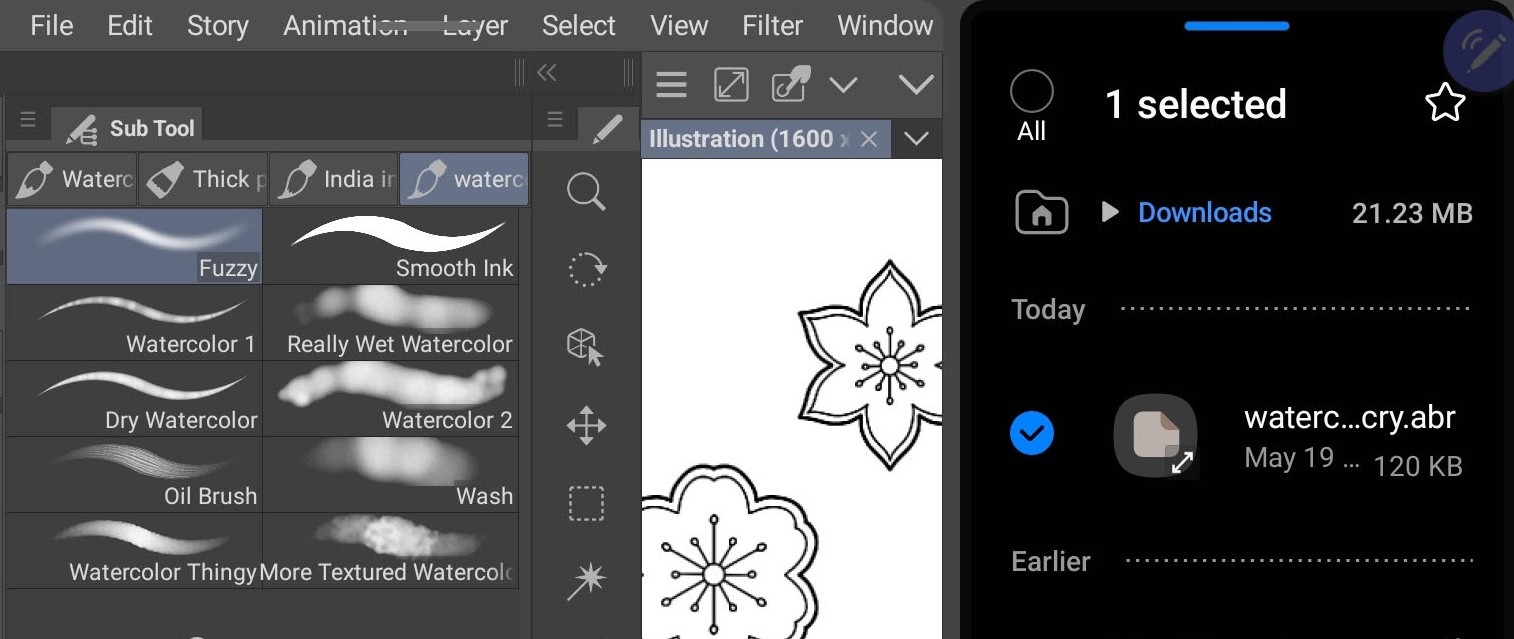
Click on the brush file to select it. Then drag the brush file over to the Clip Studio Paint sub tool palette. When you are in the right place, your cursor will change to have a small “+” next to it. Release the drag to start the import.
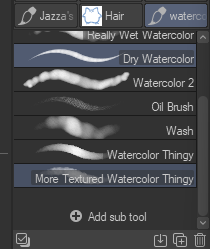
You should now see the new brushes in your Sub Tool palette!
This method also works to drag and drop downloaded brushes from the Material Library window as well.
iPhone/iPad Versions
In this first part of this section I will be adding a new brush in the Studio Mode of the mobile version of Clip Studio Paint.
Open the Sub Tool category that you want to add to. I will be adding to the Decoration - Clothing category. Click on “Add Sub Tool” below the last brush in the list.
If you haven’t already downloaded any sub tools, you will only see the “Search for sub tools on ASSETS” button in the Add Sub Tool prompt. Click this to go to ASSETS to search for brushes to add.
After downloading your brushes they will show in the Add Sub Tool window.
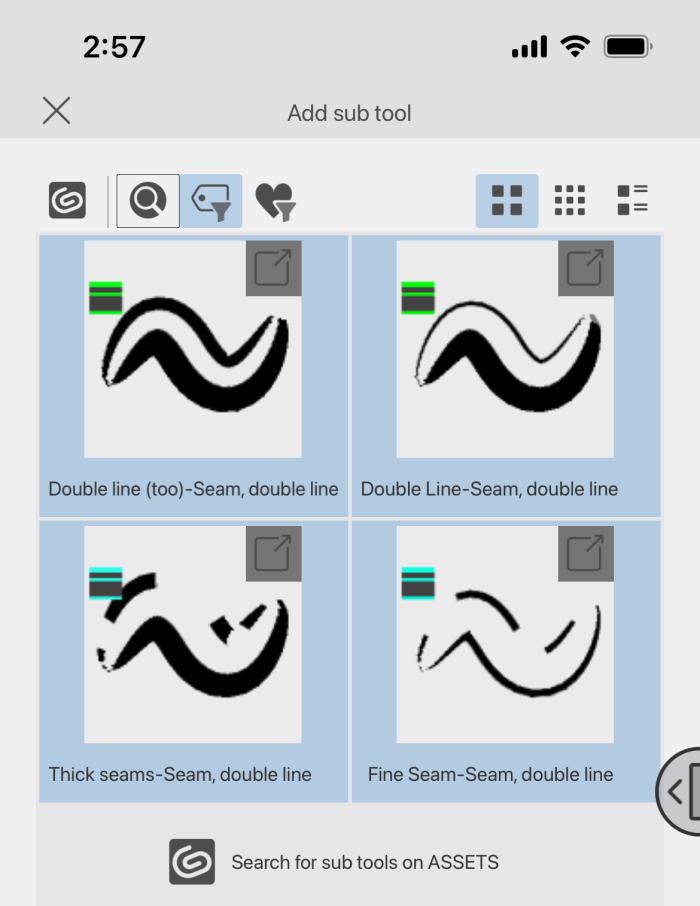
Tap on the brush you want to add, then tap on “Add Palette” at the bottom right.
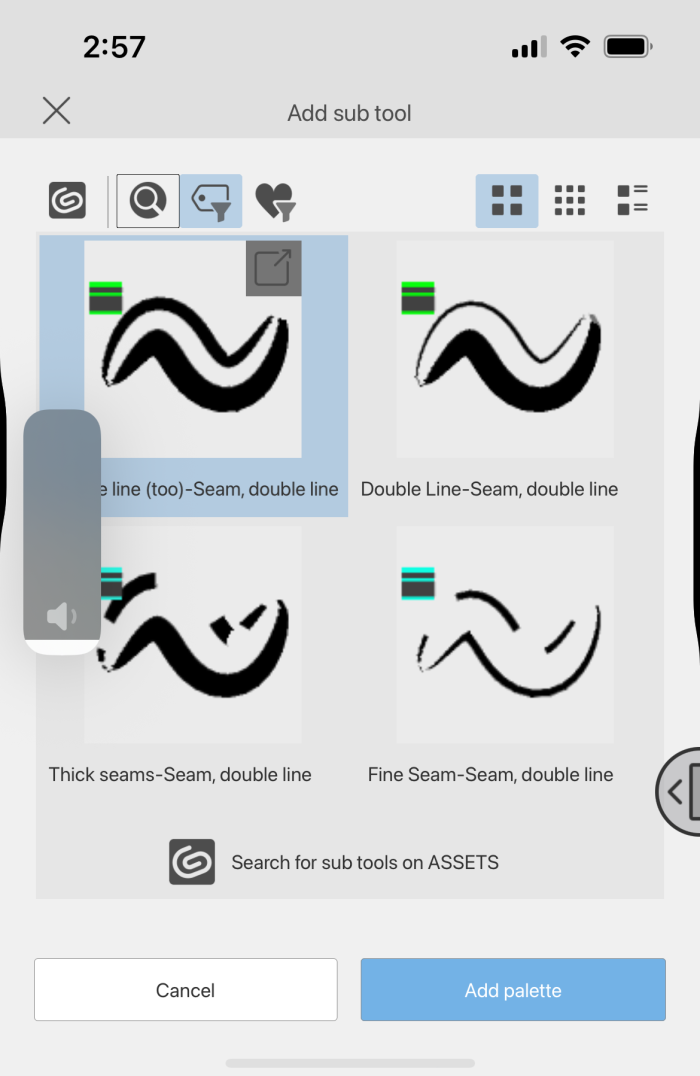
Your new brush will be shown at the bottom of the sub tool list.
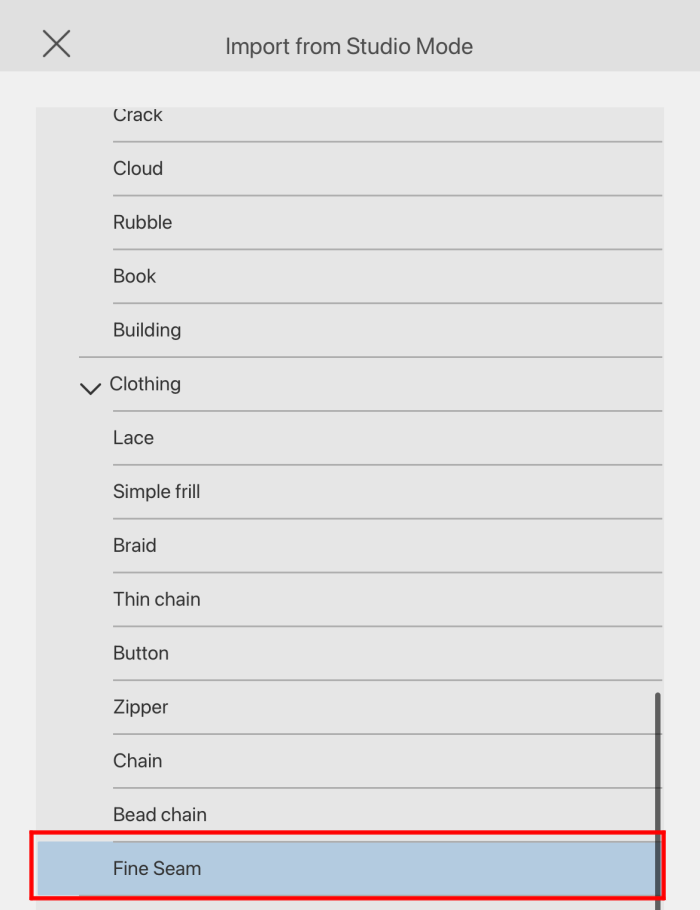
After importing brushes in Studio Mode, you can then use them in Simple Mode by importing them from the Studio Mode. Switch to Simple Mode, then tap on the brushes icon in the middle bottom of the screen. Tap on the “+” at the top of the pop-up and then tap on “Import from Studio Mode.”
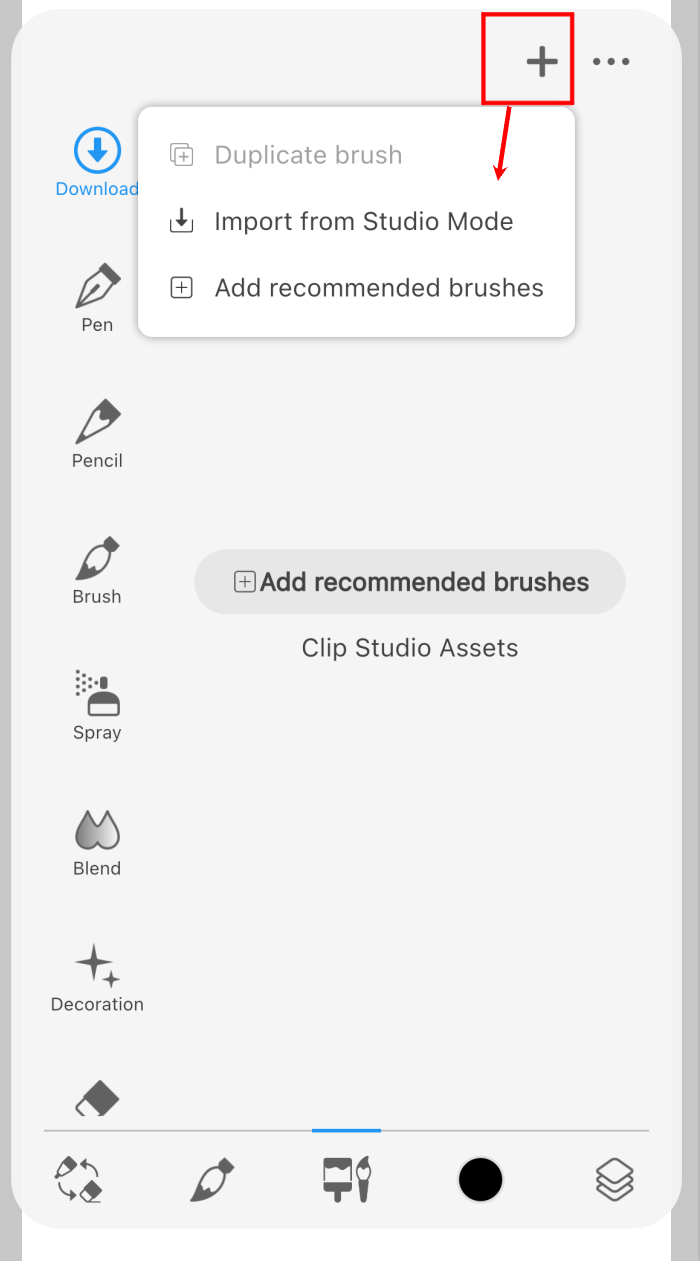
Find the sub tool you want to import by going through the drop-down menu of categories, then tap it to select. Click “OK” at the bottom of the screen to complete the import.
Android Versions
The following instructions are for brushes downloaded through the ASSETS marketplace. For brushes downloaded from other websites (such as Gumroad) or Photoshop brushes, see below.
Open the Sub Tool category where you want to place your new brush, then click “Add sub tool” below the current brushes.
Locate the brush you want to add in the “Add sub tool” window, which shows items downloaded through Assets.
Tap on the brush you want to add to select it. Then click “Add palette”.
Your new brush is now ready to use!
You can also perform this same operation by starting out by tapping the three lines at the top of the Subtool window and tapping “Import sub tool”, then following the same process outlined above.
To import brushes saved to your device, first open the location where they are stored. You may need to look up how to find this on your specific device.

Switch to split screen mode (again, you may need to look up how to do this on your specific device!) so that you can see the storage location and Clip Studio Paint at the same time. Tap on the brushes to import and drag them to the Sub Tool window.
Your new brush or brushes will be added! This is an easy way to add lots of brushes at once rather than one at a time.
Conclusion
Importing new brushes is an easy way to personalize your Clip Studio Paint for the types of illustrations you want to create! And with the huge number of brushes out there, you can find just about any type of brush that you need!
For more information on CLIP Studio Paint, please visit https://www.clipstudio.net/en or https://graphixly.com