Grouping and Saving Multiple 3D Objects
Contact Graphixly @
Hello! My name is Liz Staley and I’m a long-time user of Clip Studio Paint (I started using the program back when it was known as Manga Studio 4!). I was a beta-tester on the Manga Studio 5 program and for Clip Studio Paint, and I have written three books and several video courses about the program. Many of you probably know my name from those books, in fact. I write weekly posts on Graphixly.com and on CSP Tips, so be sure to come back every week to learn more Clip Studio Tips and Tricks from me!
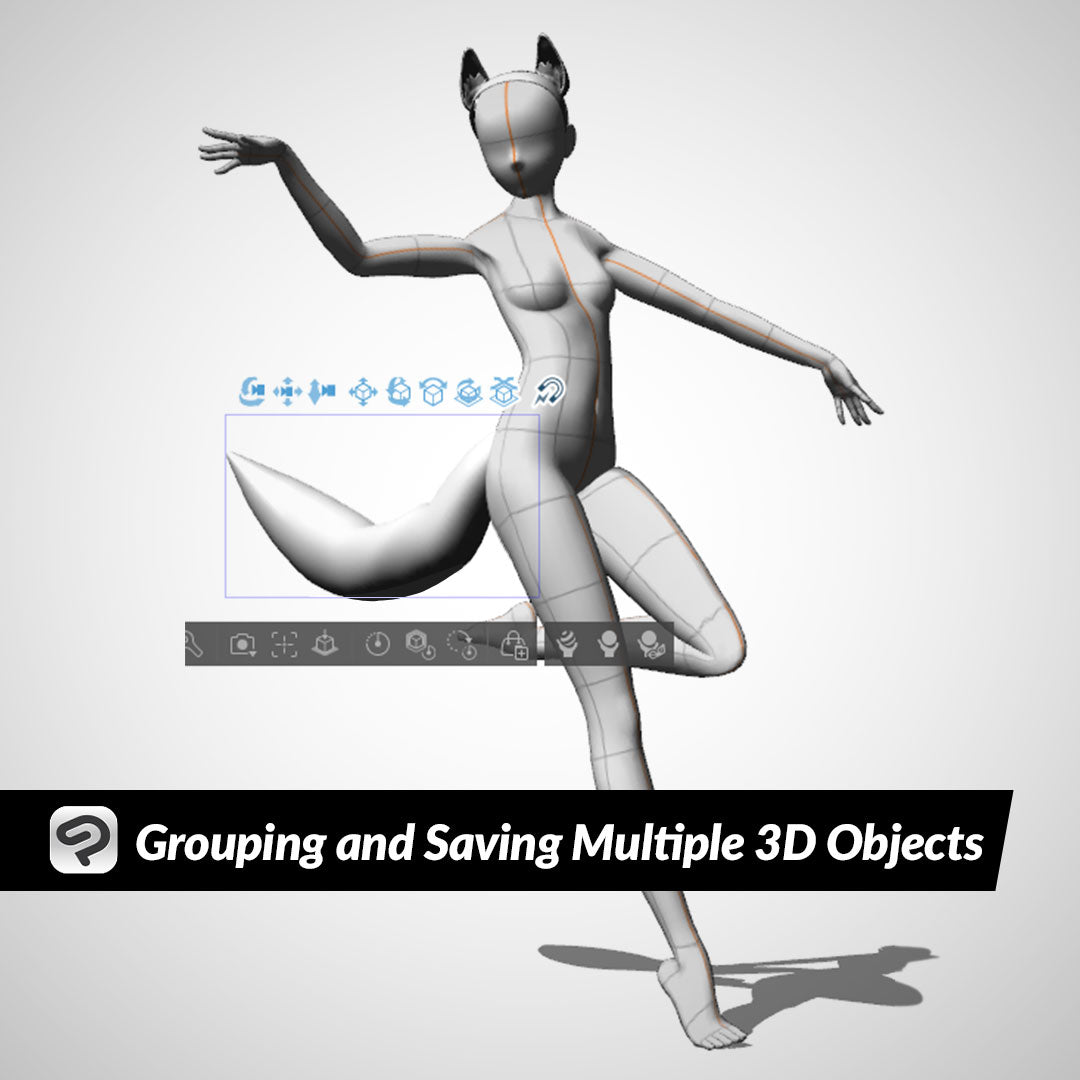
Sometimes you just need to use 3D models as reference, especially for tricky angles and poses! So being able to customize those models to look more like your character, or being able to add items such as phones or weapons to a character’s hand and have it move with the hand are really a time-saver! In this article we’ll learn how to group 3D models together to make a custom character and then we’ll save that group of models to the Materials library to use again at a later time!
In this article we will cover the following topics:
Grouping 3D Objects Together
Saving Grouped Objects as a Material
Let’s get drawing
Grouping 3D Objects Together
For this article I’m going to be creating a model for a fox-girl character. I have put all the various parts for the character on to one 3D layer, including the body model, a pair of fox ears, a fox tail, and a headband. The links to each of these CSP assets can be found below.
https://assets.clip-studio.com/en-us/detail?id=1750297
https://assets.clip-studio.com/en-us/detail?id=1925312
https://assets.clip-studio.com/en-us/detail?id=1830524
https://assets.clip-studio.com/en-us/detail?id=1889653
You don’t have to have the model parts resized or even positioned correctly yet, we’ll correct everything in a little bit! Just get your 3D models on to one layer.

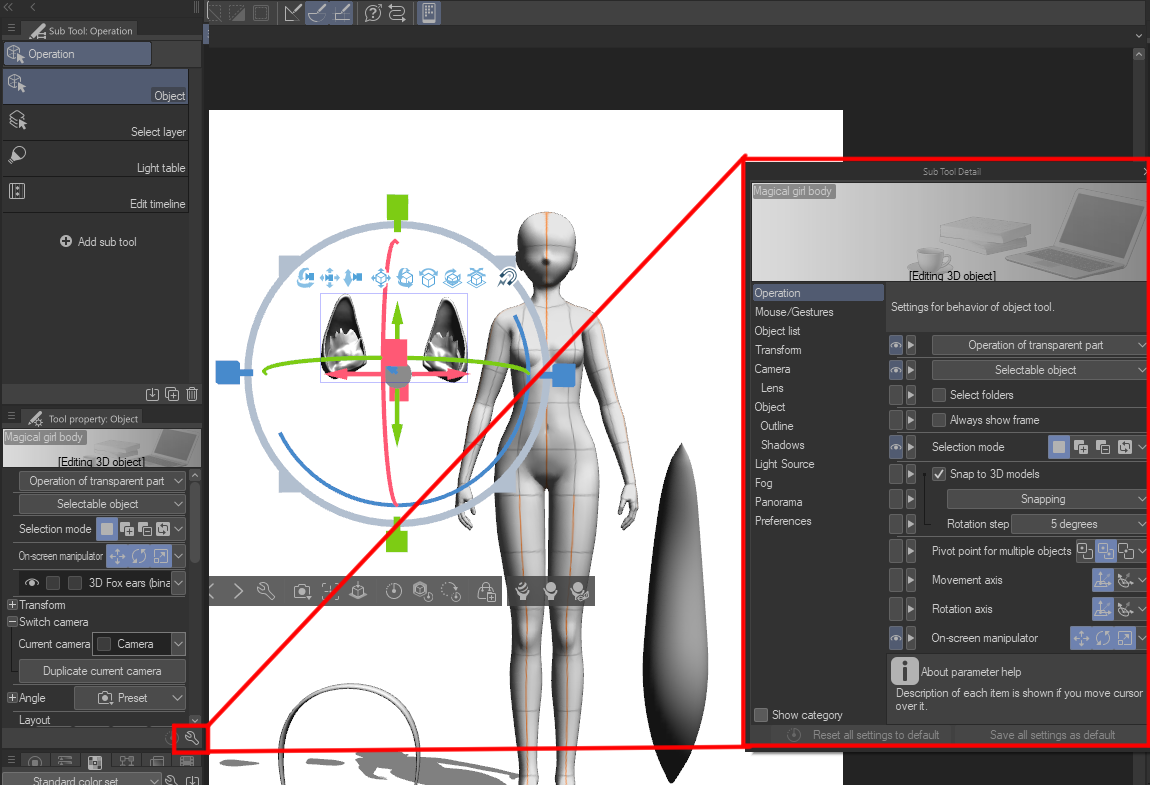
Using the Object subtool, click on one of your 3D models. Then click on the wrench icon in the Tool Property palette to open the sub tool detail window.

In the Sub Tool Detail window click on the Object List category on the left side. This will show a list of your 3D elements.

We are now going to link the accessory models to the character model. I’m going to start with the fox ears. In the object list, I click and drag the Fox ears model so that a red box appears around the “Magical girl body” character model, then release.

The 3D fox ears now appear underneath the Body shape as a linked model. In the “Attachment point” dropdown we can now select a body part to attach the secondary model to. I’ll select “Head” for the ears.

Choosing the attachment point will move the secondary model to that attachment point, and we can adjust the size and placement later. So for now I’m going to continue dragging-and-dropping the character accessories and choosing attachment points. For the tail I choose “Hips”, and the headband also gets attached to the head.

Here’s what we have once the models are all linked. The accessories are all roughly in the right position, but need to be resized and adjusted to make them fit the model.

Select a secondary model and use the controls to resize and adjust it. I scaled the ears down and adjusted the position so that they fit the head.

Repeat the process with each part. The headband needed the most adjustment to make it look like it was sitting on the character’s head and not going through parts of the head or ears.

I also double-checked the tail model to make sure that it is a good size and position for the character model. This took the least amount of time as it just took a little bit of repositioning to get the look I wanted.

The best thing about this process is that when you reposition the main character model, the linked models all move with it! In the screenshot below I loaded a new pose and the other models moved as well to follow the attachment points of the head and hips.

Of course the pose data did not include information for the fox tail, but thankfully this is a rigged model and can be posed and moved to fit the flow of the pose, so it was the only model I had to move manually!

Saving a Group of Objects as Material
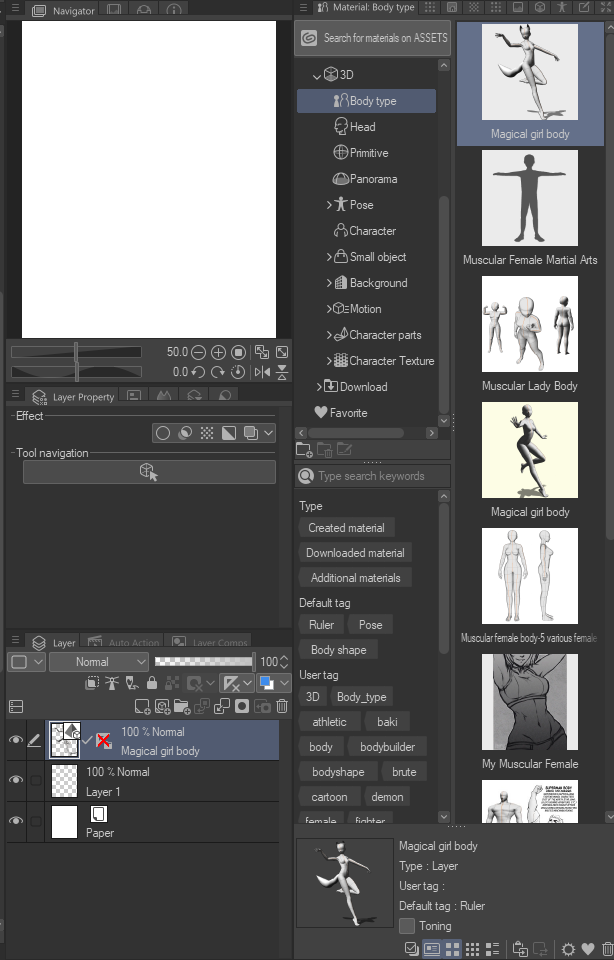
Now that we have a group of 3D models set up, we can also save them as a Material so that we can use them again quickly without having to do all the linking and setup again! Before starting, make sure that your Material Library window and your Layers palette are both visible. I made sure that the folder I wanted to save my model to was open in the Material Library.
Click on the 3D layer in the Layer palette to select it, then click and drag from the layer palette to the Material Library. You should see a red line around the Material library window when you have it in the correct spot.

Release your drag and the 3D model will show in the Materials Library. (note that since my character was posed, it saved the pose too. If you will be using and posing the same model over and over again, it might be best to save the model in a neutral pose, such as standing, to make posing easier)

Click the model in the Material Library and then click the Gear icon at the bottom of the Material library window to open the Material Property window. In this window you can change the Material name, add tags, or change the Material folder.

Click OK to save the changes. Now we can open up another file and drag our model on to the canvas.

Our new character is saved with all the accessories we added and can now be posed again for a new image!

Conclusion
If you have a character with certain traits that you use a 3D model as reference for but don’t want to constantly adjust your reference model, this can save you so much time! Set up your character(s), then save them and use them whenever you need a reference!
For more information on CLIP Studio Paint, please visit https://www.clipstudio.net/en or https://graphixly.com
1 comments
Loved. I was looking exactly for this!!!
Thank you so much