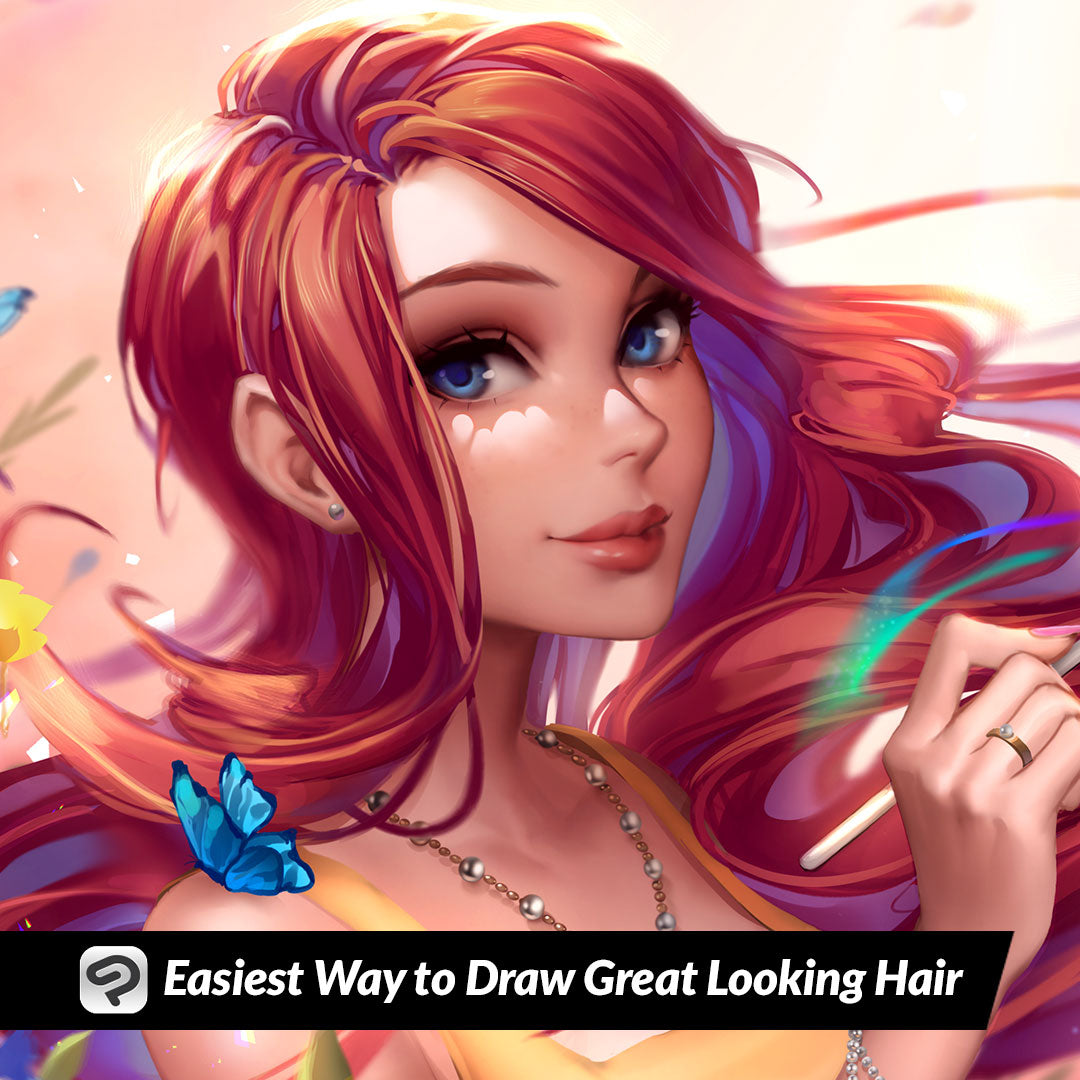
Easiest Way to Draw Great Looking Hair
Contact Graphixly @
Hello! My name is Liz Staley and I’m a long-time user of Clip Studio Paint (I started using the program back when it was known as Manga Studio 4!). I was a beta-tester on the Manga Studio 5 program and for Clip Studio Paint, and I have written three books and several video courses about the program. Many of you probably know my name from those books, in fact. I write weekly posts on Graphixly.com and on CSP Tips, so be sure to come back every week to learn more Clip Studio Tips and Tricks from me!
I’ve seen this tip floating around for awhile but honestly was never interested in trying it until recently. To be honest, I thought “I don’t have any issues drawing hair, so I don’t need this!” However, now that I’ve tried it, I actually really like this tip a lot and I think I might be using it more. If you have trouble drawing hair, especially hair with some more detailed strands, then try this out!
In this article we will cover the following topics:
Shaping the Hair
Finishing Details and Adding Color
Let’s draw some hair!
Shaping The Hair
A lot of tutorials I’ve seen have recommended downloading or making a brush that has a white interior and a black border. If you want to download a brush like this, that’s fine - the one below is nice! However you don’t need to download a special brush to follow this tip and can do it with any pen tool that you like.

I will be showing the steps for how to do this technique without downloading a specific brush.
To start, I’ve found it’s nice to have a basic idea of the hair shape and flow. This doesn’t need to be a super detailed sketch, but I like knowing basically where I’m going.

Make a new raster layer for the hair. Then in the Layer Property window, click the “Border Effect” icon, shown in the red square below.

This will turn on the border effect settings. This will put a border around anything in this layer, which is why we started a new, blank layer for our hair so this border won’t apply to any other line art. The Thickness of Edges setting controls how thick this border is, and can be adjusted “on the fly” so just set it to something that is easy to see at first because you can always make it thicker or thinner later.

Click on the box next to Edge Color and set the color you want your border to be. I’m choosing black, but if you like to ink in a different color you can set it here.

Now make sure that white is your active color and start making strokes with your favorite pen tool while following the general shape of your hair sketch. It is important to make sure you’re using white for the active color because of a step we will be doing in the following section.

Start filling in the hair, making sure to pay attention to the shape of the strands. I like to leave some open spaces to show the hair is flowing or to aid in adding strands that are crossing over or under one another later. This doesn’t need to be very detailed right now, we will be adding some more lines in a few steps to finish off the hair, so just concentrate on the overall shape and flow right now.

In the next section we will get our layer ready to add additional line details and also add color!
Finishing Details and Adding Color
Once you like the shape and base details of your hair, it’s time to make it so we can add line weight and additional details. However, if we want to adjust line weight on the outline we will need to make it so that we can add to or erase the black lines. While these are a border effect we can’t edit them (other than changing the color and changing the width of the entire border!)
To make the border effect a permanent part of the layer, right-click the layer in the Layer palette and select the Rasterize option.

Now we can directly erase or make the black lines thicker because they aren’t a border effect any more. Add extra lines to the inside of the hair to add more detail. Clean up the edges of the hair anywhere where it isn’t supposed to show (I had to erase it from the inside of my character’s face and where it was showing through the elbow of the front arm).

To add color, you could set the hair layer to the Multiply blending mode and then add a color layer below it. However I prefer to remove the white and then merge the hair lines down with the main ink layer instead. To do this, click on Edit - Convert Brightness to Opacity.

All the white will vanish, leaving our inked lines with just transparency!

Now you can add color as you normally would!

I first used this technique for the example in last week’s blog post when I was having issues with the hair on this character and fell in love with it. It made figuring out this tangle of hair much easier!

Conclusion
If you have trouble getting your characters’ hair to look natural or if you have issues with inking, I recommend giving this technique a try for sure! It’s so simple but I definitely feel like it could be very helpful to a lot of artists.
For more information on CLIP Studio Paint, please visit https://www.clipstudio.net/en or https://graphixly.com