Drawing shaking hands
Contact Graphixly @
Hello! My name is Liz Staley and I’m a long-time user of Clip Studio Paint (I started using the program back when it was known as Manga Studio 4!). I was a beta-tester on the Manga Studio 5 program and for Clip Studio Paint, and I have written three books and several video courses about the program. Many of you probably know my name from those books, in fact. I write weekly posts on Graphixly.com and on CSP Tips, so be sure to come back every week to learn more Clip Studio Tips and Tricks from me!
It can be a bit intimidating to have to draw two hands interacting with each other. But if you break both hands down into parts and use reference, it’s not much more difficult than drawing one hand on its own.
Let’s get drawing!
Drawing the Hands
As usual, I will be working from several references for this hand pose. The reason I use several references is because I like to combine elements that I like from a few different sources to create my own thing, which we’ll see here in a bit.
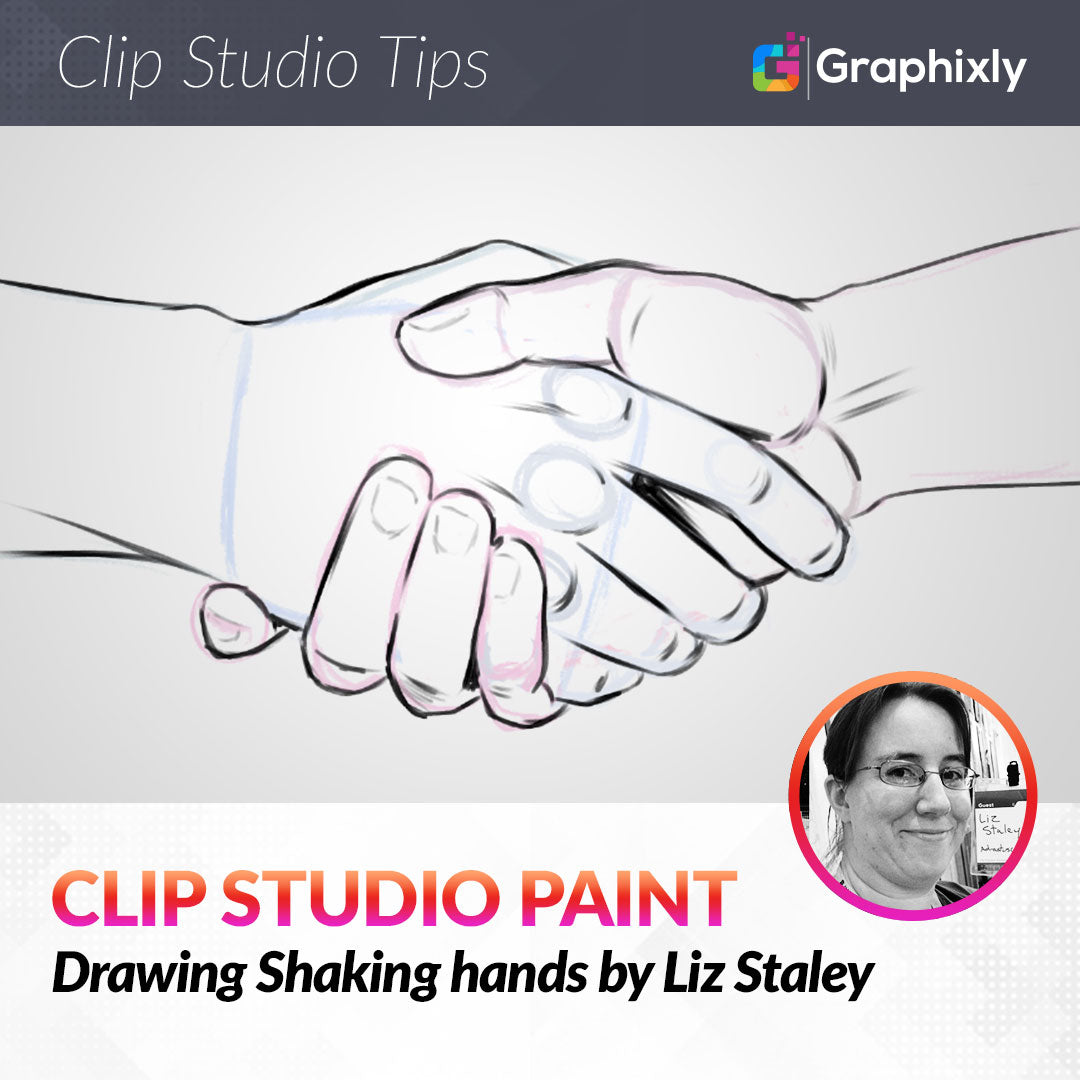
As usual with my hand breakdowns, I’m starting with the shape of the palm. In this case, I am going to be drawing the hand on the left (in blue) first, but I’m also blocking in the palm of the hand on the right as I start the process. This is so I have a point of reference for what the hand on the left is interacting with.

I’ll be working on the front hand first and will be drawing it in shades of blue. The first thing I did after getting the two palms roughed in was to draw some ovals down the side of the front palm to mark out the knuckles where the fingers attach to the palm.
Once I had the knuckles marked out, I sketched in the fingers. While doing this I realized that the proportions were incorrect on the other palm, but that’s okay because it can be fixed later.
I find that drawing the fingers in segments helps me to get them positioned a bit more easily. Double-check the references for positioning and to ensure the correct number of finger joints are visible.

To finish off this hand, sketch in the visible part of the thumb and then the rough shape of the arm.

Now it’s time to start blocking in the back hand. Because most of this hand is hidden behind the other, it is important to line up ‘landmarks’ on the back hand with ones on the front hand to maintain proportions. For instance, I noticed that the first bend in the thumb of the back hand lined up with the knuckles on the front hand.

At this point I decided to change the position of the thumb so that it was more on top of the hand in front instead of wrapping around it tightly.

The sketch is starting to get a bit messy but we’re almost there. This is why I sometimes do sketches like this in different colors, so that I can tell what’s what!
The fingers for the back hand wrap around the palm of the front hand and only parts of them are seen. If needed, sketch the rough shape of the fingers behind to get the placement correct.

Now that the rough sketch is complete, I like to take an eraser and clean it up a little so it’s easier to follow in the next steps.

Using a favored pencil tool on a new blank raster layer, I then start to clean up the sketch with another pass of drawing. In this version I will work on finalizing the lines and adding detail. You’ll notice in the screenshot below that for this process I tend to work from one side to another rather than by parts of the hand.

Remember to continue checking any references even as you clean up your sketch! I also like to mark out some areas of deeper shadows during this step, like the space between the first and middle fingers on the front hand in the image below.

Conclusion
As I’ve stated before in this series, this is just the way that I would tackle this particular hand pose and every artist has their own way of doing things. But I know that I learn a lot by watching other artists go through their process so I hope this can help someone!
For more information on CLIP Studio Paint, please visit https://www.clipstudio.net/en or https://graphixly.com