Doing a Random Color Art Challenge with CSP
Contact Graphixly @
Hello! My name is Liz Staley and I’m a long-time user of Clip Studio Paint (I started using the program back when it was known as Manga Studio 4!). I was a beta-tester on the Manga Studio 5 program and for Clip Studio Paint, and I have written three books and several video courses about the program. Many of you probably know my name from those books, in fact. I write weekly posts on Graphixly.com and on CSP Tips, so be sure to come back every week to learn more Clip Studio Tips and Tricks from me!
I’ve been seeing these “Random Color Challenge” videos all over my YouTube and Facebook, and thought it looked very fun! However I’ve also noticed that everyone doing them seems to be using Procreate, so I wanted to figure out a way to do this random color challenge in Clip Studio Paint.
In this article we will cover the following topics:
Trying the Liquify Tool
Creating Random Colors in Clip Studio Paint
Let’s get drawing
Trying the Liquify Tool
All the videos I’ve seen doing this have started with a field of random dots of what’s called Color Noise, like below.

The artists in these videos then use Procreate’s Liquify tool and use it to expand some point of color. In Procreate, this basically “zooms in” on one color, making it fill the area. However, the Expand option on Clip Studio Paint’s Liquify tool doesn’t work this way, and trying to recreate this way of picking colors left me with the results below.

So obviously doing this challenge the way I’ve seen on YouTube Shorts isn’t going to work, but that’s okay! We’ll just have to figure out a different way.
Creating Random Colors in Clip Studio Paint
So first let’s find a color jitter brush on Clip Studio Assets. I chose the one shown below because it puts down a new, random color with each stroke of the tool. Download your chosen Color Jitter brush and install it.

Next I’m going to pull up a basic face layout. I have another sketch that I’m going to use for my actual colors, I’m just using this to save my palette. If you’re making this for a video, you may want to create some little drawings with the area you’re picking colors for emphasized to make the video look better. Since I just wanted to see if this would work, I simply used a basic face layout stamp I created in another post.
Choose a base color. This can be anything, because the hue doesn’t matter. With the brush that I chose to use for this challenge, the saturation and brightness do NOT change, so if we pick a very bright and saturated color, we will get a bright and saturated palette. If I chose a pastel shade, the palette I get will be more muted. I tried to choose something not too saturated but not too dark either.

Next, decide what area of the drawing you’re currently choosing colors for. I decided to start with the skin color. Then I pressed down hard on my stylus and filled in the skin area of my base drawing without picking up the stylus at all so that the color wouldn’t change.

I then continued doing one stylus press for each area of my drawing I’d be coloring, including eyes, hair, hat, and jacket colors. This doesn’t need to be pretty since I’m just going to be picking colors from this image.

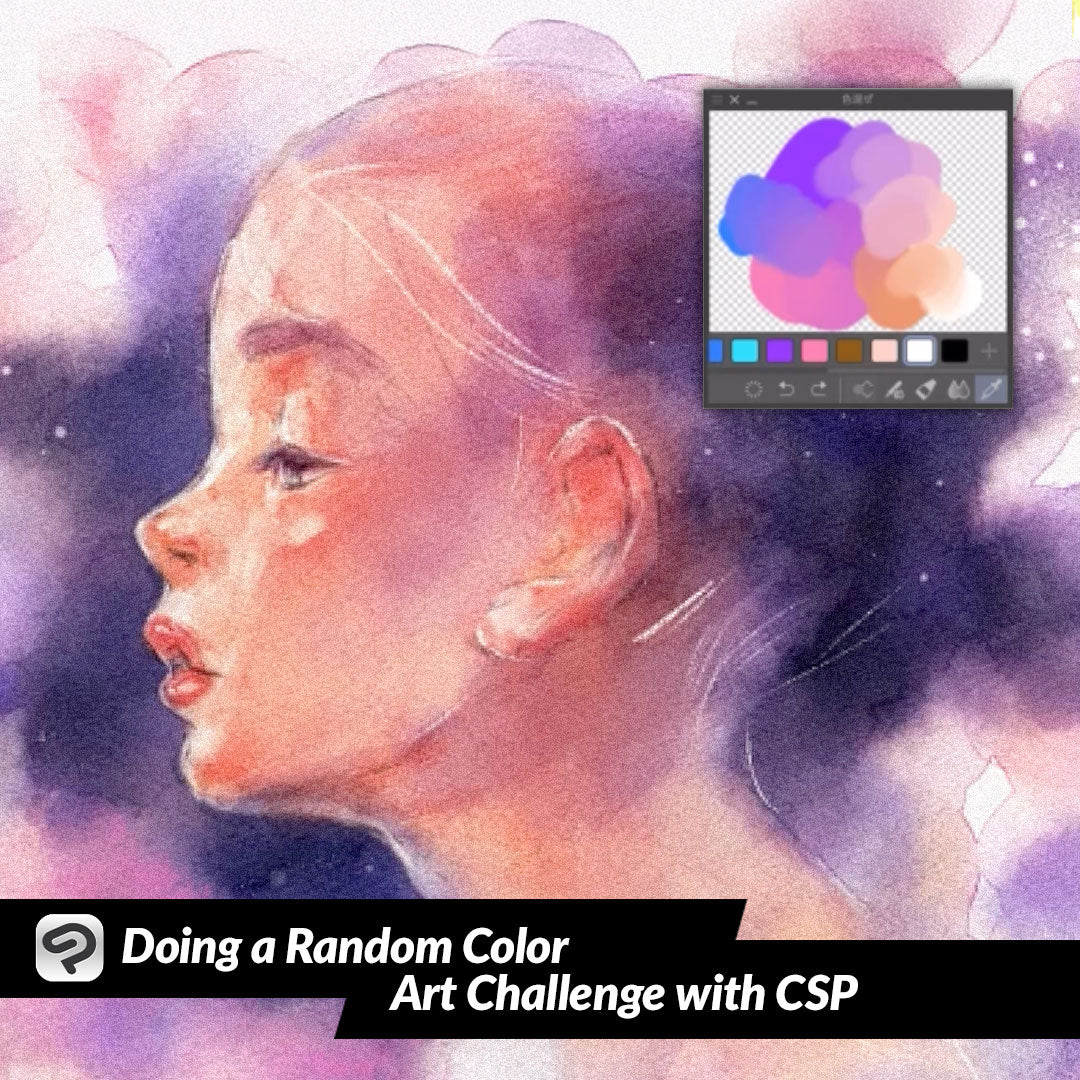
Now, using the palette selected by the random color brush, I colored in my drawing!

It’s probably not the most exciting color palette, but it’s definitely not the palette I would’ve chosen on my own for this drawing and I think that’s the fun part of doing a challenge like this!
Conclusion
Just because you can’t do the random color challenge exactly like the videos online doesn’t mean that you have to miss out! By just thinking outside the box a bit we can still get random colors to make an image with and experiment with color.
For more information on CLIP Studio Paint, please visit https://www.clipstudio.net/en or https://graphixly.com