Creating Multiple 3D Cameras
Contact Graphixly @
Hello! My name is Liz Staley and I’m a long-time user of Clip Studio Paint (I started using the program back when it was known as Manga Studio 4!). I was a beta-tester on the Manga Studio 5 program and for Clip Studio Paint, and I have written three books and several video courses about the program. Many of you probably know my name from those books, in fact. I write weekly posts on Graphixly.com and on CSP Tips, so be sure to come back every week to learn more Clip Studio Tips and Tricks from me!
As of the day I’m writing this, the 1.12.7 update of Clip Studio Paint just became available to download. There aren’t any major changes in this update, but there are a few that are pretty exciting and will definitely be a huge help when using some of CSP’s most popular features. I can’t wait to explore these new changes to some of these tools to see how I can use them in my projects.
In this article we will cover the following topics:
Adding and Using Multiple 3D Cameras
Let’s get to exploring!
Adding and Using Multiple 3D Cameras
The first step you’ll need to complete is to make sure that you have updated your Clip Studio Paint program to version 1.12.7 so that you have access to the Multiple 3D cameras options. To do this you’ll need to download the updated software installer from Clipstudio.net/en and then run the installer. Once it’s complete you should see the following screen.

Click Finish and then launch the Clip Studio app and open Paint from the home screen.
If you’re unsure whether you’re running the latest version of CSP, you can always check by clicking on Help - Version Information…

This will bring up the information on your current program installation. In the top of the screen, below the name of the program (in my case it’s CLIP STUDIO PAINT EX (64 bit), you will see the currently installed version. It shows that I’m running 1.12.7 so I will have the latest features and bug fixes.

One of the updates in this newest version is the ability to create multiple 3D “cameras”, which makes building and using a 3D scene so much easier! You can create different viewpoints for images that you know you want to capture the scene at, then move a different camera around to facilitate editing the scene without losing the angles that you want to use for your finished piece!
I started constructing a simple scene with a 3D background, two characters, a car, and two small 3D objects and almost immediately noticed that another little “quality of life” improvement has been made to working with 3D objects. Now when moving a 3D object around there are guides that come up with the moving object is aligned with other objects. For instance in the screenshot below a was moving the school bag and the orange boxes showed up with the front face of the bag was aligned with the front of the character. You can use these guides to center or otherwise align 3D items with other 3D items, which is very handy and makes positioning objects much easier!

Clip Studio has always included some default camera angles, available by clicking on the Camera icon in the Launch bar beneath a 3D object that is selected. These default cameras include several different levels of zoom and lots of different common angles, and are great for positioning the camera that you’re working with quickly. Simply click the camera icon, then click the angle you want to view the currently selected object or character from.

By clicking on the first icon in the preset cameras while my girl character is selected, this is the view I get of that character and the models around her.

But what if we want to switch between several different angles while keeping the same setup, and the zoom or angles of the default camera doesn’t give us what we want? That’s where creating multiple cameras we can switch between comes in!
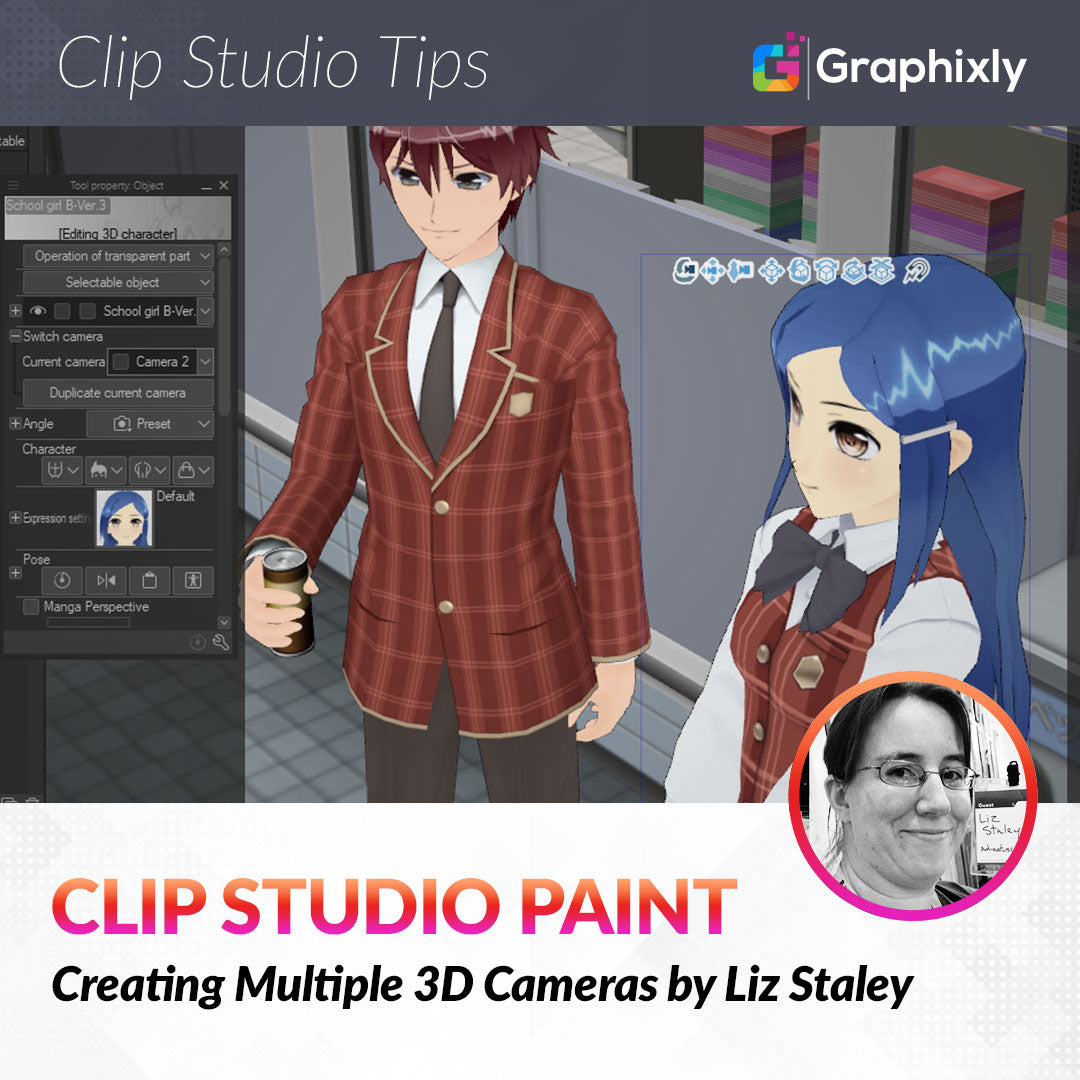
To start setting up a new camera, you’ll need to have one of your 3D objects or characters selected. Then locate the Tool Property window in the user interface.
You will need to locate the “Switch camera” option. If the icon to the left of this text is a + symbol, click on the + to expand it and see all the options.

Under the Switch camera option you will see text that says Current camera, with a dropdown menu to the right of this. Beneath this Current camera box, there is a button that says “Duplicate Current camera”.
Click on the Duplicate Current Camera button. You will not see any change in the view of your 3D object, but now the current camera should say “Camera 2” next to it. Use the camera tools to move the view to a different angle.

Now, click on the downward arrow next to the Current camera option in the Tool Property window. You will see “Camera” and “Camera 2”, each with a thumbnail of what that camera is currently seeing next to it. You can click between the cameras in this menu to switch between them automatically.

To add more cameras, repeat the above steps by clicking Duplicate camera either below the Current camera option or in the Current camera dropdown. Double-check that you are on the camera you want to change the location of, then use the camera controls to move the new camera to the desired location.
In the screenshot below you can see that I have three cameras, each with a different viewing position, and that the one titled “Camera” is still in the front-on default camera from the beginning of this tutorial.

I really like that the thumbnails of what each camera is seeing update as they are moved. This allows me to see that the lighting change I made for Camera 3 (inside the convenience store) has made the background in Camera and Camera 2 very dark, so I can change the lighting without needing to rotate the camera around and then back again. This also makes it so the darkness isn’t a total surprise when I switch to another angle that’s in front of the characters outside the store.

To prevent a camera from being moved out of place, you can click on the checkbox next to the camera’s name in the Current Camera dropdown to lock it. When the camera is locked, a lock icon will show next to it in this menu. Click on the lock icon to unlock the camera to move it.
Conclusion
This is a small but powerful little feature, especially for those who use 3D models and environments frequently in their work. If you have a 3D environment that you use often in your comics, you can set up cameras for the angles that you need to reference most and switch between them with one quick click, while also having a camera that is “free” to move around to set up small objects, characters, or other 3D items.
For more information on CLIP Studio Paint, please visit https://www.clipstudio.net/en or https://graphixly.com