Creating Lightning Magic
Contact Graphixly @
Hello! My name is Liz Staley and I’m a long-time user of Clip Studio Paint (I started using the program back when it was known as Manga Studio 4!). I was a beta-tester on the Manga Studio 5 program and for Clip Studio Paint, and I have written three books and several video courses about the program. Many of you probably know my name from those books, in fact. I write weekly posts on Graphixly.com and on CSP Tips, so be sure to come back every week to learn more Clip Studio Tips and Tricks from me!
Making special effects can be one of the most fun and also trickiest parts of finishing up an illustration. With the right tools and techniques, however, it doesn’t have to be a painful process! The technique we cover in this tutorial is fast and easy, but is so versatile that you can use it for tons of purposes - like lasers, glowing swords, magic, and even the glow from a button or screen!
In this article we will cover the following topics:
Creating a Lightning Effect
Let’s get drawing
Creating a Lightning Effect
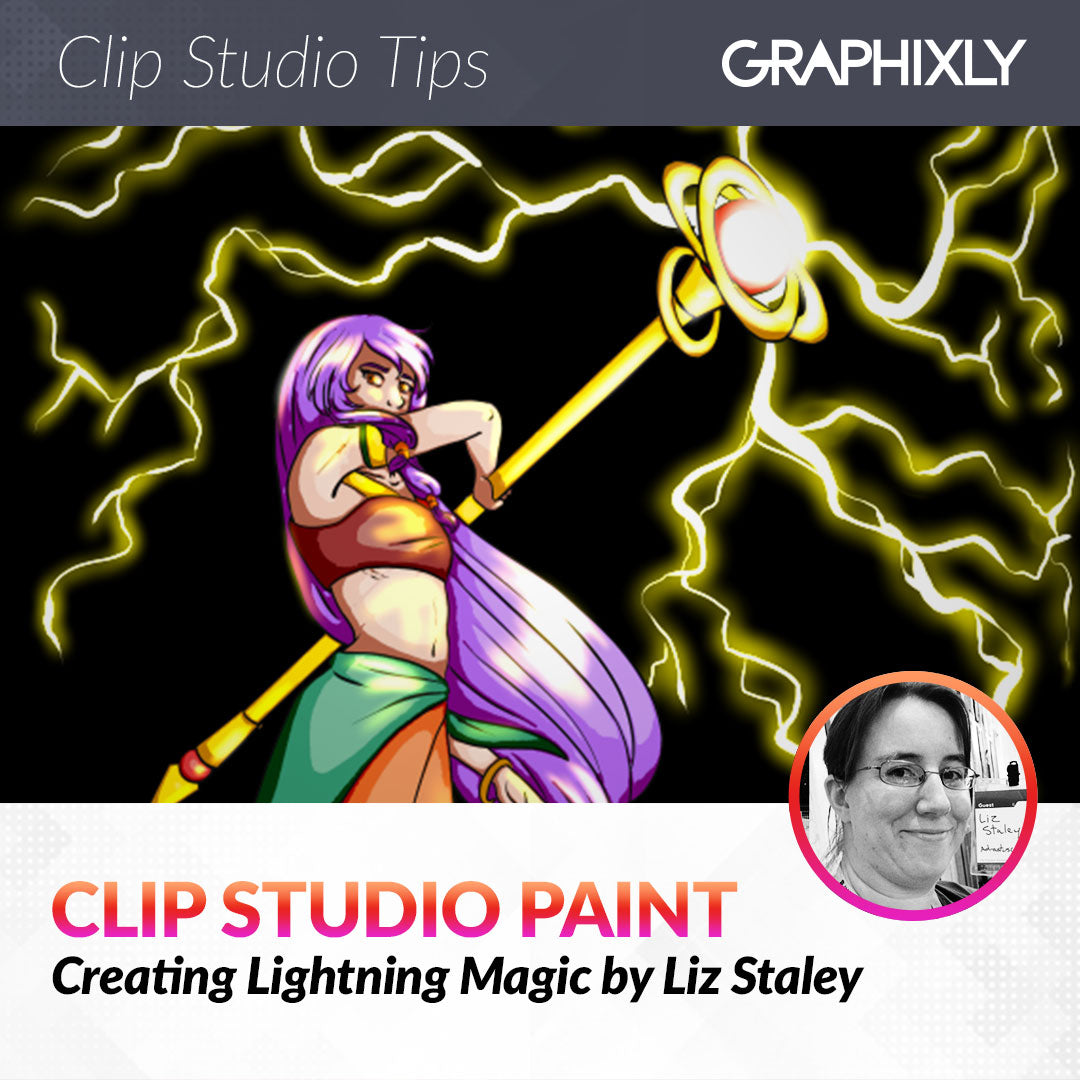
Of course we’ll need something to add our lightning effect to. This could be a drawing or just a canvas if you want to try this technique out before applying it to a finished drawing. I’ve done a quick drawing and added a black background so that the effect is easier to see.
This same technique can also be used to create other glowing items, such as lasers, glowing swords, or even glowing buttons. You just need to change the shape of the core and then add the glow around it.
To start the lightning effect, I created a new raster layer below the staff the character is holding. The lightning will be coming from the gem at the end of the staff, so I started with white and made a halo around the gem. I’m just using one of my favorite inking pens here. 
Now I start mapping out the lightning bolts by making random lines, varying the line thickness by increasing or decreasing the pressure on my stylus. This is going to be the “core” of our glowing effect and the most intense part of the light.
Now, create a new raster layer over the white layer. Set the blending mode of this new layer to Add (Glow).
Now we can add our glow effect! Select the color that you want your glow to be - I’m going to use yellow for our lightning in this example but you can choose any color. Then select the Soft air brush tool. Set the size to a bit bigger than your white core light shapes and then go over with the color so that there’s a halo around them. 
When creating something like lightning, I feel like it looks best to vary the thickness and the brightness of the glow effect. For instance, the arc of lightning that the arrow is pointing to in the screenshot below was gone over with the mouse so that there is no variation to it at all. 
However, when the width and intensity of the glow is varied I feel it looks a bit more natural for something like lightning. The more intense parts of the glow are where I went over with the soft airbrush a few times to build the color up more. 
I continued adding color until I was happy with the look of it.
However, we’re not done yet! After all, the light should be reflecting on to the character and the staff. Create another new raster layer, above the character and line art this time, and set it to Add (Glow) for the blending mode.
On this layer I continued using white with the soft airbrush tool to add glow to the end of the staff. Because the lightning is coming from the red gem on the end, I made that the brightest part of the light. Then I added some white glow to the rings and the handle of the staff as well.

For the lighting on the character I used the same yellow color I used for the glow from the lightning and added some highlights to the areas where the light would be hitting. 
And now it’s done!
Conclusion
This simple but versatile technique has so many applications. Be sure to try it out and customize to your own preferences!
For more information on CLIP Studio Paint, please visit https://www.clipstudio.net/en or https://graphixly.com