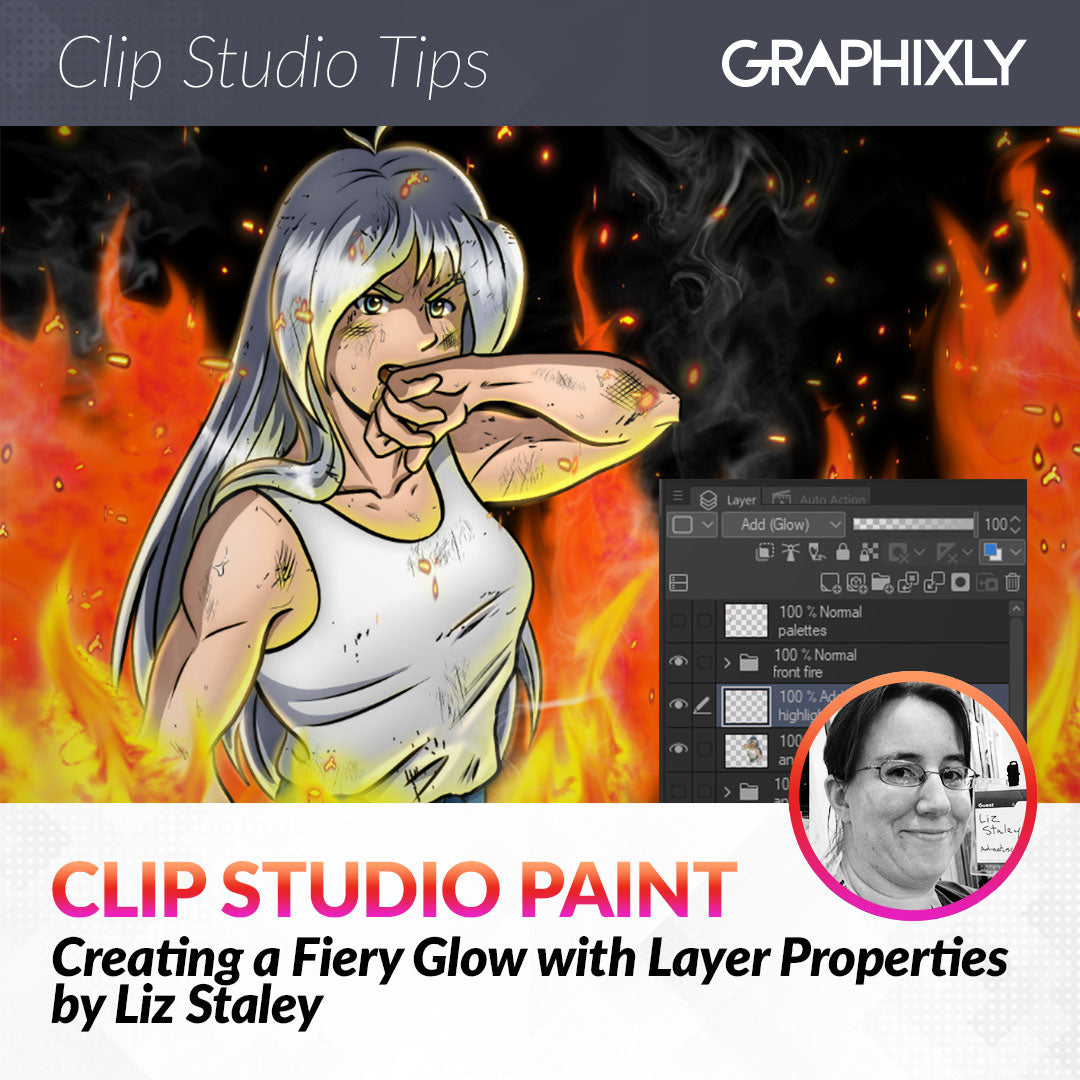
Creating a Fiery Glow with Layer Properties
Contact Graphixly @
Hello! My name is Liz Staley and I’m a long-time user of Clip Studio Paint (I started using the program back when it was known as Manga Studio 4!). I was a beta-tester on the Manga Studio 5 program and for Clip Studio Paint, and I have written three books and several video courses about the program. Many of you probably know my name from those books, in fact. I write weekly posts on Graphixly.com and on CSP Tips, so be sure to come back every week to learn more Clip Studio Tips and Tricks from me!
One of the things that I love to create the most when doing digital art is special effects - things like fire, lightning, colored light and the like. Creating these effects is quite easy once you know how to do it, so today let’s learn how to create some glowing fire and sparks!
In this article we will cover the following topics:
Creating a Fiery Glow
Adding Finishing Highlights
Let’s light it up!
Creating a Fiery Glow
To create the fire in this week’s example I used the following brush from CSP User KirikoWindgeist: https://assets.clip-studio.com/en-us/detail?id=2027532 After using the brush to get some general flames, I then used the Blend - Fingertip subtool to refine the shape of the flames.
The sparks have been created with this brush from CSP User FuyuDust: https://assets.clip-studio.com/en-us/detail?id=1783255
Smoke has been created from this set of brushes: https://assets.clip-studio.com/en-us/detail?id=1959919

Though the sparks have a bit of glow to them already I want to really punch it up and make them pop! I have a flattened version of my character on a layer in the middle of my stack. Behind the character are these layers in order from top to bottom: Smoke, Sparks, Flames, Sparks, Black background. On top of the character are the following layers from bottom to top: Fire, Smoke, Sparks.
Let’s work on the layers in front of the character first. Let’s copy the Sparks layer. The fastest way to copy a layer is to drag it to the “New Raster Layer” icon in the layer palette.

Now we have “front sparks” and “front sparks copy” as layers. Select the BOTTOM layer before continuing, which is a step that I forgot to do so I had to move the edited layer later. Save a little time and work from the bottom layer to start with!

Using the dropdown menu, set the Blending mode to Add (Glow) or Glow Dodge. Either one will work!

Next click on Filter - Blur - Gaussian Blur. You will need to test to see how much blur to use for your image. Depending on your canvas size you may need to use more or less blur than I did in the screenshot below. You want to blur enough that some of the glow is visible around the item that you’re making glow - in this case I’m looking at the big spark to the left of the character’s elbow.

Now I want to make the glow a bit more intense. To do this let’s use Edit - Tonal Correction - Hue/Saturation/Luminosity.

I turned the saturation all the way up and then changed the hue until I had a yellow-orange color for my glow. I also turned up the luminosity to make the glow more intense. You may need to use different values depending on the look you’re going for and what color glow you want.

Now I’m going to do the same process with the layer of flames. Start by making a copy of the flames and then changing the Blending Mode of the bottom layer to either Glow Dodge or Add (Glow). For the flames I’m using Glow Dodge.

Next go to Filter - Blur - Gaussian Blur and adjust the Strength until you have an amount of glow that you like.
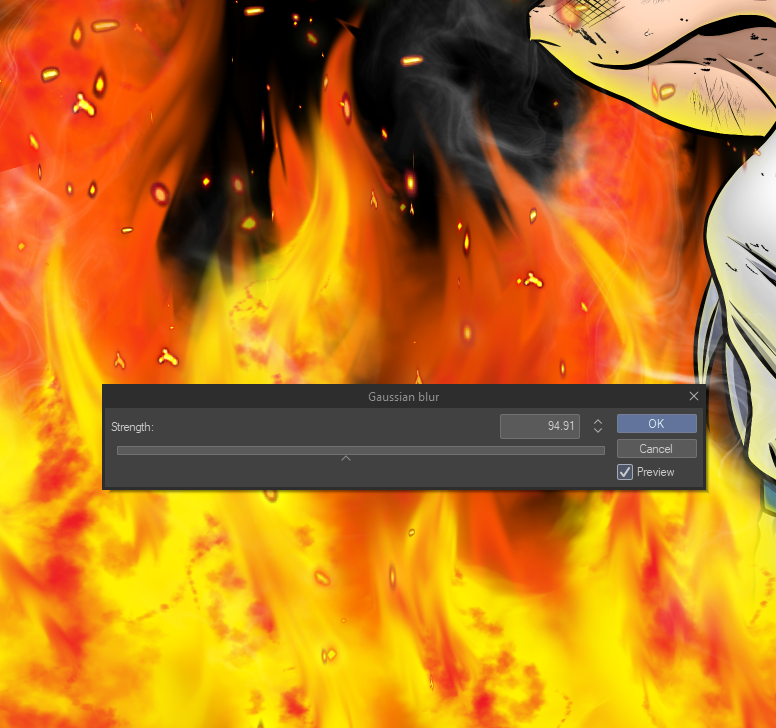
For comparison on how crucial this blur step is, the flames on the left don’t have gaussian blur applied to the glow layer yet, and the ones on the right have been blurred. The ones on the right look much more fiery to me!

Adjust the Hue/Saturation/Luminosity for this layer as well.

Continue this process for all elements of glow in your image.
Adding Finishing Highlights
Now that I have all my fire and sparks glowing, I want to add more light to my character. She is standing surrounded by fire, after all! To add my character highlights I created a new raster layer on top of my character’s flattened copy layer. Set this new layer to either Glow Dodge or Add Glow in the Blending Mode drop down menu.

Now take the Soft airbrush subtool and a color appropriate to your image (I’m using yellow because I’m creating fire, but you can use these same techniques for glowing magic and the like, so be creative!) and add some light to your character to show that the glow is interacting with them. I added some more yellow to the underside of my character’s clothes, arm, face, and hair, and also added some rim lighting around the edge of her hair because of the fire behind her.

And my image is complete!
Conclusion
For the more advanced users of CSP this technique is probably nothing groundbreaking. However for the beginner this is a great introduction to layer blending modes and the power that they hold.
For more information on CLIP Studio Paint, please visit https://www.clipstudio.net/en or https://graphixly.com