
Creating a Custom Color Set
Contact Graphixly @
Hello! My name is Liz Staley and I’m a long-time user of Clip Studio Paint (I started using the program back when it was known as Manga Studio 4!). I was a beta-tester on the Manga Studio 5 program and for Clip Studio Paint, and I have written three books and several video courses about the program. Many of you probably know my name from those books, in fact. I write weekly posts on Graphixly.com and on CSP Tips, so be sure to come back every week to learn more Clip Studio Tips and Tricks from me!
Are you a Webtoon artist who’s tired of having to open reference images to keep your character’s colors consistent? Or perhaps you like working from limited palettes or color palettes from the internet and hate flipping back and forth to choose colors for your illustration? This week, let’s cure those woes by making a custom Color Set that you can choose colors from over and over again!
In this article we will cover the following topics:
Creating a Custom Color Set
Let’s get started.
Creating a Custom Color Set
The Color Set tab can be found in the color picker window as the second tab from the left.

Clicking on the Color Set tab will bring up a view with blocks of pre-set colors. In the image below this is the Default color set, as shown in the top drop-down menu.

Click on the wrench icon next to the dropdown menu to open the Edit color sets window. This lists all the color sets that have been added or created. Click on “Create new set” to start making a new set.
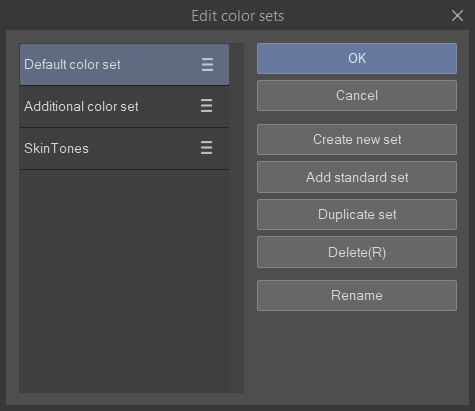
Type in a name for your color set to distinguish it from the other sets. I am calling mine “Character Colors” because I will be using it to save the base colors of my original characters.

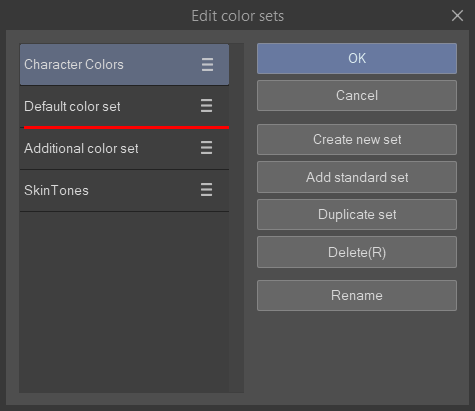
Color sets will appear in the Color Set Palette dropdown menu in the order they are in in the list of the Edit Color Sets window. To change the order of color sets, click the icon with three horizontal lines to the right of the set name and drag it to the new position. A red line will show where the set will be dropped, so wait until it’s where you want it to be before stopping your drag!
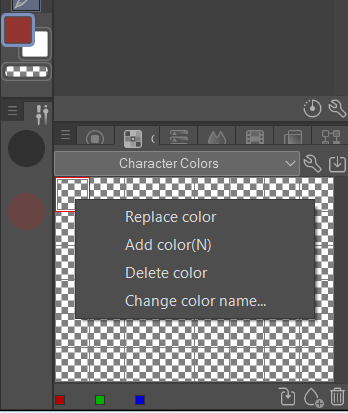
Click OK to go back to the main CSP window and start making your color set. At first you will have just a bunch of transparent squares. Choose the color you want to add to your set, then right-click on the square where you want to place the color. Click on “Add Color” or “Replace Color” to save the color to the set.
Personally, I use “Replace Color” on these first few rows of transparent squares because “Add color” will push the transparent squares further down, making the bottom of your color set a bunch of squares with nothing in them. But fundamentally there is no difference between Add Color and Replace Color when talking about an empty space in the set.
If you want to update a saved color with a different shade, right-click on the old color’s square while the new color is your active one and choose “Replace Color”.
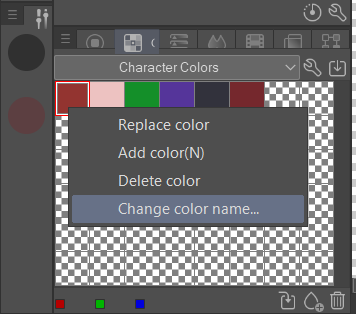
Save as many colors as you wish to in your new set! If you are saving tons of colors, say for characters for a Webtoon or making lots of skin tone palettes, it is helpful to leave an empty block or two between the different characters. For instance, my first six colors on my set belong to one character. When I add another character I will start a new row for their colors.
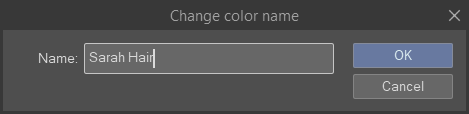
You can also add custom names to the colors as well. Choose the color you want to name and right-click on it in the Color Set. Then select “Change color name…” from the menu.
Type in the name for that color, then click OK.
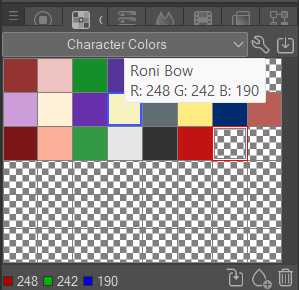
Now if you’re not sure what color is which you can hover your cursor over the color and the name will show in the popup.
You can also change the way your color set is displayed by tapping the menu in the top left of the Color Set palette, shown in the red box below. Then go up to “View” and choose from the view options.
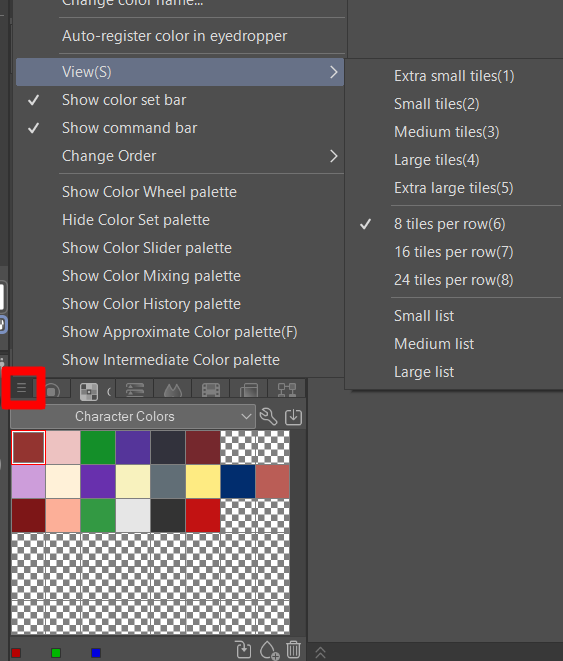
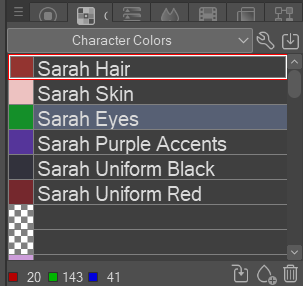
You can make your swatches larger or smaller, or even view in List mode that shows the name of each color next to the swatch.
Conclusion
If you have to use the same colors over and over again, making a custom color set is one of the best and easiest investments of time you can make at the beginning of a project to save you lots of time in the future!
For more information on CLIP Studio Paint, please visit https://www.clipstudio.net/en or https://graphixly.com