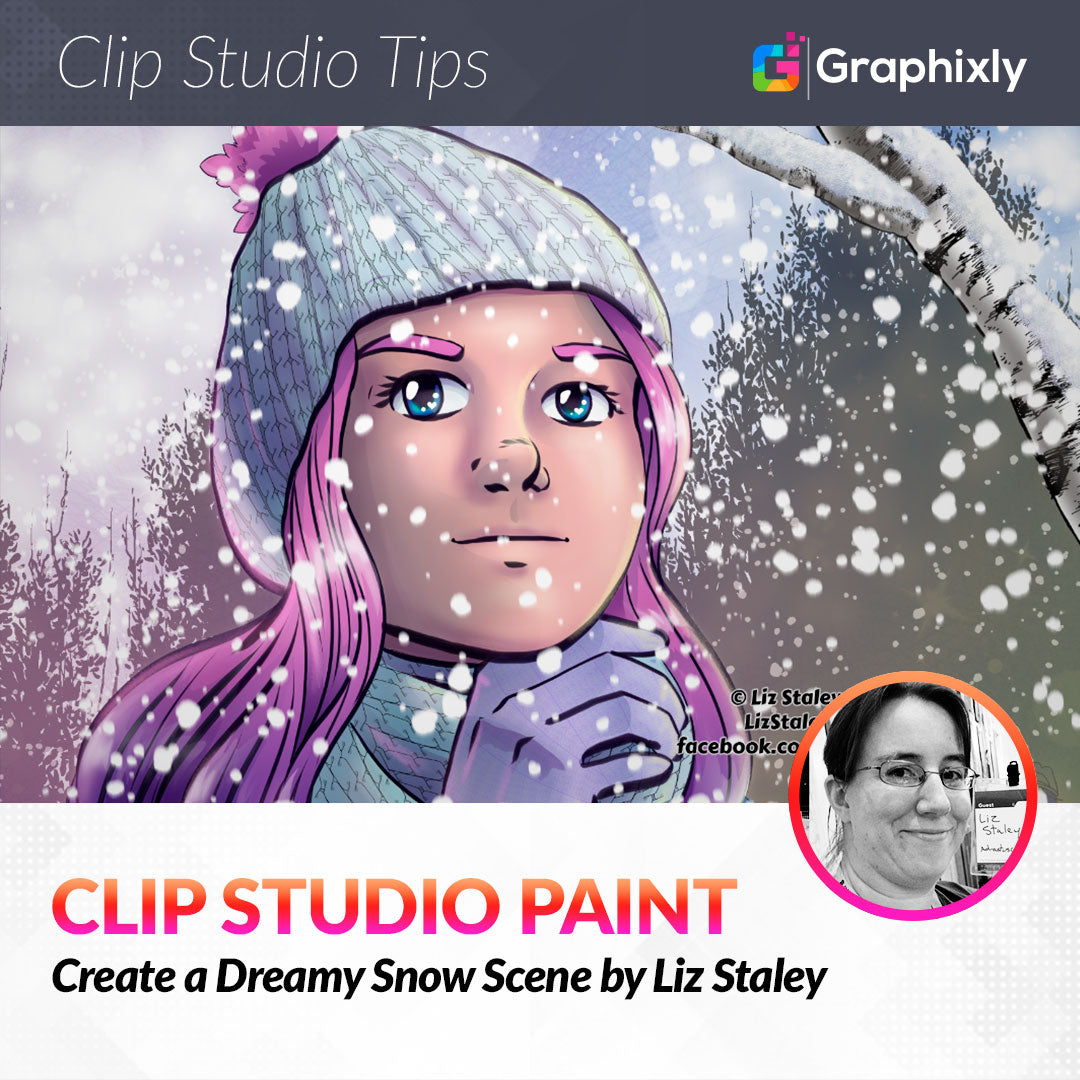
Create a Dreamy Snow Scene
Contact Graphixly @
Hello! My name is Liz Staley and I’m a long-time user of Clip Studio Paint (I started using the program back when it was known as Manga Studio 4!). I was a beta-tester on the Manga Studio 5 program and for Clip Studio Paint, and I have written three books and several video courses about the program. Many of you probably know my name from those books, in fact. I write weekly posts on Graphixly.com and on CSP Tips, so be sure to come back every week to learn more Clip Studio Tips and Tricks from me!
Here where I live in Central Pennsylvania, USA, it’s getting colder. Winter is quickly approaching, so it seems only appropriate to draw something snowy this week! We haven’t had any real snowfall here yet, but there’s been a few flurries in the air. So let’s create a dreamy snow scene with falling snow.
In this article we will cover the following topics:
Tips for Coloring a Wintery Scene
Snow Laying on Objects
Creating a Falling Snow Effect
Let’s take a walk in a winter wonderland!
Tips for Coloring a Wintery Scene
I’ve already covered my coloring process in another Tips article, so instead of going over it again I thought I’d just give some tips on wintery scenes in general.
As I say often, this is not intended to be gospel on how to make snow scenes. Please look at reference images for color choices for your scenes if you need to (or, if you live in a region that gets snowfall, take some reference images of your own to refer to! Even better than looking at Google Images!). I was going for a bit of a “dreamy” effect on this image so it’s not super realistic, but I did apply some general techniques for making a wintery scene while choosing my colors and shading.
Snow is made of ice crystals, so it’s really good at reflecting light. You’ll want to keep this in mind when lighting your scene! Snow on the ground will reflect light back up onto the sides of objects facing it, so you’ll want to include bounced light in your image. Since snow is white, you may be tempted to shade with gray, but a desaturated blue or purples is a better choice. You’ll see in my image that I used both a blue-gray and a purple for my shadows. Because snow is made of tiny crystals, you can also include colors like pink or yellow in your scene to add some visual interest, which you’ll see me doing in my image.
Okay, let’s take a look at my mostly-finished drawing and the layers it took to create it.

You can see by my Layer palette that this image has a lot going on! I actually used a lot of user-created brushes and textures from Clip Studio Assets, especially for the knit hat, sweater, scarf, and gloves. Below is a list of the Assets used in this image.
Shoujo Magic Blue image (default CSP)
Far-away trees black (default CSP)
Birch Branch Brush (CSP User Yaa, Content ID 1724801)
Laying Snow (CSP User 四ツ屋 , Content ID 1787103)
Knit Brushes used on Sweater (CSP User axeswing, Content ID 1711239)
Cable Knit Brushes (CSP User JinnaFrosch, Content ID 1798372)
Fur and Fluff Brush (CSP User ADBillustrates, Content ID 1853565)
Falling Snow Brush (CSP User 나지 , Content ID 1759867)
Please support these creators if you like the look of the assets used in this tutorial! These are all great assets and I’m so grateful to the CSP community for sharing them!
For instructions on how to download and install from CSP Assets, please see this other Tips article written by me! https://tips.clip-studio.com/en-us/articles/4329
Snow Laying on Objects
The end goal here is to create the look of gently falling snow on this image, but before doing that I wanted to complete the environment around the character. This included adding a birch tree branch in the foreground with some snow laying on it to add to the scene.
To create this birch tree, I used the Birch brushes from the set of wood and tree brushes listed above (Content ID 1724801). Two quick strokes of my tablet stylus with these fantastic brushes yielded a nice looking birch tree! I added some simple shading to the branches with the soft airbrush tool and a desaturated blue-gray.
Next I used a snow brush (Content ID 1787103 in the CSP Assets section) on a new layer to put the simple shape of snow on the birch branches. The user who created this snow brush even included a textured eraser that’s really handy for feathering the edges and shaping the little snow drifts to make them look more like flakes of snow lying on an object and not just a blob of digital color!

The shading in the snow on the close-up above was added with shades of blue-gray and deep purple using the Chalk subtool (in the Pastel category of the Pencil tool, this tool comes with CSP already!) to add some textured shading. I also used the same brush to add some very subtle light yellow and light pinks, then added some white highlights for extra sparkle. Remember that snow is made up of individual crystals, so adding texture will be more convincing, especially in areas that are close up, than adding smooth shading with the airbrush or gradient tools.
I’m happy with this snowy environment now, so it’s time to create a gentle snowstorm in the next section.
Creating a Falling Snow Effect
There is a “Snow Crystal” pattern brush included in CSP, but for this image I wanted to create what looked more like big, fluffy snow instead of individual and detailed snowflakes. The “Soft” decoration brush might work as well, but it was a little too soft and floaty for the look I wanted for this lesson.
To get the effect for this image that I wanted, I used a Falling Snow Brush from CSP Assets (Content ID 1759867). After installing the brush, I created a new layer at the top of my layer stack so the snowflakes would show up on top of the rest of my image. Then, using my tablet stylus, I went over the image a few times to add the number of snowflakes I wanted for my image.
The screenshot below shows this initial bit of snow, which we’re doing to do some modifications to in the next few steps.
The first thing I wanted to do is move some of the bits of snow from where the brush randomly placed them. The very first one that I want to move is the one over my character’s left eye. It’s in an awkward place and looks too much like the light reflections in the art. Thankfully, moving that bit of snow won’t be difficult at all.
Take the Lasso selection tool and zoom in if needed to clearly see the area to select. Next, draw with the selection tool around the area. In the image below you can see that I’ve used the Lasso tool to draw around the large clump of snow in front of the girl’s eye.

In the command bar beneath the selected area, click on the “Scale/Rotate” icon (to the left of the paint bucket icon). This allows us to move, rotate, or scale anything in the selected area.
Once we activate the Scale/Rotate mode, a box will appear around our selected area. Use the controls around the edge of the box to resize or rotate the selected area, if desired. In this case, I’m just going to make sure my cursor is inside the control box so that the cursor shape turns into a black triangle with a four-sided arrow next to it, but not so close that it’s over the crosshairs in the center of the control box. Click and drag inside the control box to move anything inside the selection. In the image below, I’ve moved the big clump of snow out from in front of the eye and to the edge of the hair instead.

I did this with a few more snowflakes that were in awkward spots to fine-tune the placement of the falling snow so that it looks natural but isn’t completely covering the character’s face.
We can leave the falling snow just like it is, but let’s add a little more movement to it. It is supposed to be falling, after all, not frozen in mid-air!
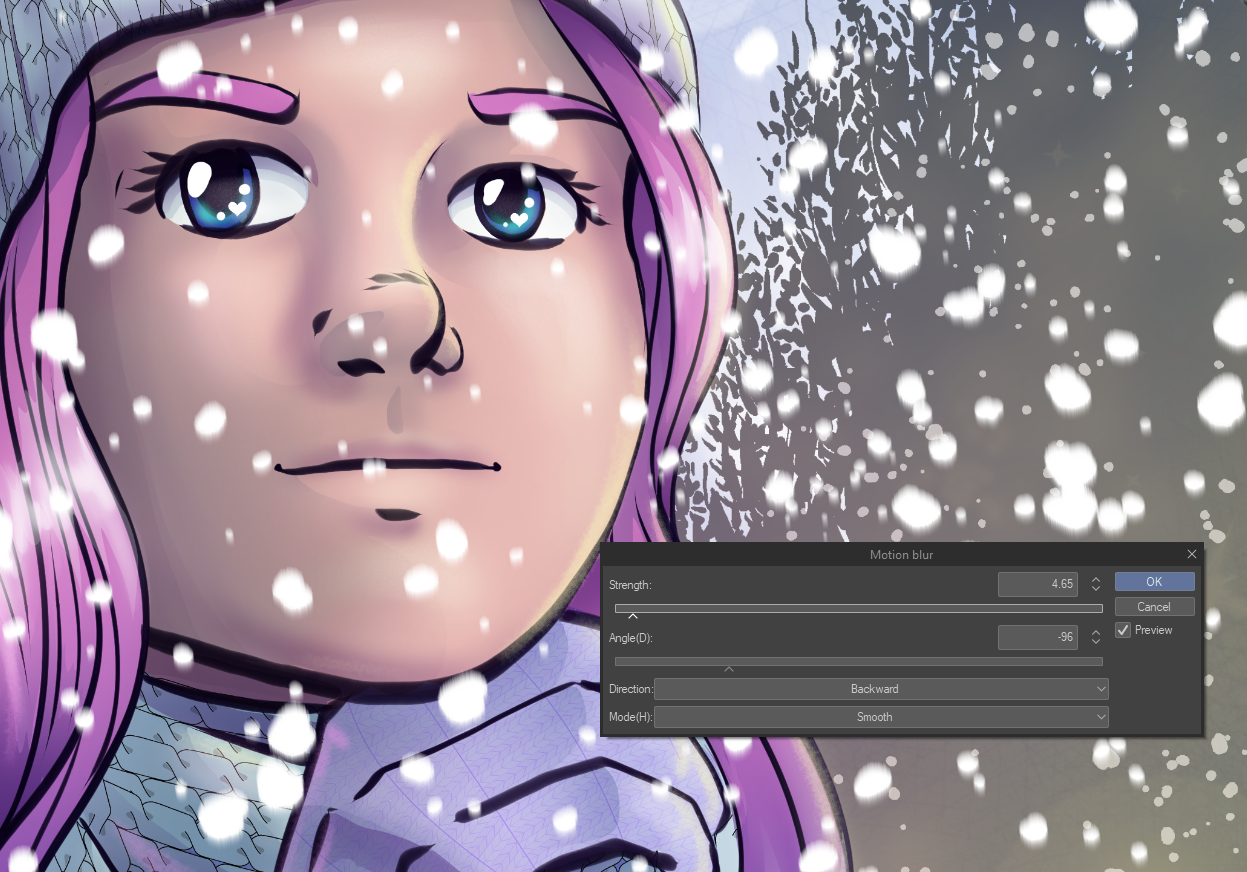
To add a little movement to the falling snow, let’s add a motion blur. Click on Filter - Blur - Motion Blur, shown below.

This will bring up the Motion Blur controls. Make sure the “Preview” checkbox is checked so you can see your changes in real-time as you adjust the settings.
The Strength slider controls how much motion blur will be added. The larger the number, the larger the “trail” of the blur will be. The larger the blur, the faster it will appear the object is moving. This is gently falling snow, so I kept the strength number low.
The angle slider controls the angle of the blur. If we were adding motion blur to an object moving horizontally, we’d want the angle to be horizontal. This snow, however, is falling gently down with almost no wind blowing it, so I want the motion blur to be almost completely vertical.
You can also change the Direction and Mode dropdowns to see how they look as well. I set mine to “Backwards” and “Smooth”, respectively, because I thought they looked the best with my image.
Click on OK to complete the motion blur, or Cancel if you decide you don’t like the look of it!
To finish up the image, I did a slight Color Balance adjustment on the girl’s skin tone to make it a bit cooler in tone. I also added another layer behind the character but in front of the background environment and added some more snow to add a little depth to the falling snow. Then I added some final highlights to the character, my signature, and a watermark to finish up the image.

Conclusion
Using a combination of simple coloring techniques, some basic colors, and the right tools, it’s possible to create a beautiful environment for your characters to inhabit. Thanks for reading!
For more information on CLIP Studio Paint, please visit https://www.clipstudio.net/en or https://graphixly.com