Common Hand Poses Thumbs Up
Contact Graphixly @
Hello! My name is Liz Staley and I’m a long-time user of Clip Studio Paint (I started using the program back when it was known as Manga Studio 4!). I was a beta-tester on the Manga Studio 5 program and for Clip Studio Paint, and I have written three books and several video courses about the program. Many of you probably know my name from those books, in fact. I write weekly posts on Graphixly.com and on CSP Tips, so be sure to come back every week to learn more Clip Studio Tips and Tricks from me!
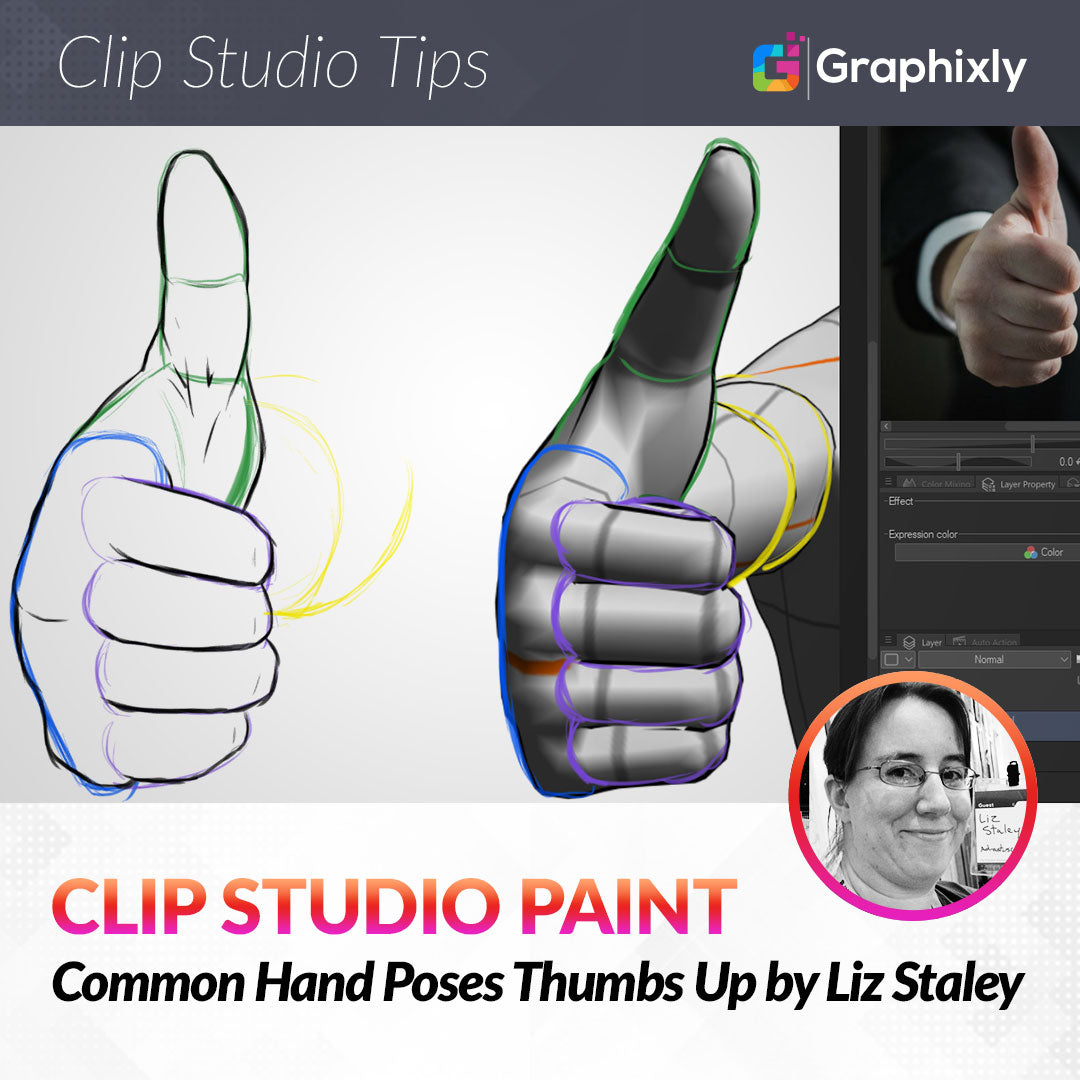
Continuing in the series of common poses for hands, I thought this week we would look at the breakdown of the “thumbs up” hand expression. This hand expression has existed for thousands of years, existing at least back to Ancient Rome or possibly longer. In most countries it has a positive connotation, but in some countries it may be seen as a negative or rude gesture. It is also used as a hand gesture in some militaries and in underwater diving! So let’s break down the hand and also learn how to combine elements from both a 3D pose reference and a photograph reference. By the way, this is one of the easiest hand gestures to find photo references of online, but it may not be from the exact angle that you want for your drawing.
In this article we will cover the following topics:
Drawing the Thumbs-Up Hand
Let’s get drawing!
Drawing the Thumbs-Up Hand
There isn’t a “thumbs up” hand pose included in the CSP Material Library right off the bat. This means we can either make one ourselves (I actually discussed how to easily pose hands of 3D models in my article “Making Fight Scenes with Multiple 3D Characters, linked here: https://tips.clip-studio.com/en-us/articles/3627#845e07c2 ) or download one from the CSP Assets resource.
I chose to get the Thumbs up from the ClipStudioOfficial account, shown below. However, there are several free resources available in the Assets if you don’t wish to pay Gold or Clippy.

I downloaded the pose reference that I wanted to use, then located it in the All Materials section of the Material Library. Upon finding my new asset, I noticed that this resource only shows under the All Materials or Downloads folders, and I really want it to show in the 3D folder as well so that I can find it easily later on if I need it.
To make changes to an existing Materials tags, name, folder location, and more, click on the Settings icon at the bottom of the Material Library window, indicated by the arrow in the screenshot below.

The current settings for the selected material will show in the Material Property window.

I typed a new name in the Material Name text entry box. Then in the “Choose save location” area, I selected the 3D > Pose > Hand folder. Click on OK to save the changes.

Now we can use the model to get the exact angle that we want to draw of this hand expression.

As I’ve mentioned in other installments of this hand series, I do love working with the 3D models for reference but sometimes they just don’t capture the nuance of human anatomy correctly. Hands have lots of little skin folds and things that appear as the fingers flex and bend and these basic 3D models don’t show that. So I’m also going to be working from a reference photo for this drawing as well. You can see it to the right in the screenshot below, in the “Sub View” window.
I’ve also traced over the 3D reference to help me better pick out the shapes, as I’ve done in previous installments of this series.
For the palm/back of the hand shape, I started with what I can only describe as a bean shape, based mainly on the shape of the knuckles in the photo reference.

I really like the position of the thumb in the photo better than the position in the 3D model, so I based the top of the thumb off of that reference. It looks a little strange right now but I think it will be better once we put the details at the base of the thumb in the final sketch.

Next, rough in the shape of the fingers. In this case I based the fingers more on the 3D reference than the photo because I liked the straighter look of them. Add a little bit more curve on the fingers to make them look a bit more realistic and like the skin of the fingers is pressing together and overlapping.

Once I’m happy with the roughed out sketch, I create a new raster layer and switch to a black color to do a more refined drawing.
I cleaned up the shape of the thumb first and added some of the details from the photo. These lines and shadows are from the webbing between the thumb and palm.

Next I decided to draw the back of the hand/knuckles, again drawing quite a bit from the photo reference.

FInish off by drawing in the shapes of the fingers. I made the lines between the fingers thicker to emphasize the shadow where the fingers meet. You can also make little “Y” shapes at the top of the lines between the fingers to emulate where the skin folds.

Conclusion
The more you practice drawing hands in all sorts of different expressions, the better you will get at drawing them in general. Remember that hands are most artists’ biggest challenge so don’t get discouraged and just keep working at it.
For more information on CLIP Studio Paint, please visit https://www.clipstudio.net/en or https://graphixly.com