Changes to Text Tool in 2.0
Contact Graphixly @
Hello! My name is Liz Staley and I’m a long-time user of Clip Studio Paint (I started using the program back when it was known as Manga Studio 4!). I was a beta-tester on the Manga Studio 5 program and for Clip Studio Paint, and I have written three books and several video courses about the program. Many of you probably know my name from those books, in fact. I write weekly posts on Graphixly.com and on CSP Tips, so be sure to come back every week to learn more Clip Studio Tips and Tricks from me!
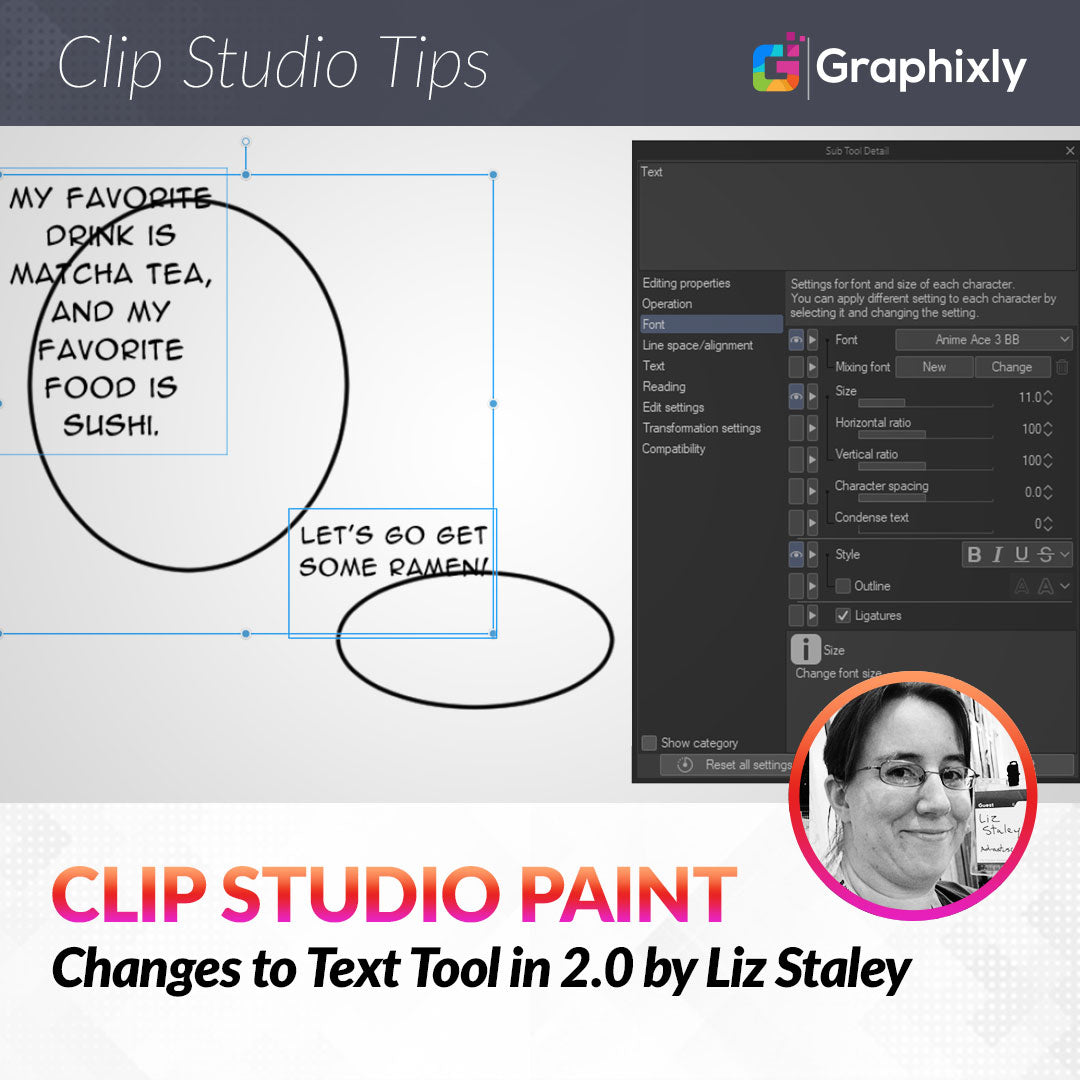
Clip Studio Paint 2.0 added a few new options to the text tool that will make some processes easier, including the option to select and move multiple layers of text at the same time.
In this article we will cover the following topics:
Wrap Text at Frame
Create Text Box
Select Multiple Text Boxes
Wrap Text at Frame
Let’s first take a look at the feature that allows us to wrap text to a frame. First, create a new canvas. Then select the text tool and type out some text, preferably something with more than just a few words.
With our text active, open the Sub Tool Detail window. Click on the “Text” category in the left side of the Sub Tool Detail window and find the Wrap text at frame checkbox, shown in the red rectangle in the screenshot below.

Let’s click to activate this checkbox. Then hover your cursor over one corner of the bounding box outside of your text and drag to resize the box.

Your text will now shift to new lines as the frame is moved around. This is very helpful if you need to fit text in to a defined space but don’t know how much space you have yet (i.e. you are making a comic but don’t know how large the art will be in a specific panel because it hasn’t been drawn).
Create Text Box
We can also create a text box to type in instead of typing and then resizing our text area. This is really useful if you already know the size of the area for your words, such as dialog in a comic or an area on a business card or flier.
In the Sub Tool Detail window for the Text tool, click on the Operation category.

Under the “Drag” dropbox, change the option from “None” to “Create text box”.

Now we can use the cursor to drag out a box on our canvas.

Release the cursor to create the text box and then type in to it. The text will automatically wrap at the edge of the box.

Of course, the text box can also be resized as needed using the control points around the perimeter! Simply put your cursor over one of the control points, then drag and release to change the text box to a larger or smaller area.

Select Multiple Text Boxes
Our next feature is one that I would have loved to have when I was creating a comic and having to juggle lots of text around. And that is the ability to select and move multiple blocks of text at one time.
Let’s head back to the Sub Tool Detail window for the Text tool. Click on the Operation category, then switch the Drag drop down menu to “Select Text”.

Drag out a box around multiple blocks of text.

Upon release, there will be a bounding box around all the selected text boxes.

You can now resize or move all the selected text boxes at once. I was hoping that doing this would also allow us to change the font size or font face of multiple bits of text at once, but it doesn’t. However you can resize the text boxes all at once while multiple are selected, or reposition them.

Note that if there are speech balloons attached to the text, they will not move along with the text, so will have to be repositioned with the Object tool!

Conclusion
These little text tool updates may not seem too exciting to most, but for those who work with text often they can save a bit of time here and there. Hopefully these are just the beginnings of many more improved text features to come in the future!
For more information on CLIP Studio Paint, please visit https://www.clipstudio.net/en or https://graphixly.com