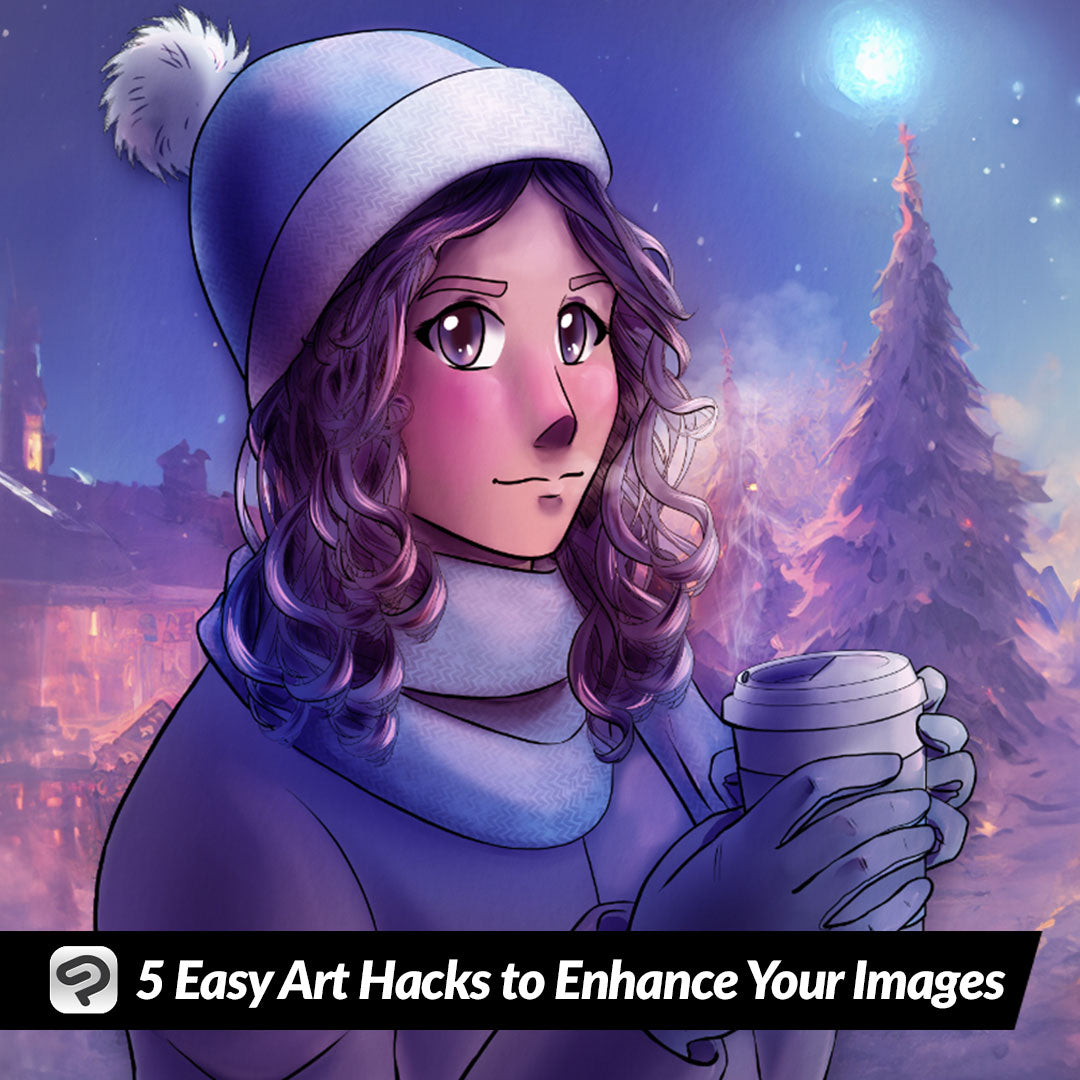
5 Easy Art Hacks to Enhance Your Images
Contact Graphixly @
Hello! My name is Liz Staley and I’m a long-time user of Clip Studio Paint (I started using the program back when it was known as Manga Studio 4!). I was a beta-tester on the Manga Studio 5 program and for Clip Studio Paint, and I have written three books and several video courses about the program. Many of you probably know my name from those books, in fact. I write weekly posts on Graphixly.com and on CSP Tips, so be sure to come back every week to learn more Clip Studio Tips and Tricks from me!
Though I’ve been doing digital art for a really long time, I know there’s always new things to learn! One of the best things about the internet is getting to learn from others who do things differently from me and then see if I can apply those same techniques to my own art. It’s a great way to improve and to find new ways to do things! I found five “art hacks” for digital art on Pinterest and decided to try them out!
In this article we will cover the following topics:
Red and Blue Trick
One Layer Lighting
Sunny Lighting
Dust Motes Trick
Dreamy Effect
Let’s get drawing
Red and Blue Trick
This is actually the art hack that started the idea for this article because I saw it several times across social media and wondered if it really did work. It seems far too easy to really make a difference so I wanted to give it a try!
Once you finish coloring your image, make a new layer over top of everything. I used the Soft Airbrush tool and then a saturated blue to make a big circle over the face of my character.

Now select a red color and make a smaller circle in the middle of the blue one.

Go to Filter - Gaussian Blur.

Add some blur to your blue and red circle. I went with a high strength to blend the colors together and soften the edge of the circle.

Set the layer to the Soft Light blending mode.

Now you can use the Transform tool to adjust the size of the blue and red effect over the character. I’ve seen some artist’s use this to cover their entire image but others who just use this around the face.

Now lower the opacity of the layer. Below, the original image is on the left and the image with the art hack is on the right.

I feel like this hack would work in certain circumstances and lighting! I actually really like it on this soft nighttime scene and think it makes the character’s face stand out a bit more. I don’t know that I would do this on every piece of art I create, but it’s a simple enough trick to try and see how it looks!
One Layer Lighting
Another hack I’ve seen is this one about an easy way to do lighting that looks good, so let’s try it out! First I’m going to open up an image that has shading and highlighting done but could use some more help to make the lighting stand out.

Create a new layer on top of your image and then fill it with a dark blue or dark purple color.

Change the blending mode of this blue layer to Color Dodge.

That’s already looking a little better to me, so let’s keep going!

Now take a light yellow or orange color and the soft airbrush tool and (while still on the Color Dodge layer!) brush in color in the light areas.

I adjusted the edges of my lighting around the edge of the character by using the Color History palette to choose my dark purple color again and use the soft airbrush tool to push the light back so that the character didn’t have a halo around them.
Below, the original image is on the left and the new one is on the right!

I honestly really like this trick! I feel like it unified the character with the background a bit and was an easy way to add some nice light in. I will definitely be using this one again!
Sunny Lighting Hack
Let’s try another trick that promises to give our work the look of a nice sunny and warm day! To start, create a new Multiply layer and use a desaturated red color to put in your shadows.

Use the Lock Transparent Pixels option to make sure that the next step doesn’t go outside of your established shadows.
Next use a blue gray color and the Soft Airbrush tool to add a little gray to the shadow areas that are furthest from the light source, such as on the far side of the face. Use the Blur or Blend tools to blend the shadow color and the blue-gray, if needed.

Make a new layer and set the blending mode to Overlay. With a warm color, such as yellow or orange, to the areas without shading. I went sparingly on this one because part of the character is in shadow from the trees, but if your character is standing out in direct sunlight you can brush the highlight color over all the areas that aren’t shadow to make it look very sunny!

I turned on the other lighting effects that were created for this image in this previous article by me: https://tips.clip-studio.com/en-us/articles/8244

Dust Motes Trick
I also wanted to try out this trick for creating an effect that is almost like dust motes, flower petals, or just little bits of light in the lens? I’m not sure what to call it but I thought this trick would be good to try on this sunny looking image!
First I made a brand new layer and set the Blending Mode to Add. Then I took the Textured Pen and made some random white shapes with the pen over my image. Make some larger and some smaller. Then click on Filter - Effect - Chromatic Aberration.

Adjust the filter until you like the look. I changed it to the Lateral mode so that all the white specks would have some chromatic aberration instead of just the ones along the outside of the image.

Now go to Filter - Blur - Gaussian Blur. Adjust the blur to your taste.

Below is the original image the way I colored it when I originally made it on the left, and the new version with the previous two tricks tried on it! The sunny lighting one is great and I like how it turns out. Next time I would definitely add some white highlights as well for more contrast.
The white floating things I think would work for a lot of illustration situations, especially if you want something like dust motes or out of focus petals in your image!

Dreamy Effect in 3 Steps
Our next art hack gives your work a light, dreamy look that won’t be good for every style but if you light bright colors and a soft look then give this one a try!
First, if you have any background elements that you don’t want to apply this effect to, turn their layers off. I just want to apply this to my character so I turned the Paper layer and the background design off so they won’t be affected.

Now click on Layer - Merge Visible to New Layer. This will preserve our original layers from what we’re about to do on the duplicate.

On the new merged layer, click on Filter - Blur - Gaussian Blur.

Adjust the strength until the image is blurred but not completely unrecognizable.

Next, click on Edit - Tonal Correction - Hue/Saturation/Luminosity.

Turn up the saturation a bit. I found that doing too much would make the colors look strange, so just brighten it up some.

Change the blurred layer’s blending mode to Screen.

The original version is on the left below and the adjusted one is on the right! This is another trick that would only work on certain art styles and certain images. If you’re going for a dark or realistic look, this probably won’t help. But if you’re using bright colors and want to give a bit of an ethereal look to your drawing, this is fast enough to give a try and see if it looks good!

Conclusion
Trying new techniques is really fun, and a great way to figure out if there’s something new that can take your art to the next level! And one of the best things about digital art is that if you don’t like it, you can always get rid of it and try something else! Hopefully these five easy art hacks gave you something new to try on your next drawing!
For more information on CLIP Studio Paint, please visit https://www.clipstudio.net/en or https://graphixly.com